We’ve all seen those stunning custom-colored extensions on Instagram, but achieving that look at home can be trickier than it looks. If you’ve ever wondered why some extensions resist color while others soak it up, the answer isn’t just about hair quality—it’s about the preparation. At Full Shine, we put our hair through a special protective process to keep it silky and salon-fresh for you. But that same protection can sometimes block your hair dye. We’re here to take you behind the scenes and show you exactly how to prep your extensions like a pro stylist, ensuring your DIY color project is a total success.
The Mystery Solved: Why Does “Human Hair” Sometimes Fail to Dye?
The Full Shine Protective Barrier: At our workshop, every bundle of Full Shine hair undergoes a Silky-Shield Treatment. This medical-grade silicone coating is what keeps your extensions tangle-free during shipping. However, this same barrier can prevent dye molecules from penetrating the hair shaft. Understanding that our hair is ‘pre-sealed’ for protection is the first step to successful color customization.
The Culprit: Industrial “Protective Layer”
Acid Treatment: To achieve uniform color and texture, hair strands are treated with acid, causing excessive closure of the hair cuticles.
Silicone Coating: To achieve perfect shine, the hair surface is tightly coated with silicone oil, like wearing a “raincoat.”
The Hidden Barrier: It’s Not the Hair, It’s the Coating
It’s not that the hair is “damaged,” but rather that it’s been “too well protected,” preventing the dye from penetrating.
The 3-Step Reset: How to Unlock Your Extensions’ “Coloring Power”
Step 1: Deep Detox & Surface Prep
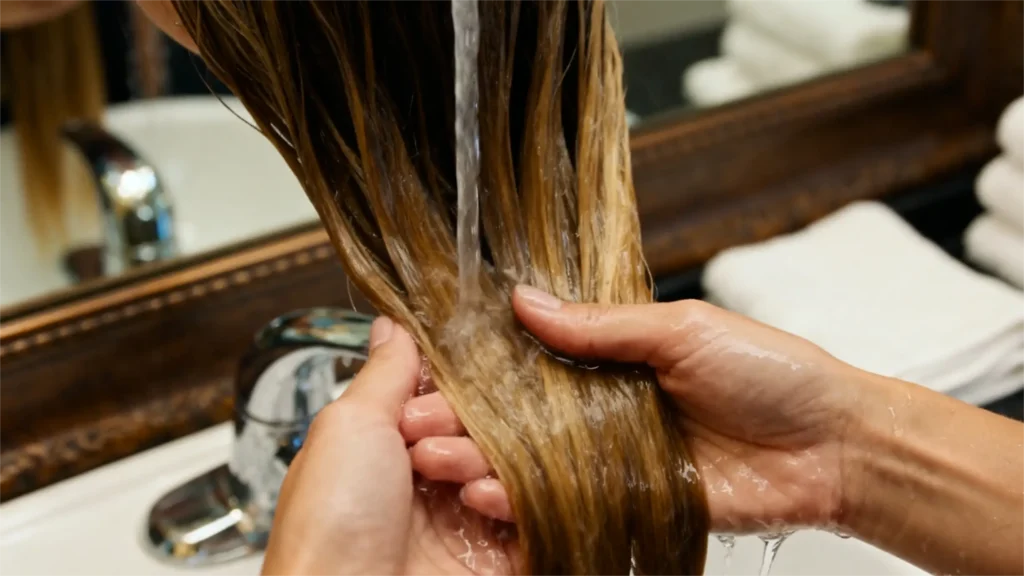
Stripping Away Silicones and Chemical Residue
2. Use lukewarm water (not hot water) to repeatedly and carefully rub and wash the hair extensions.
3. When you feel the hair change from “smooth” to slightly “rough,” congratulations, the protective layer has been successfully removed!
Lab-Tested Prep Method: Our technical team has tested 50+ clarifying shampoos. For the best results with Full Shine Remy hair, we recommend a pH 7.5+ alkaline wash. This specific pH level gently lifts the protective shield without stripping the hair’s natural keratin. Skipping this ‘detox’ step is the #1 reason for patchy or fading color.
Step 2: The Professional Pre-Treatment
Opening the Cuticles for Maximum Color Absorption
This step requires advanced technique and specific products; it is strongly recommended to perform it under the guidance of a professional hairstylist.
Step 3: Precise Coloring Execution
Applying the Right Pigment for a Salon-Finish Result
2. Allow 50% longer waiting time than when coloring your own hair to give the dye sufficient time to penetrate.
3. After applying evenly, wrap with a shower cap or use a hairdryer on a low setting to gently heat from a distance. The heat effectively helps open the hair cuticles.
When to Call the Pros? Recognizing High-Risk Color Changes
Highly recommended: entrust your work to a professional hairstylist!
CONTACT US
If you still have any questions after trying it, or would like to learn more about hair extension care, we are always here to provide you with the most professional support.

Written by Skyee, Senior Stylist at Full Shine Hair with 10+ years of extension experience. With over 12 years of hands-on experience in the professional hair industry, Skyee specializes in the application and maintenance of seamless hair systems. As a lead educator at Full Shine, she bridges the gap between salon-grade expertise and at-home care. Her “Support & Stroke” method has helped thousands of clients extend the lifespan of their ultra-thin PU wefts.
Expert Verified by Master Colorist Chloe: With 12 years of experience in extension customization, Chloe leads the Full Shine® Quality Assurance Team. This guide is based on our internal ‘Stress-Test’ protocols for 100% Remy hair. We update these guidelines every 6 months to match the latest professional dyeing technologies.