In a world dominated by heat styling tools, the simple act of air-drying your hair can feel like a revolutionary act of self-care. It’s not just about saving time or avoiding damage; it’s about embracing your hair’s natural texture and allowing it to thrive. However, achieving a salon-worthy look without any heat can be tricky. The result can sometimes be frizzy, flat, or uneven.

Fear not! With the right techniques, you can master the art of air-drying for hair that is not only incredibly healthy but also looks perfectly styled.
Full Shine
Why Choose Air Dry?
The benefits are undeniable:
Reduced Damage
Eliminating daily blow-dryers and flat irons prevents heat damage, split ends, and dryness.
Enhanced Health
Your hair gets to retain its natural moisture, leading to shinier, stronger strands over time.
Embrace Your Texture
Air-drying allows your natural wave, curl, or coil pattern to form without being altered by heat.
Low Maintenance
It saves on electricity, and once you get the routine down, it can actually save you time.
The Perfect Air Dry Routine: Step-by-Step
Step 1: Start in the Shower (The Foundation)
The process begins with how you wash your hair.


Gentle Cleansing
Use a sulfate-free shampoo focused on your scalp. Harsh sulfates can strip natural oils, leading to frizz.
Condition Strategically
Apply a moisturizing conditioner from the mid-lengths to the ends. Detangle with your fingers or a wide-tooth comb while the conditioner is in. This is crucial for preventing knots later.

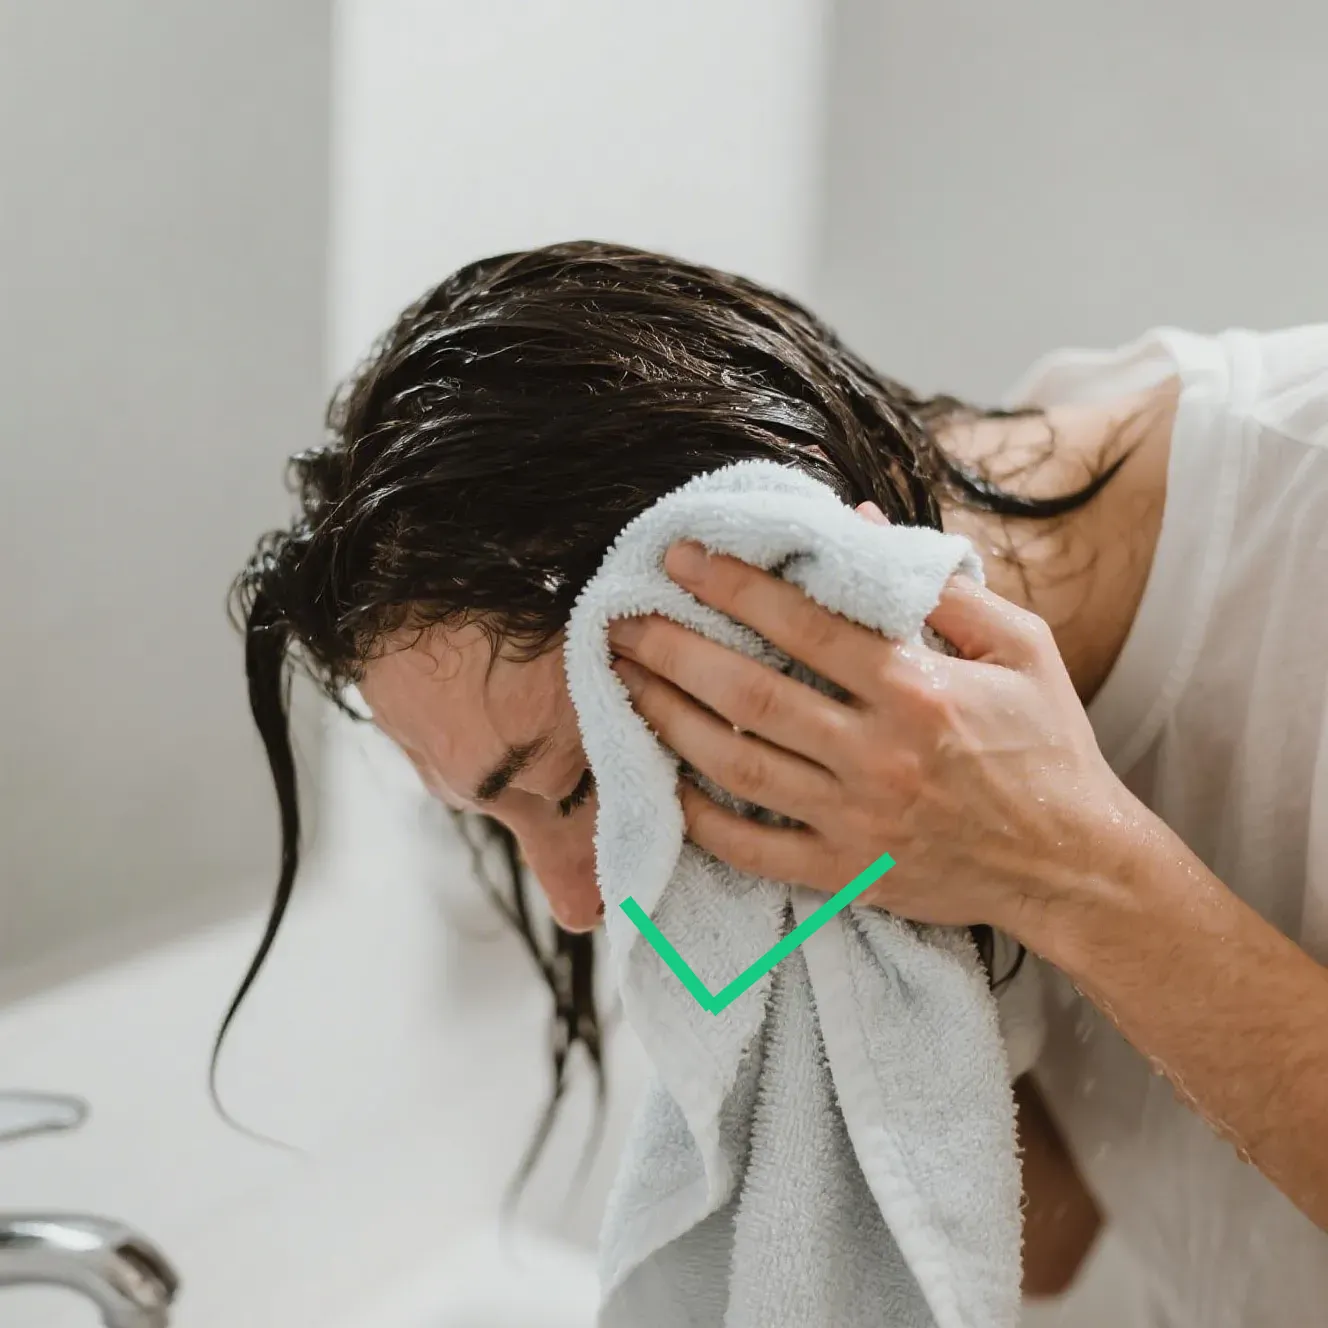

Step 2: The Post-Shower Blot (Never Rub!)
This is the most common mistake people make.
Ditch the Terry Cloth
Rough terry cloth towels can cause friction, leading to frizz and breakage.
Embrace Microfiber or Cotton
Gently squeeze out excess water with a soft microfiber towel or an old cotton t-shirt. These materials are much smoother and absorb water without roughing up the hair cuticle.
Technique is Key
Bend over and scrunch your hair upwards towards your scalp to encourage wave and volume. For straight hair, simply wrap it in the towel/t-shirt and let it sit for 5-10 minutes.
Step 3: Detangle with Care
Your hair is at its most fragile when wet.
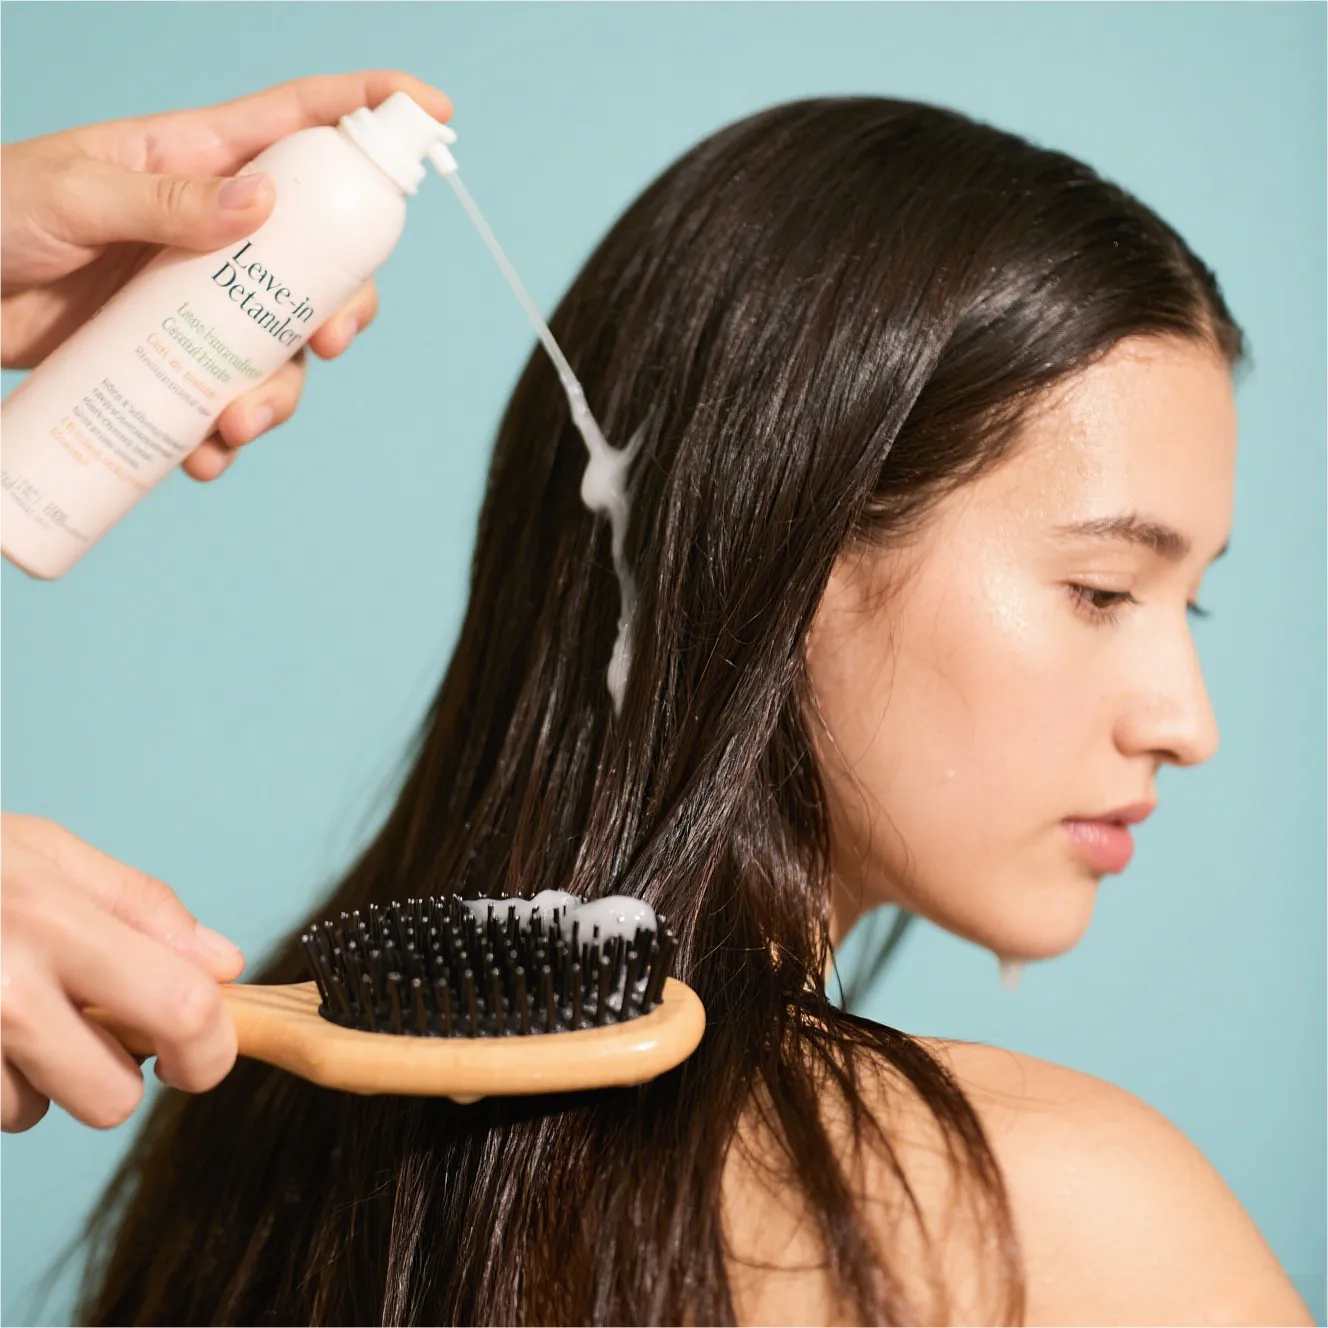
Use a Leave-In Conditioner/Detangler
Before you even think about a brush, apply a leave-in conditioner or a detangling spray. This provides slip and protection.
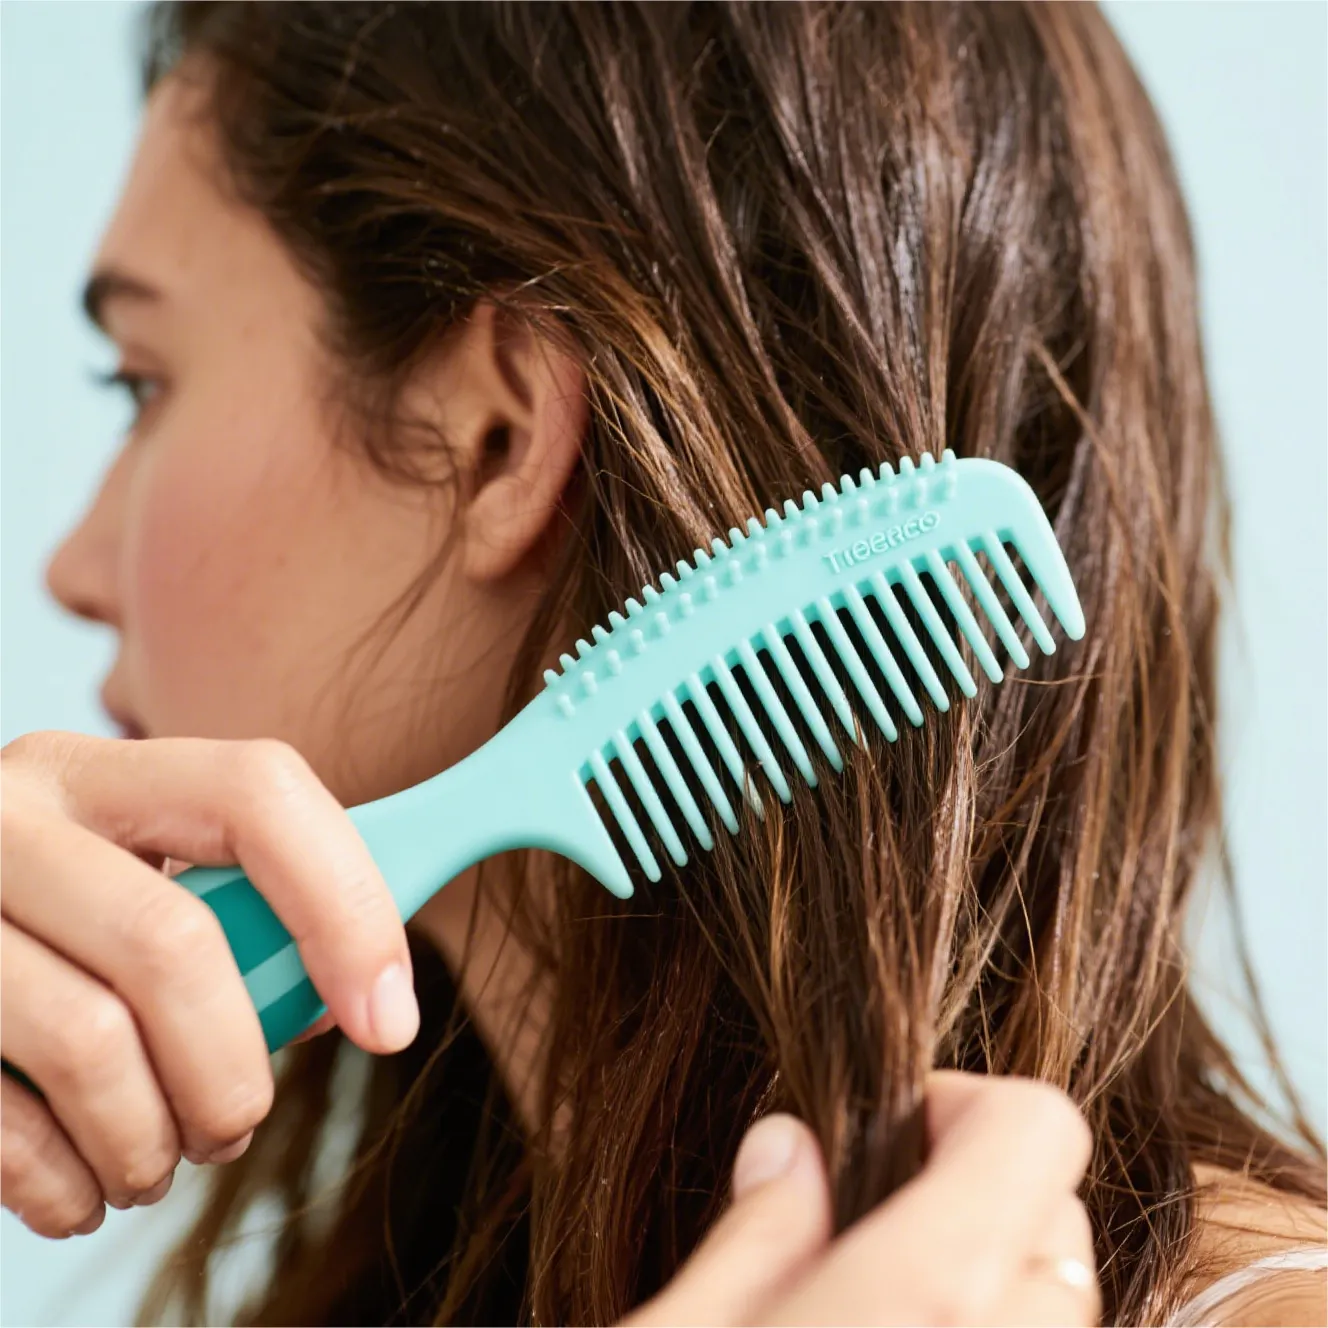
Choose the Right Tool
Always use a wide-tooth comb or a specialized detangling brush (like a Tangle Teezer or Wet Brush). Start from the ends and work your way up slowly to the roots to avoid breakage.
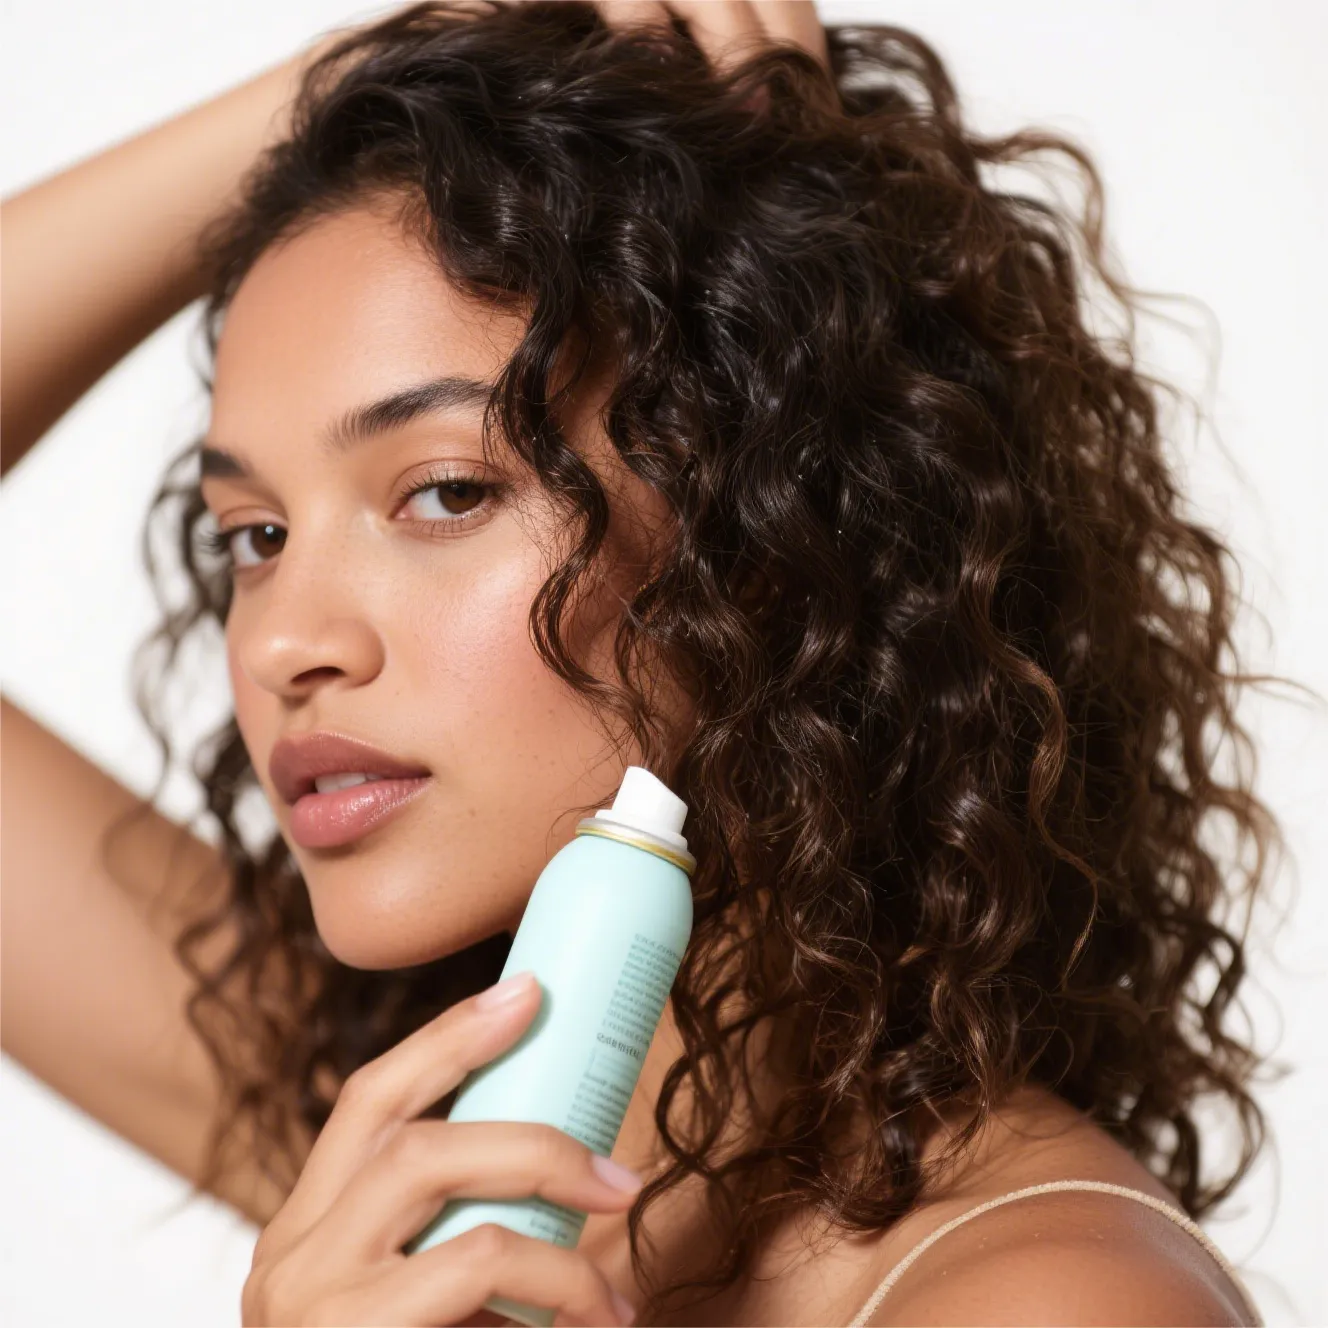

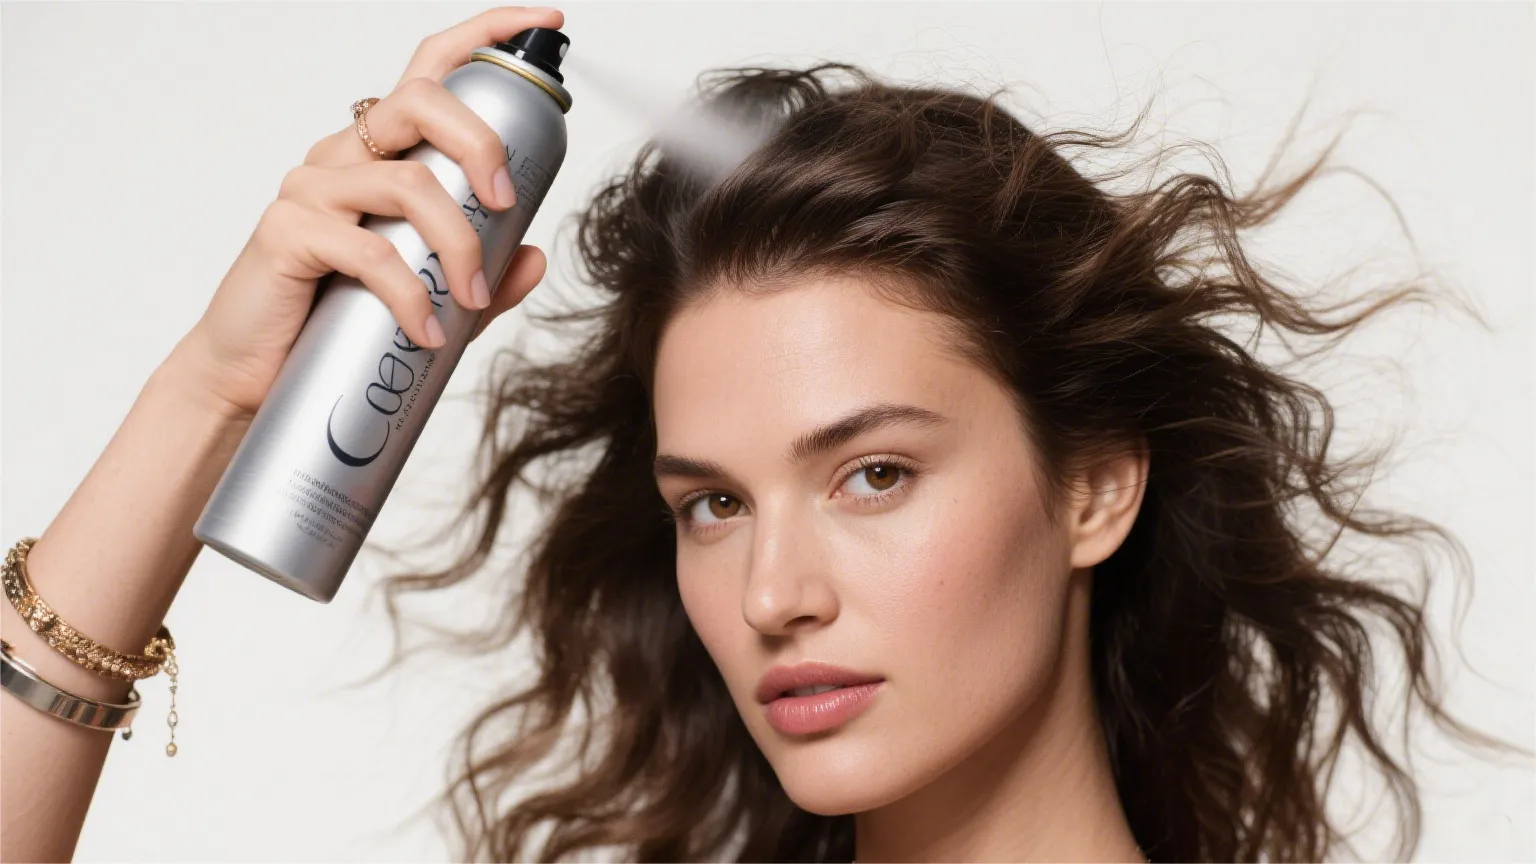
Step 4: Product Application (The Game Changer)
This is the step that transforms a basic air-dry into a perfect one. Product choice depends on your hair type and desired finish.
For Definition & Frizz Control (Wavy/Curly Hair)
Apply a curl-defining cream or mousse. Scrunch it into your hair to encourage your natural pattern.
For Smoothness & Shine (Straight/Fine Hair)
Use a lightweight leave-in conditioner or a smoothing serum. Avoid heavy products that can weigh fine hair down.
For Volume (All Hair Types)
Apply a volumizing mousse or spray at the roots and scrunch through the lengths.
Step 5: The Drying Process: Hands Off!
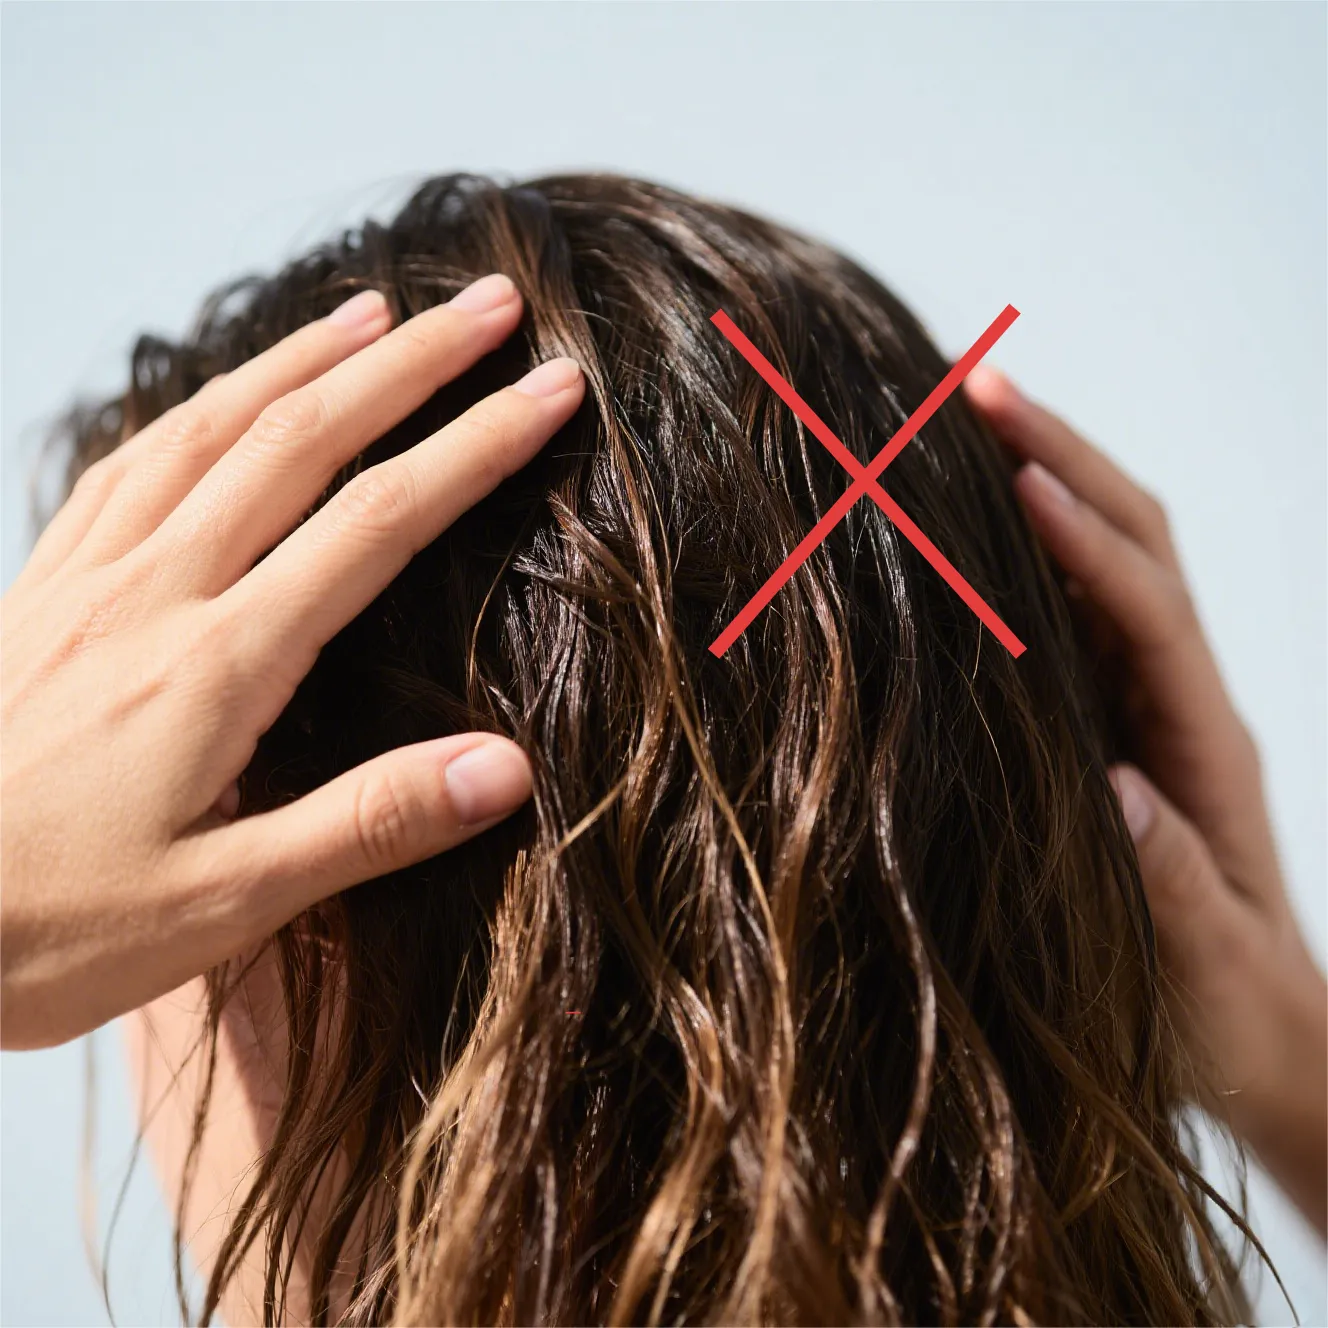
The key to avoiding frizz is to stop touching your hair!

Let It Be
Once products are applied, do not repeatedly run your fingers through your hair. This disrupts the natural pattern and creates frizz.
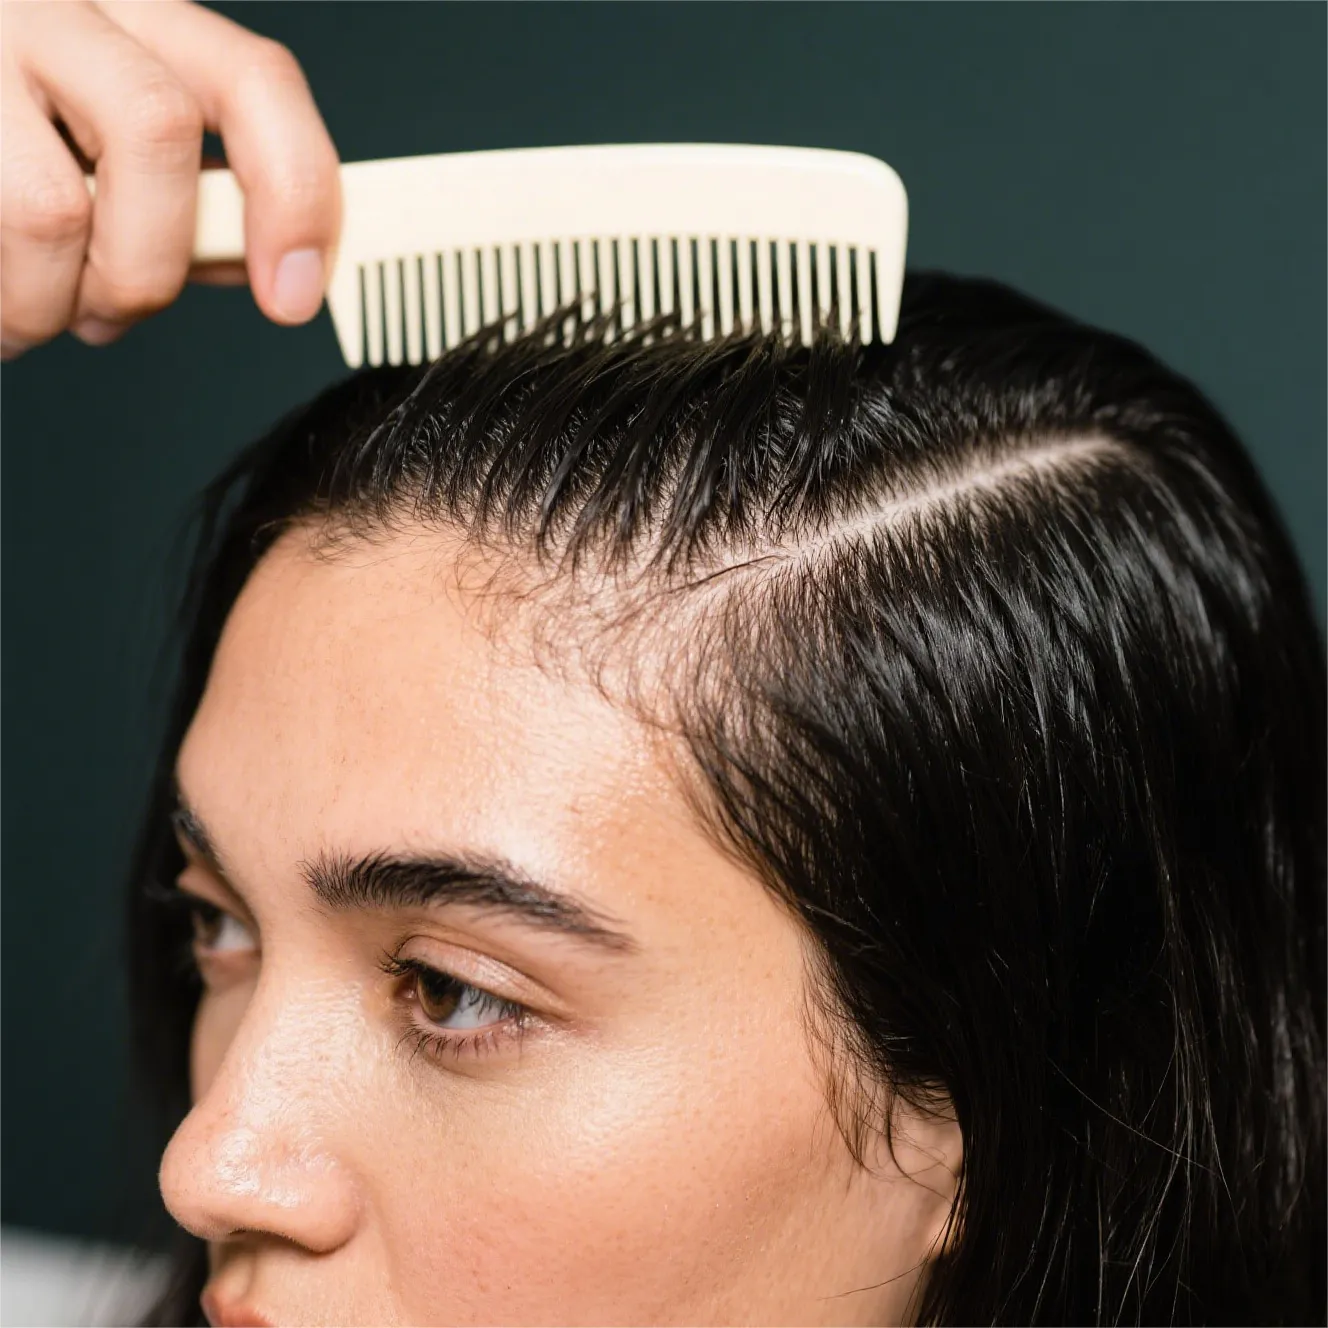
Part It Properly
Use a wide-tooth comb to create your desired part immediately after applying product, then leave it alone.
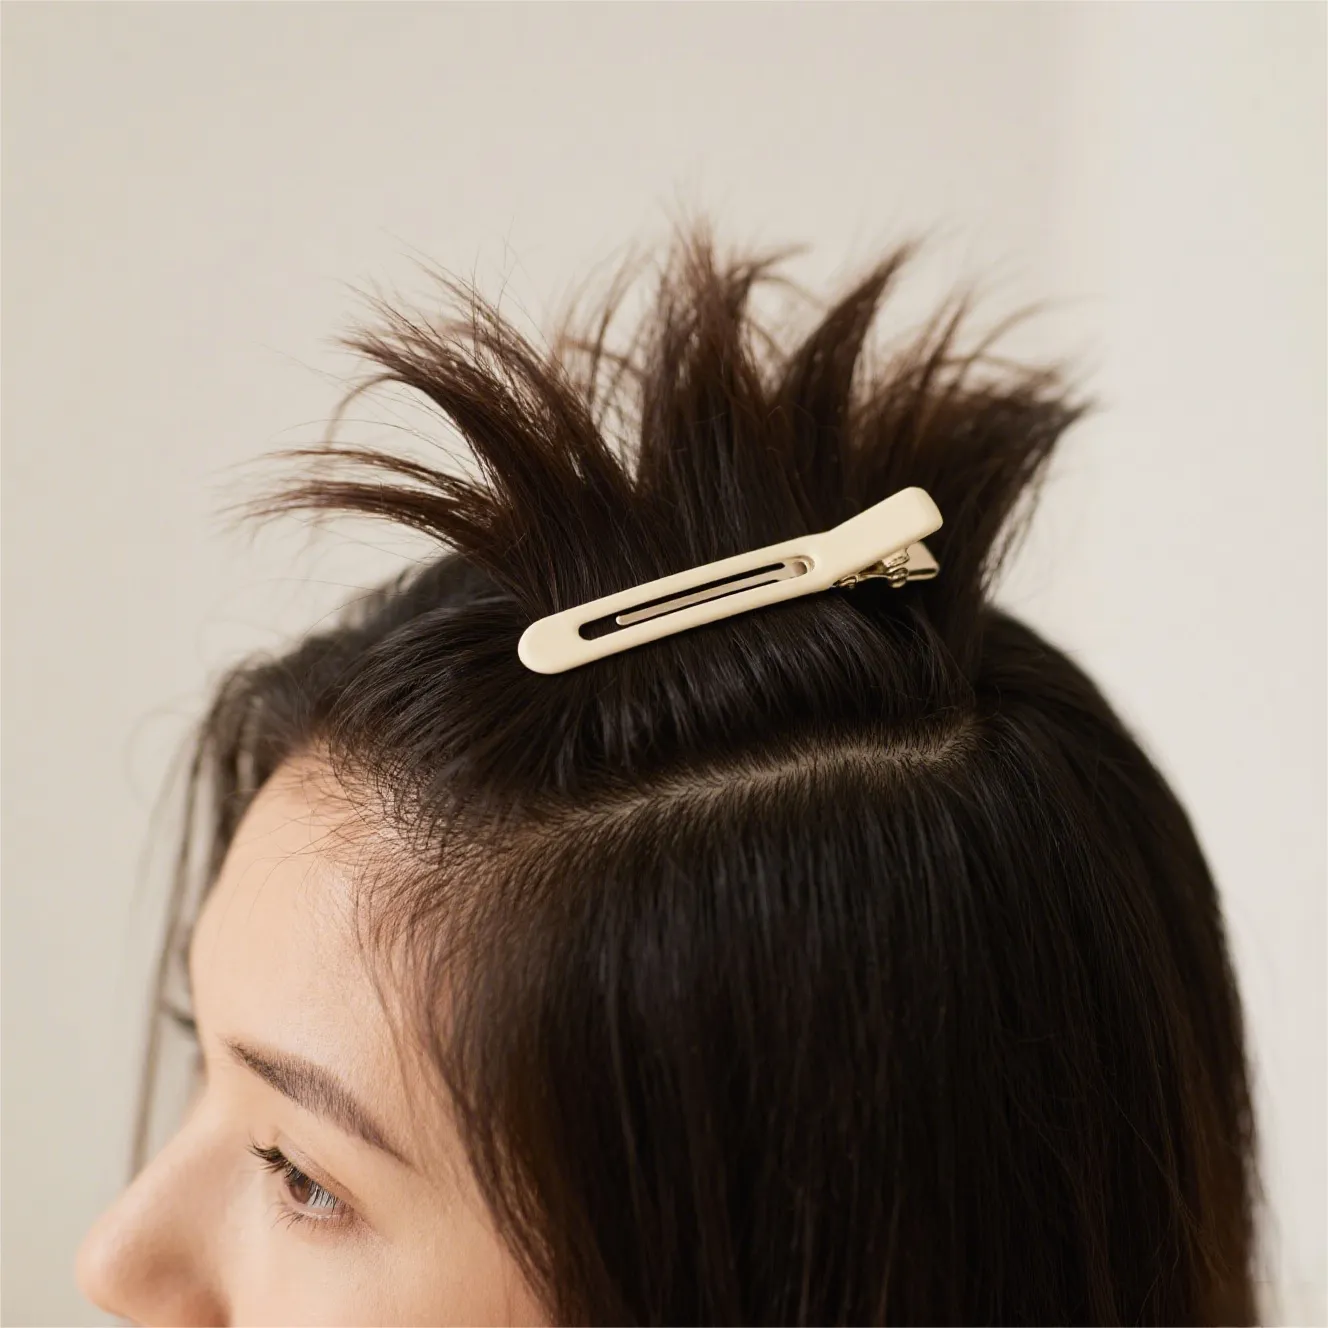
Clip for Volume (Optional)
For extra root volume at the crown, you can use a clip to lift the roots while they dry.
The Final Fluff
Once your hair is 100% dry, you can gently scrunch it again with your hands to break up any slight cast from the products and add softness and volume.
Common Mistakes to Avoid
Conclusion
Air dry is more than just a method—it’s a philosophy of working with your hair’s natural beauty rather than against it. It requires a little patience and the right technique, but the reward is hair that is healthier, stronger, and authentically you. Ditch the heat, embrace the process, and let your hair breathe.
Contact Us
-
Invisi Edge Clip In Extensions
Among the many types available, Invisi Edge Clip In Extensions stand out for their seamless blend, lightweight feel, and natural appearance. Whether […]
-
4pcs Seamless Clip In Hair Extensions
Transform Elegantly, Shine Naturally Craving voluminous, salon-worthy hair without the commitment? Meet the Full Shine 4pcs Seamless Clip-In Hair Extensions—your secret […]
-
Seamlessly Blend Hair Extensions with Short Hair
Short hair is chic, stylish, and incredibly low-maintenance. But sometimes, you crave a little more length, volume, or the option […]