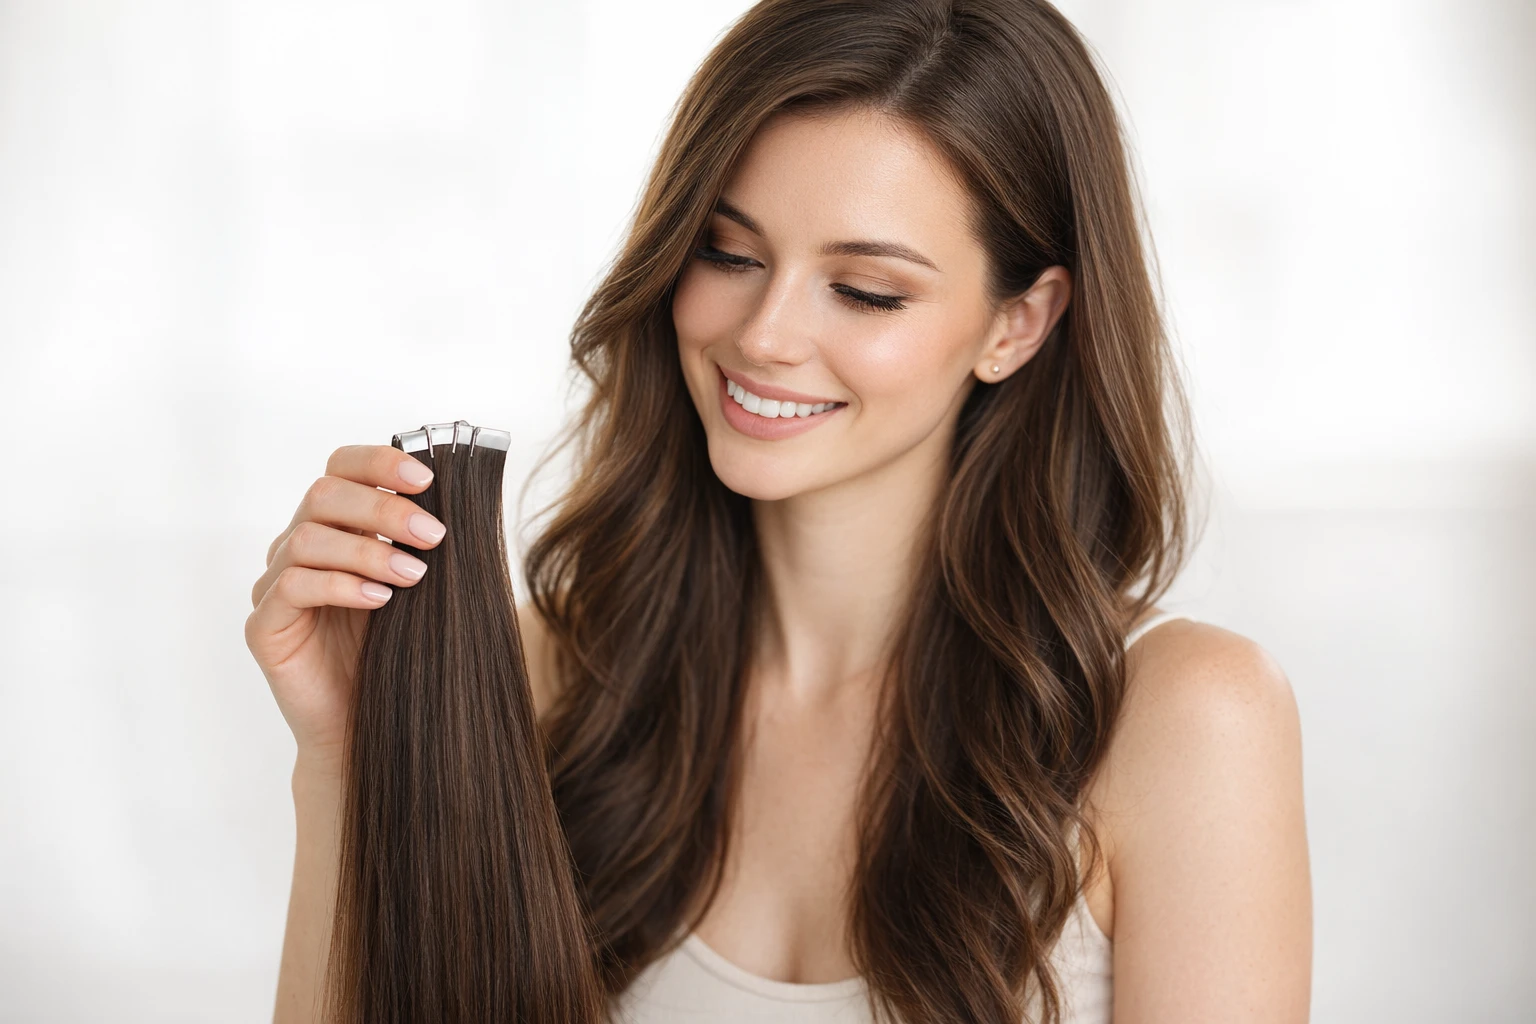
1. Why are my tape ins getting dry and frizzy
Before addressing how to fix dry and damaged tape ins, it’s essential to understand what causes them to become damaged. Several factors contribute to the drying and fraying of tape in extensions:
2. How to Fix Dry and Damaged Tape Ins
Now that we know what causes the dryness, here are the steps to restore your tape in hair extensions.
Step 1: Use a Deep Conditioning Treatment
How to Apply:
- Rinse thoroughly with cool water to smooth the hair surface to lock in moisture.
- Wash your tape-ins gently with lukewarm water.
- Apply a generous amount of deep conditioner, focusing on the mid-lengths and ends.
- Let it sit for 10-15 minutes. You can also use a shower cap to trap heat and enhance the conditioning effect.
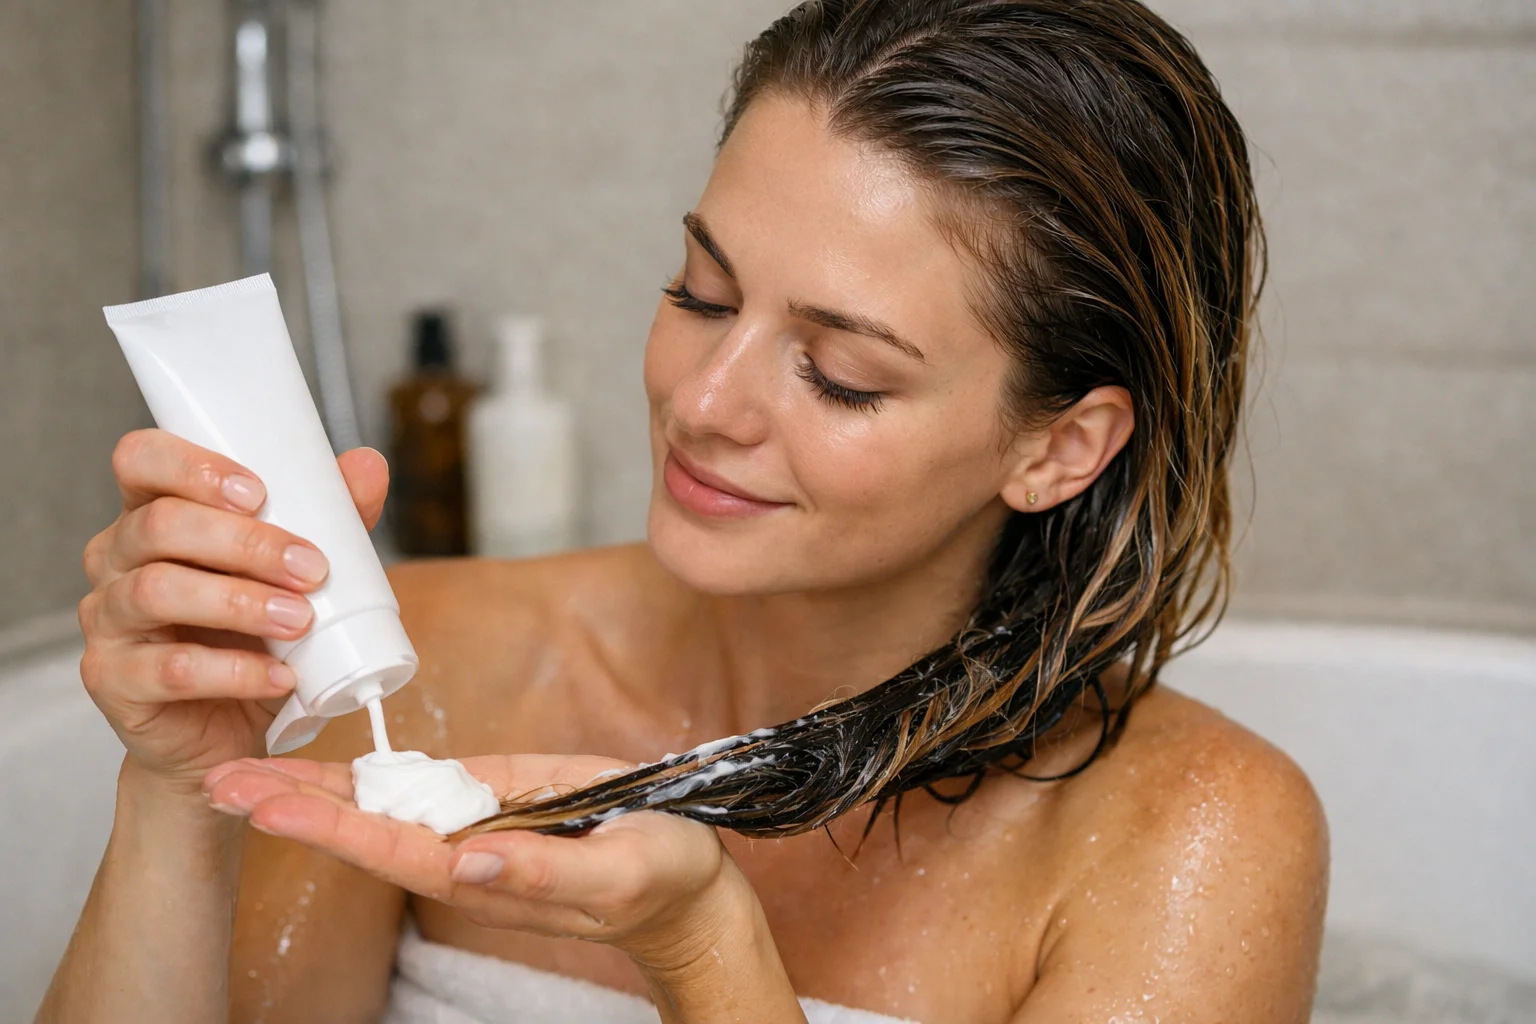
The first step in restoring dry tape ins is to hydrate them with a deep conditioning treatment. Choose a sulfate-free, moisturizing conditioner that is specifically designed for extensions or dry hair.
Step 2: Use a Nourishing Oil or Leave-In Conditioner
Recommended Products:
- Argan oil is great for adding shine and moisture without weighing down the hair.
- Leave-in conditioners designed for hair extensions will help prevent tangling and keep the hair soft.
How to Apply:
- Apply a dime-sized amount of oil or leave-in conditioner to damp hair.
- Focus on the ends and gently comb through with a wide-tooth comb to detangle.
- Avoid applying too much product near the tape area to prevent loosening the adhesive.
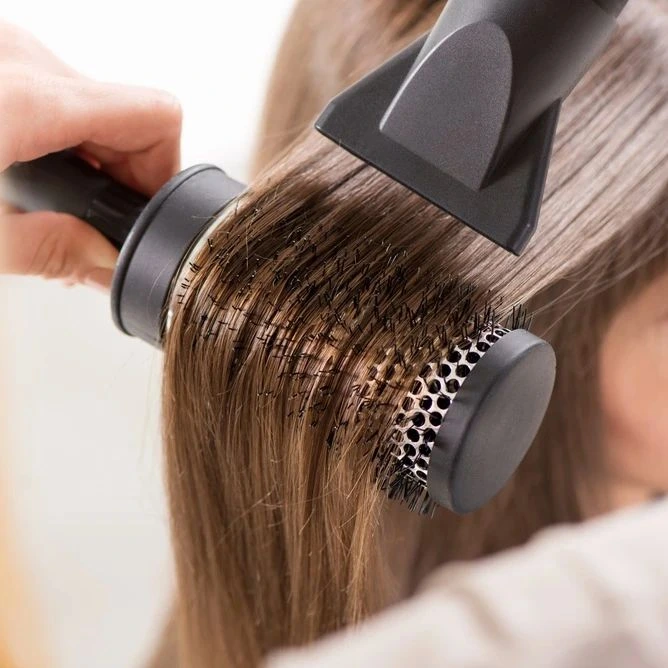
Step 3: Minimize Heat Styling
To prevent further damage, reduce the use of heat styling tools. If you must use them, always apply a heat protectant spray before styling.
Tips for Heat Styling:
- Use a blow dryer with a diffuser on the lowest heat setting.
- Limit the use of flat irons and curling irons. When you do use them, always set the tool to a lower temperature (300-350°F) to avoid overheating the extensions.
Step 4: Trim the Ends Regularly
Extensions will develop split ends without every 6 to 8 weeks. Trimming the ends every 6-8 weeks will help keep the extensions looking fresh and prevent further damage from spreading.
How to Apply:
Use professional hair shears designed for hair cutting.
Only trim the tips of the hair, avoiding the tape area.
Consult a professional stylist for precise trimming.
Step 5: Avoid Harsh Products and Chemicals
When cleaning and maintaining your tape ins, make sure to use products that are gentle and suitable for both natural hair and extensions.
What to Avoid:
- Avoid products with sulfates, parabens, and alcohol, as these ingredients can dry out the hair and cause it to become brittle.
- Steer clear of chlorine and saltwater exposure, which can be especially damaging to extensions.
Step 6: Protect Your Extensions at Night
To prevent tangling and further damage, protect your tape-ins while you sleep.

How to Protect Tape-Ins at Night:
- Braid your hair loosely or tie it in a soft silk or satin scarf to prevent friction and tangling.
- Alternatively, use a silk pillowcase to minimize friction on your hair extensions.
3. When to Consider Removing and Replacing Tape-Ins
Even with regular maintenance, tape in extensions will eventually need to be replaced.
If your tape-ins have become excessively damaged, or if you notice that the adhesive is no longer holding properly, it may be time for a new set.
- Signs It’s Time for a Replacement:
- The tape is no longer sticking securely.
- The hair feels excessively dry or brittle, even after conditioning.
- The extensions have lost their natural shine and look unnatural.
4. Preventing Future Damage to Tape In Extensions
Now that you’ve restored your tape-ins, it’s essential to prevent future dryness and damage. Follow these tips to keep your extensions in great condition:
|
Tip |
Description |
|---|---|
|
Limit heat styling |
Style your natural hair around the extensions to avoid frequent use of hot tools on the extensions. |
|
Avoid over-washing |
Wash your tape ins no more than 2-3 times a week to prevent removing the protective oils that keep hair soft. |
|
Use protective products |
Incorporate hair masks, oils, and leave-in conditioners into your routine to maintain moisture. |
|
Protect from the elements |
Use a hat or protective spray when going out in the sun or swimming in chlorinated water. |

Conclusion
Dry and damaged tape in extensions can be a frustrating issue, but with the right care and attention, you can restore them to their original beauty. Follow these simple steps—deep conditioning, minimizing heat styling, and using nourishing products—and your tape ins will stay soft, shiny, and healthy for longer.
Got questions on how to Fix Dry and Damaged Tape Ins?
Related articles
Recommended Products
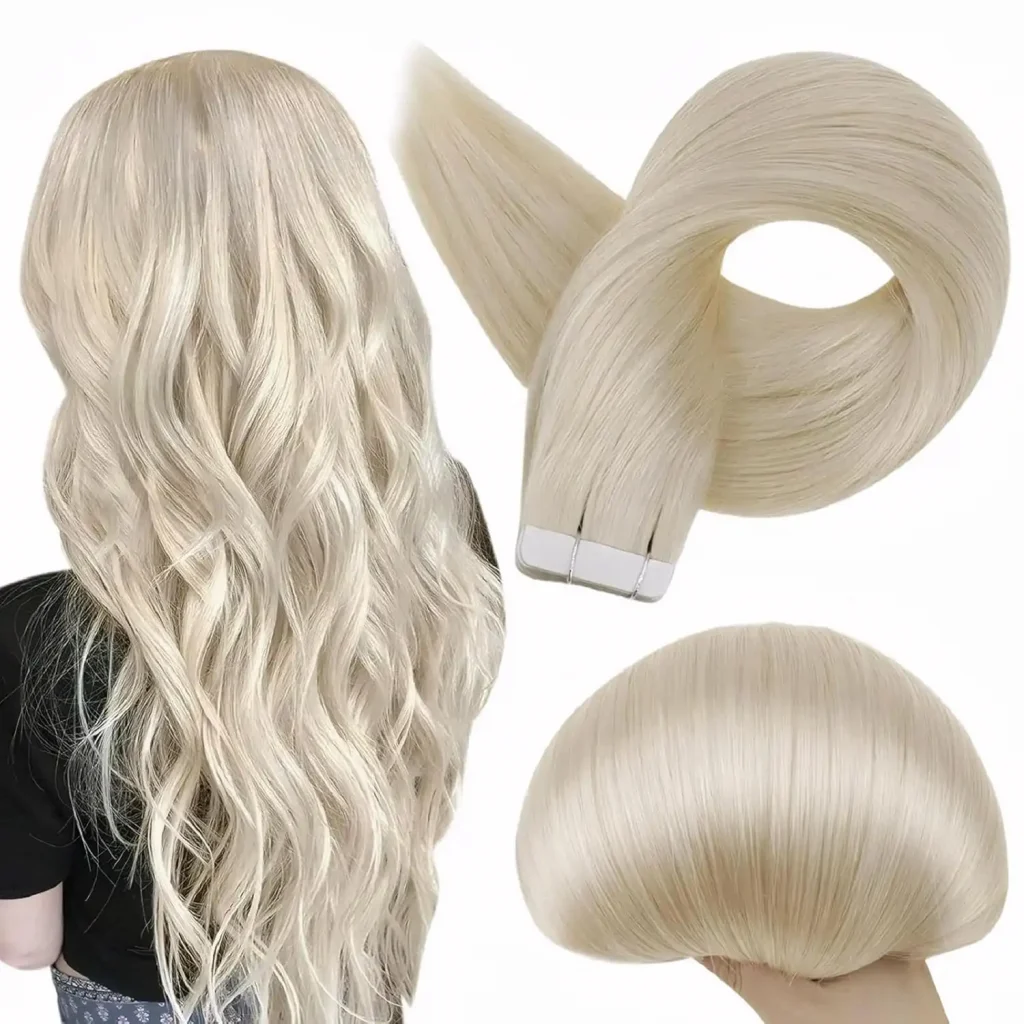
Tape in Hair Extensions
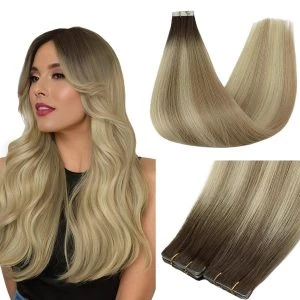
Injection Virgin Tape Ins
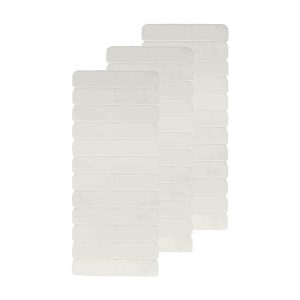
Replacement Tapes
Technical Standards & Industry References:
- Milady Standard Cosmetology: Standardized protocols for chemical hair repair and cuticle management.
- Professional Beauty Association (PBA): Best practices for the longevity of human hair enhancements.
- Journal of Cosmetic Science: Research on the effect of acidic pH levels on the mechanical properties of human hair.
- Modern Salon Media: “The Science of Porosity: How to Restore Chemically Treated Extensions.”