Details of how to install U tip hair extensions, I tip hair and K tip hair extensions. Follow these steps to ensure a flawless prebonded hair extensions application:
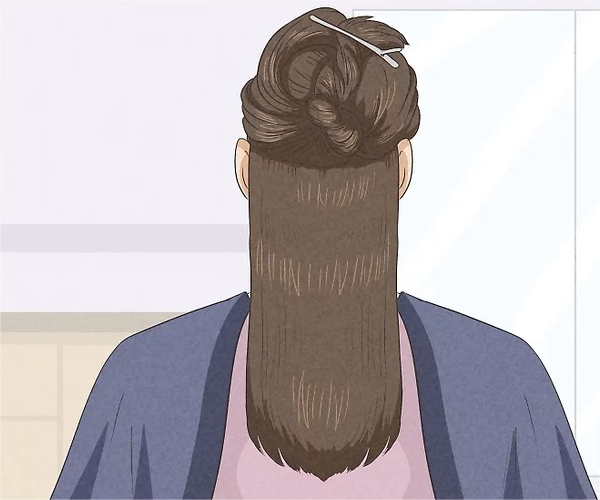
1. Clip up all of your hair except for a thin, horizontal row at your nape.
Pile all of your hair on top of your head and use a rattail comb or your fingers to section out the bottom 1 in (2.5 cm) of your hair. Make sure this thin, horizontal row of hair stretches from one end of your nape to the other.
- Go ahead and plug in the melting connector tool so it can heat up for a few minutes.
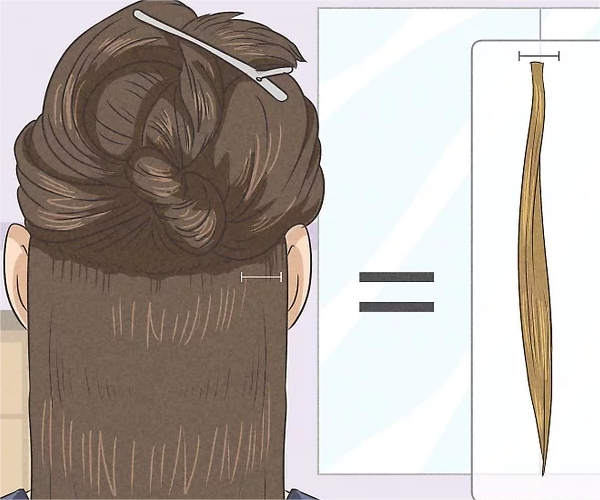
2. Grab a small clump of hair about the same width as the extension.
Start on one side of your head so you can work systematically to the other side. Pick up a small chunk of hair about 1 in (2.5 cm) from the edge of your hair. The chunk’s thickness should be about equal to the extension.
- Be sure to leave a thin layer of hair beneath the bottom row so the extensions won’t be visible when your hair is in a ponytail.
- Each chunk of hair needs to be the same thickness as the extension so your hair can support the extension’s weight. If the extension is too heavy, it might pull out or damage your natural hair.
- Start 1 in (2.5 cm) from the edge so the extensions won’t be visible when you have your hair up.
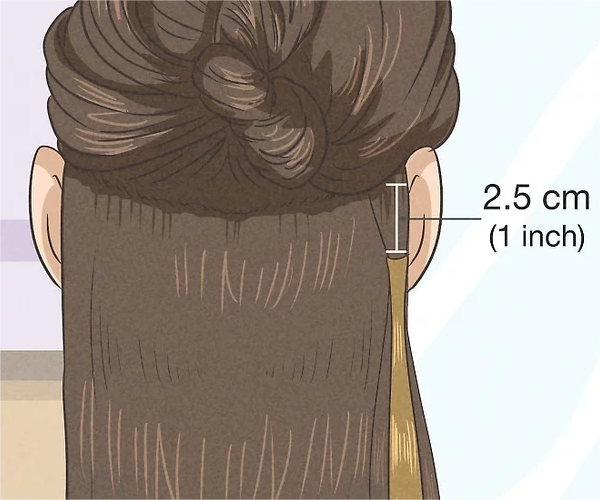
3. Place the extension next to your real hair 1 in (2.5 cm) from your scalp.
Hold the extension so the tip with the pre-bonded glue is facing your scalp. Put the prebonded hair extension right next to the chunk of hair, leaving about 1 in (2.5 cm) of room between the extension and your scalp.
- If you bond extensions closer to your scalp than 1 in (2.5 cm), they’ll be tight and uncomfortable.
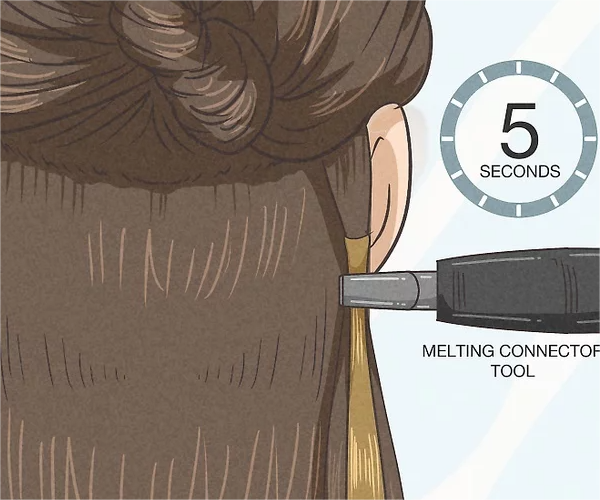
4. Clamp the prebonded hair extension and your hair with the heat tool for 5 seconds.
Place the extension and the chunk of your natural hair in between the tool’s heated plates. Squeeze the tool to clamp it down. Make sure the tool is directly on top of the keratin bond so the glue melts evenly. After a few seconds, unclamp the tool and pull it away.
- The melting connector tool melts the glue and fuses the extension to your natural hair.
- Don’t clamp for longer than 5 seconds. Too much heat can damage your natural hair and the extension.
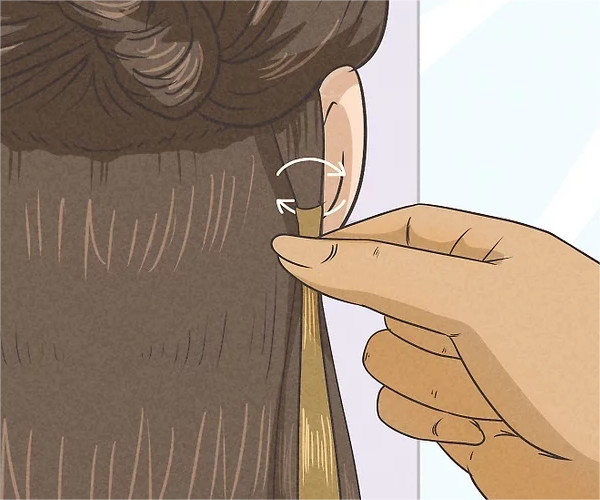
5. Pinch and roll the hair at the bonded spot for a few seconds.
Pinch the melted glue with your thumb and forefinger and squeeze the hair and extension together. Then, roll them together with your fingers for a few seconds to finish fusing the extension to your hair.
- Since the glue melts easily without a ton of heat, you should be able to pinch the hair right after you move the tool away. If the glue is too hot to touch, give it a few seconds to cool and try applying less heat for the next extension.
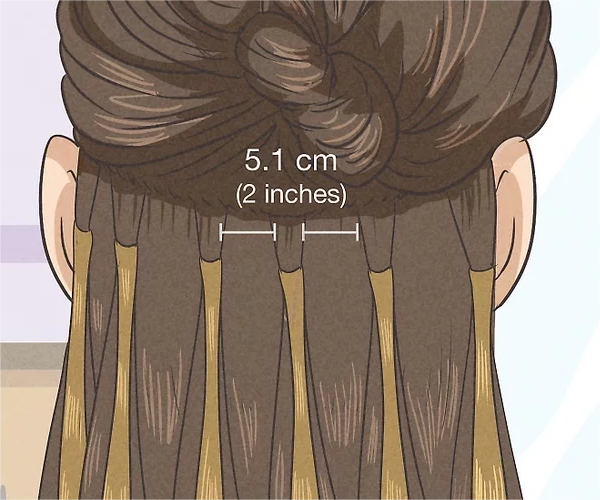
6. Keep applying prebonded hair extensions 2 in (5.1 cm) apart until you get to the end of the row.
The spacing between extensions depends on your goal—the closer you put the extensions to one another, the thicker your hair will look. If you aren’t sure, 2 in (5.1 cm) spacing is pretty standard. Continue grabbing chunks of hair and fusing extensions to them until you reach the end of the horizontal row of hair.
7. Continue pulling down horizontal rows of hair and applying extensions.
Once you finish adding the first row of extensions, move up your scalp about 1 in (2.5 cm) and use the end of a rattail comb to pull out the next thin, horizontal row of hair. Work from one end of the row to the other, continuing to space the prebonded hair extensions 2 in (5.1 cm) apart. Once you finish the second row, move up 2 in (5.1 cm) and pull down another thin, horizontal row of hair. Continue applying extensions using the same process. This is probably starting to get a bit tedious, but your new look will be totally worth it!
- Each time you pull down a horizontal row, be sure to leave the rest of your hair clipped up and out of the way.
- Working with 1 in (2.5 cm) horizontal rows is standard for a full head application, but you can put more space between rows if you want. The more space you put between horizontal rows, the less voluminous your results will be.
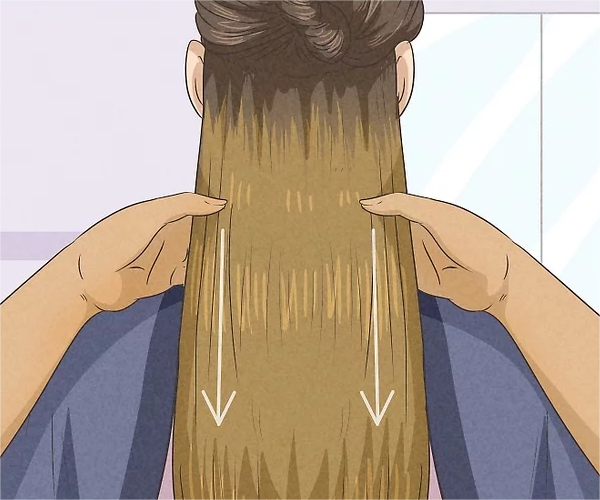
8. Apply the final row at temple level and unclip the top of your hair.
You can stop creating rows before you reach temple level, but don’t create rows any higher than that. The top layer of hair that’s still clipped up will cover the last row of extensions. Once you apply the final row, remove the clip and shake out your hair. Run your fingers through your hair gently while the hair is still warm to blend in the extensions so they look natural.
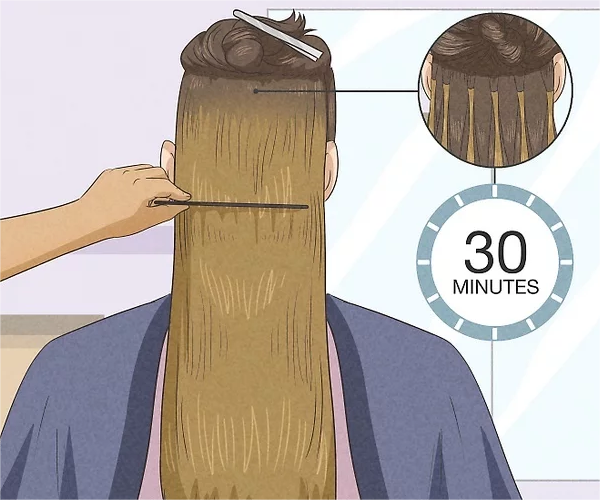
- Give the keratin glue about 30 minutes to cool before brushing your hair.
- Wait 48 hours before washing your hair so the bonds can seal completely.
Still have questions with Prebonded Hair Extensions? Please feel free to contact us.
-
Wide Long Weft Tape Ins Guide
“ When it comes to tape-in extensions, every detail matters — from how naturally they blend to how comfortably they […]
-
Why Won’t Clip in Hair Extensions Stay In? Secure Solutions
What Are Clip in Hair Extensions? Clip-in extensions are removable hairpieces with small, snap-on clips sewn onto wefts. Designed for […]
-
Why the Ends of Tape Ins Are Thinner Than the Roots
If you’ve unboxed your new tape-in hair extensions and noticed: “The roots feel thick and full, but the ends of […]