Unlike wide wefts, pre-bonded extensions offer the unique ability to create a custom, multi-dimensional blend through strategic strand placement. However, achieving a professional-grade result requires a sophisticated understanding of tonal harmony and fiber integration. At Full Shine, we utilize a ‘Strand-Sync’ approach to ensure our Italian Keratin tips transition flawlessly from your natural roots to the ends. This guide provides a technical breakdown of how to analyze your hair’s undertones, select the correct bond density, and master the art of texture matching for a seamless, high-end finish that remains completely undetectable.
Color Matching for Prebonded Hair
Achieving Perfect Color Harmony for Tips
Swatch with Precision & Context:
Place the extension tip swatch directly against this section, ensuring your natural hair surrounds it.
Hold it vertically as it would hang naturally.
Lighting Matters:
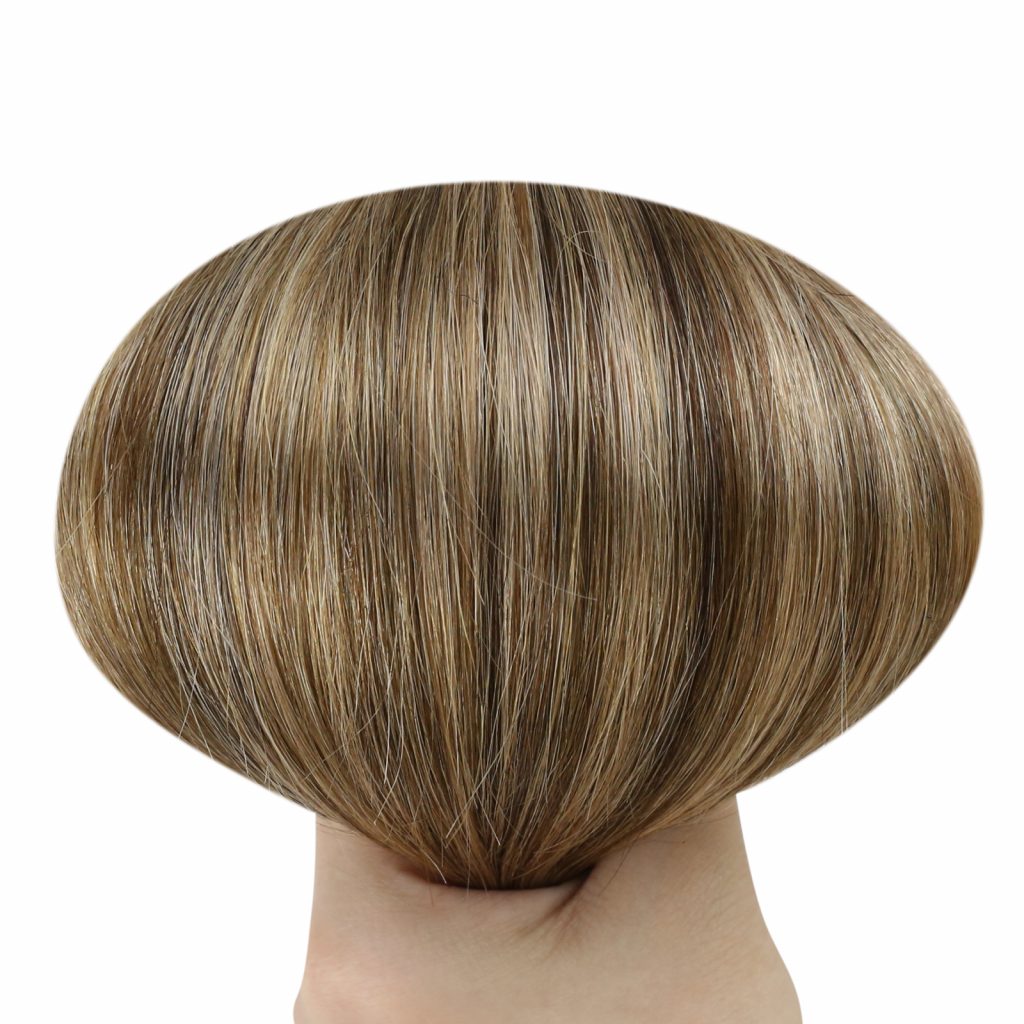
Undertones are Non-Negotiable:
A warm brown tip in cool brown hair will look brassy and obvious. An ashy tip in golden hair will look muddy.
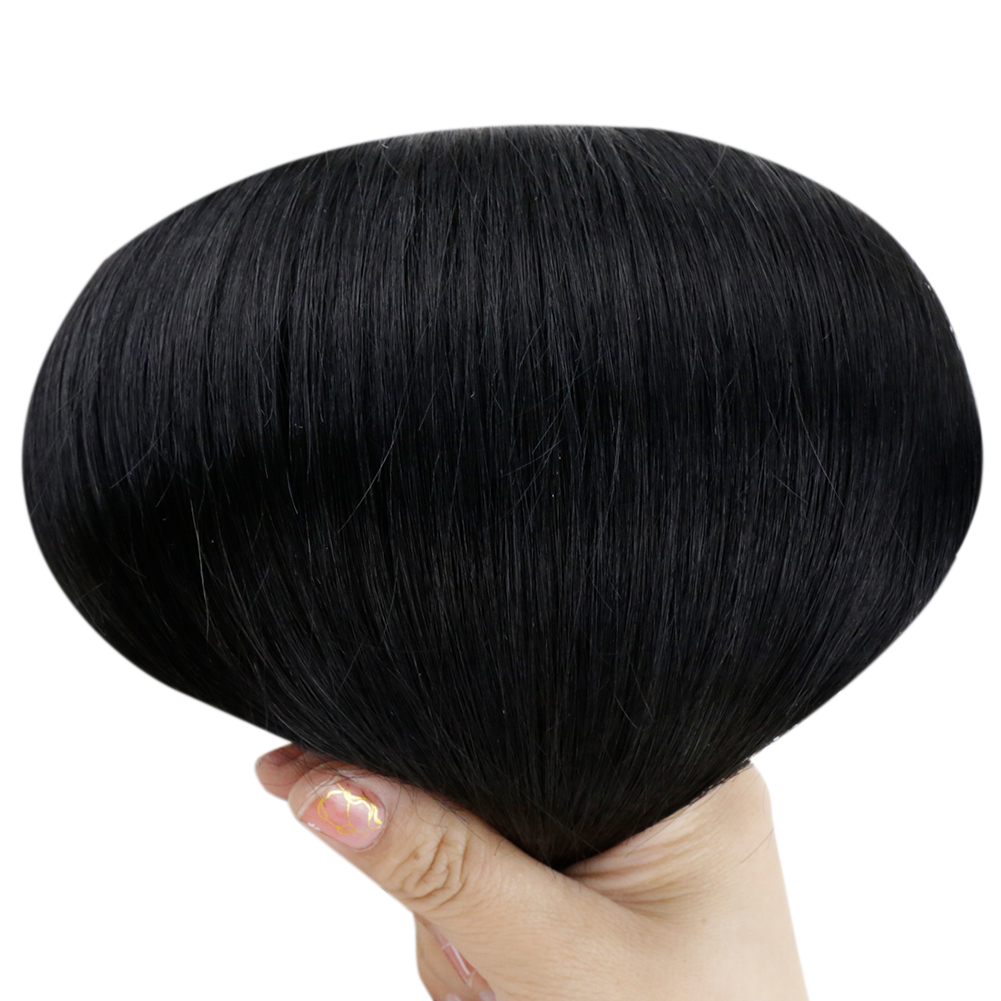
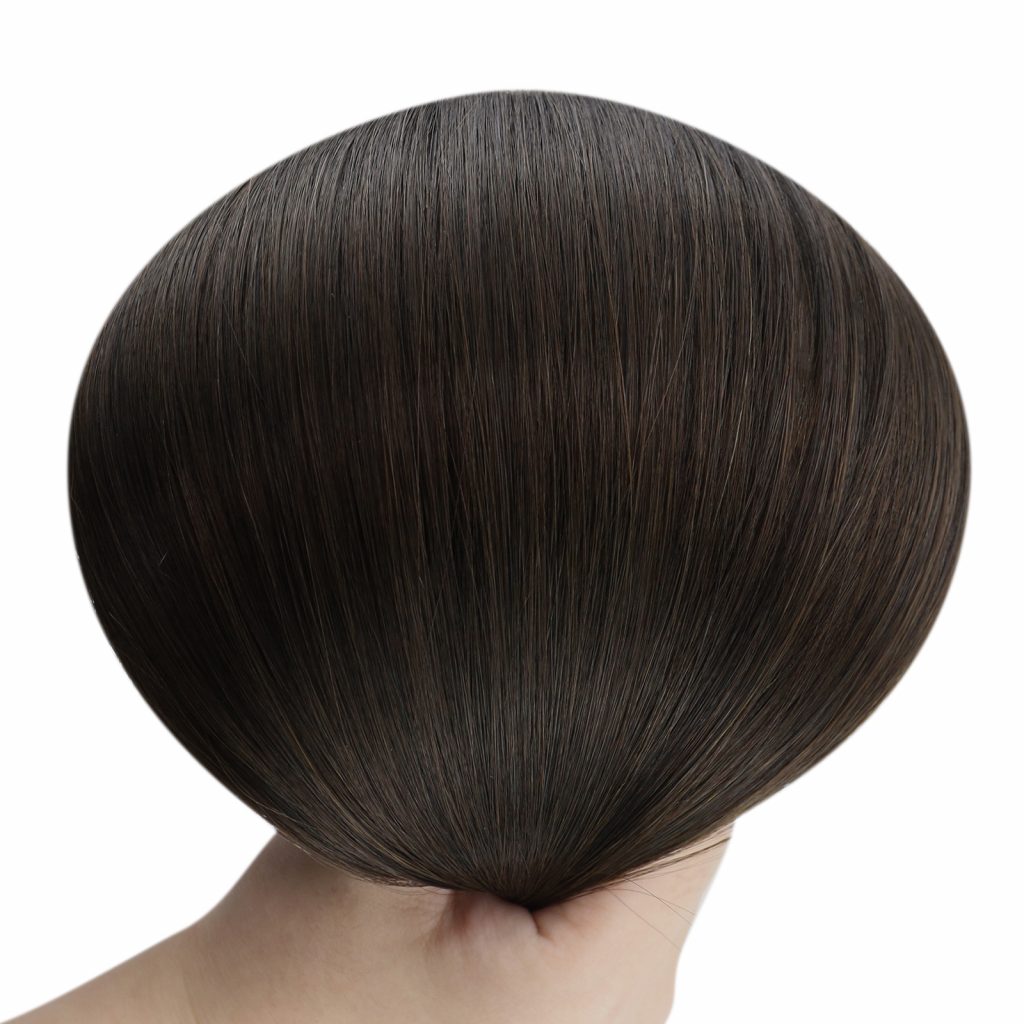
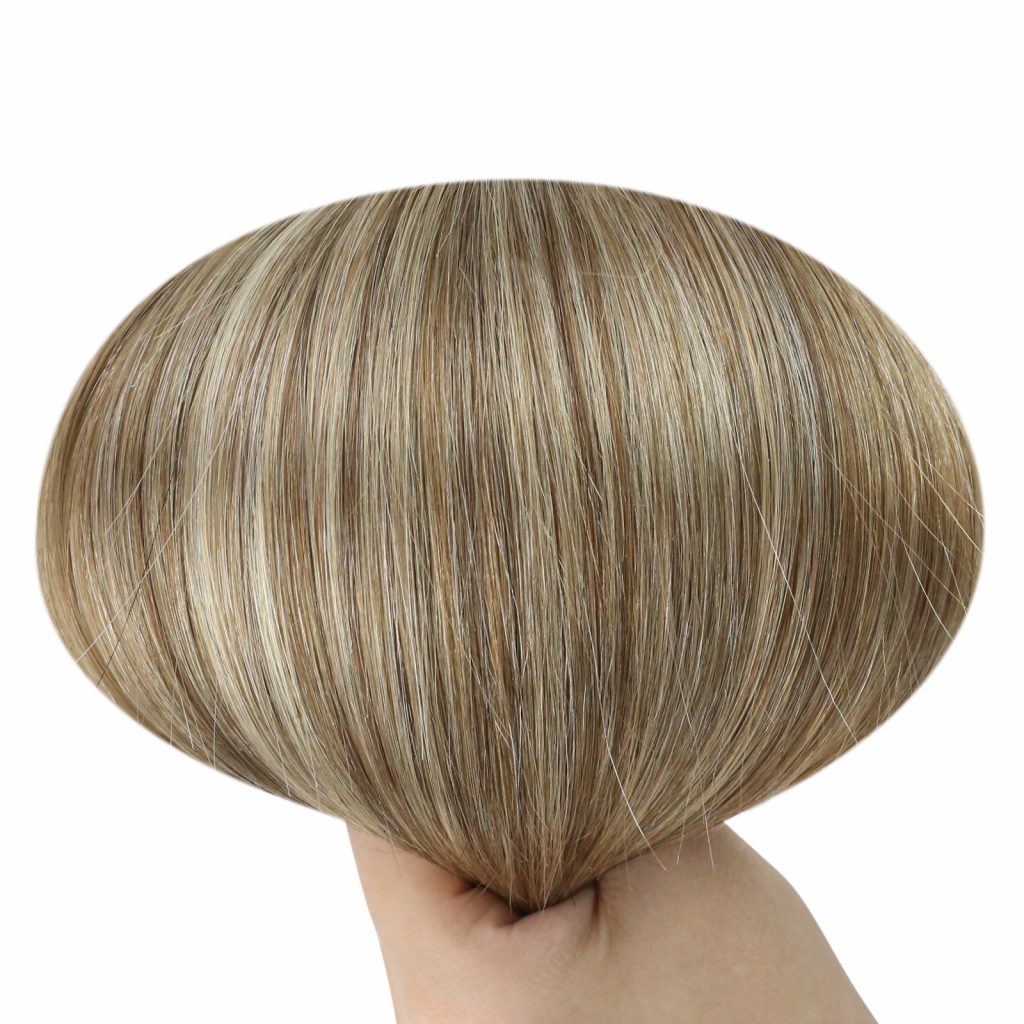
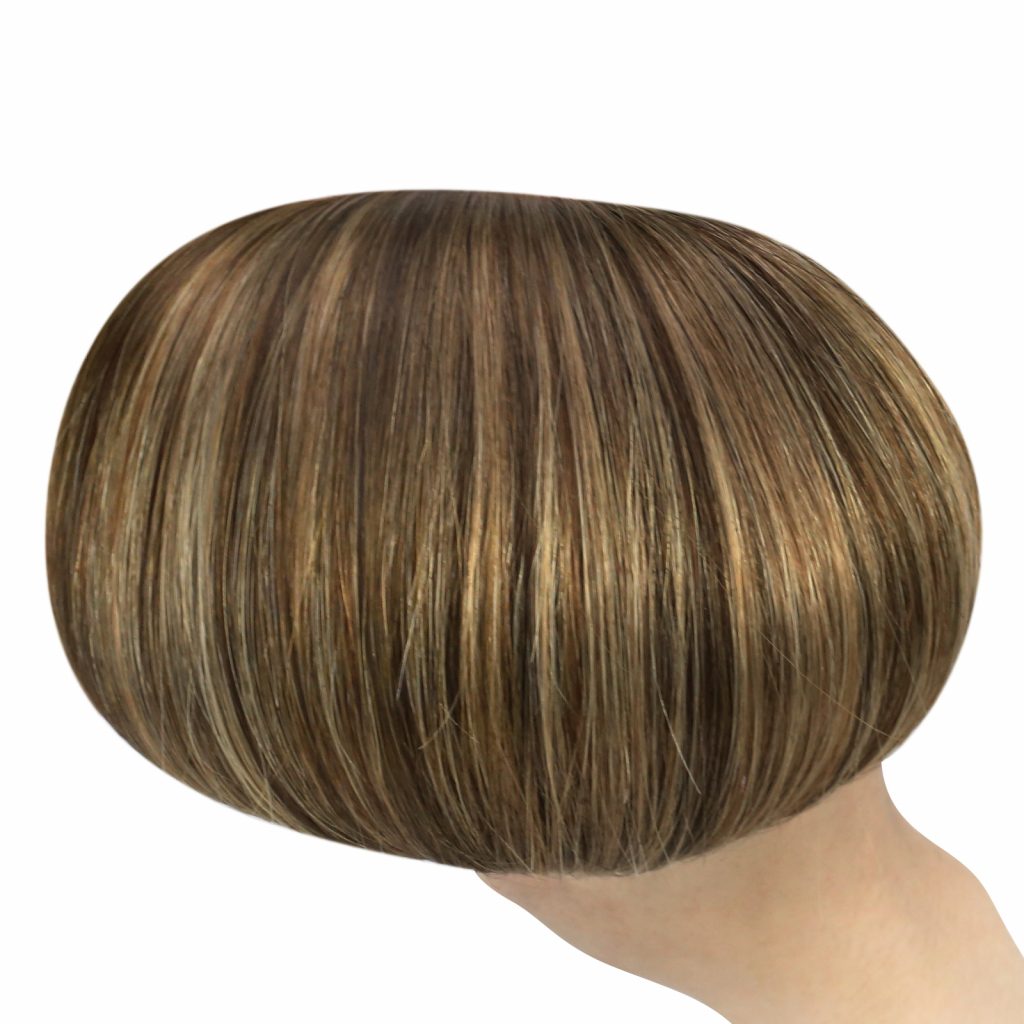
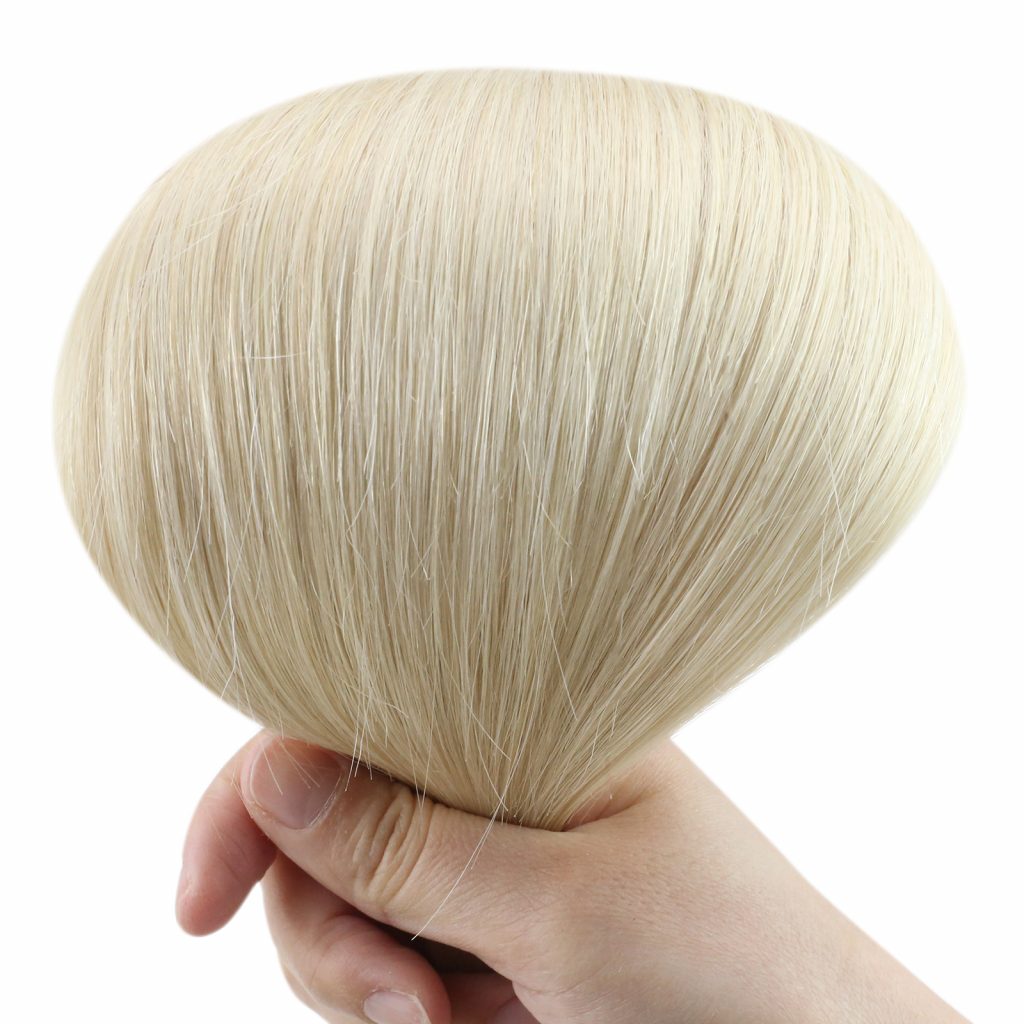
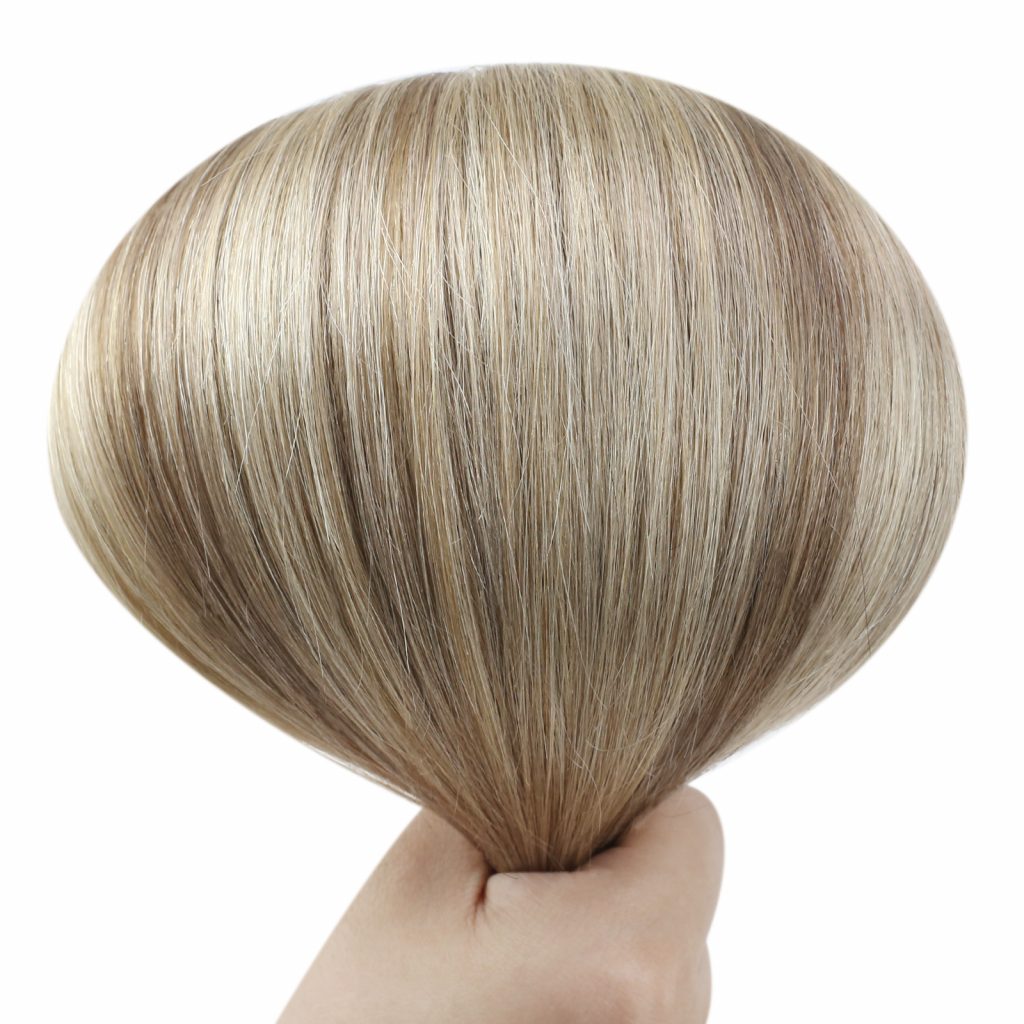
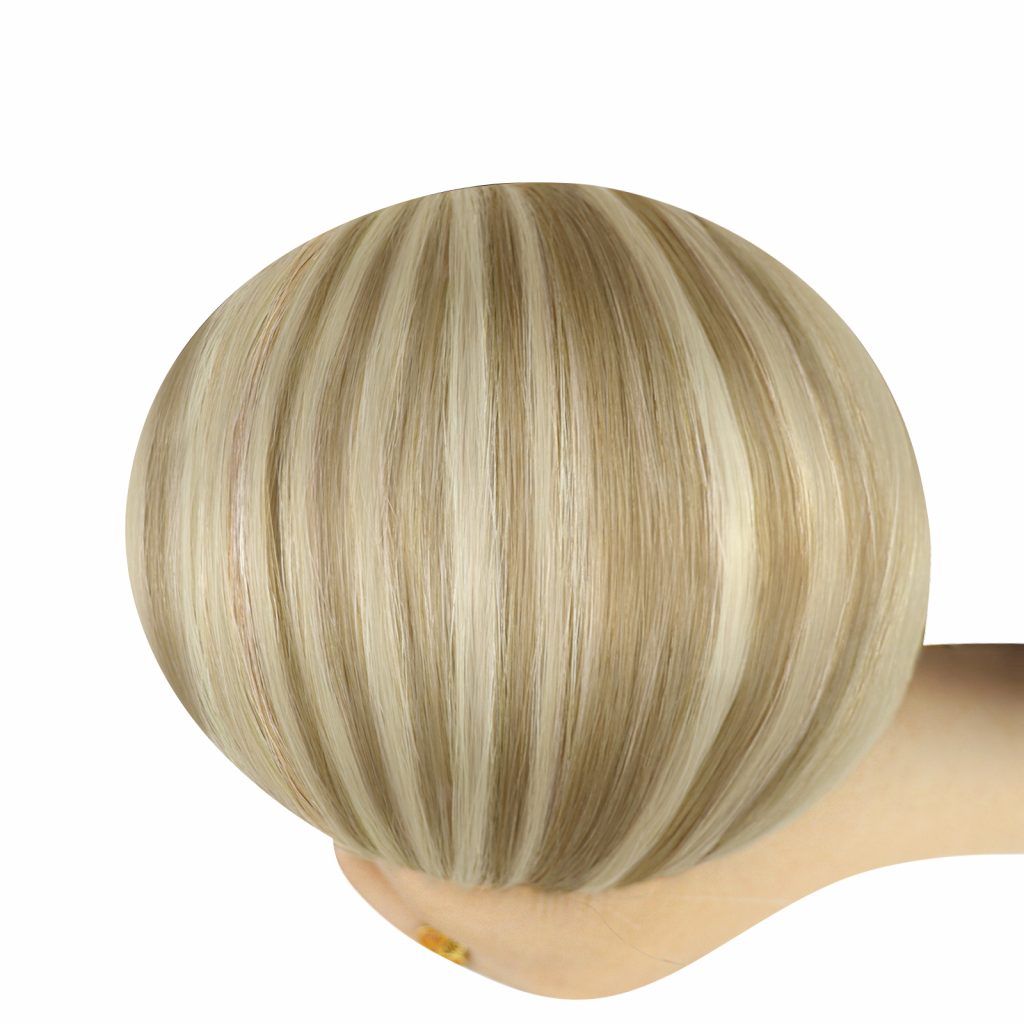
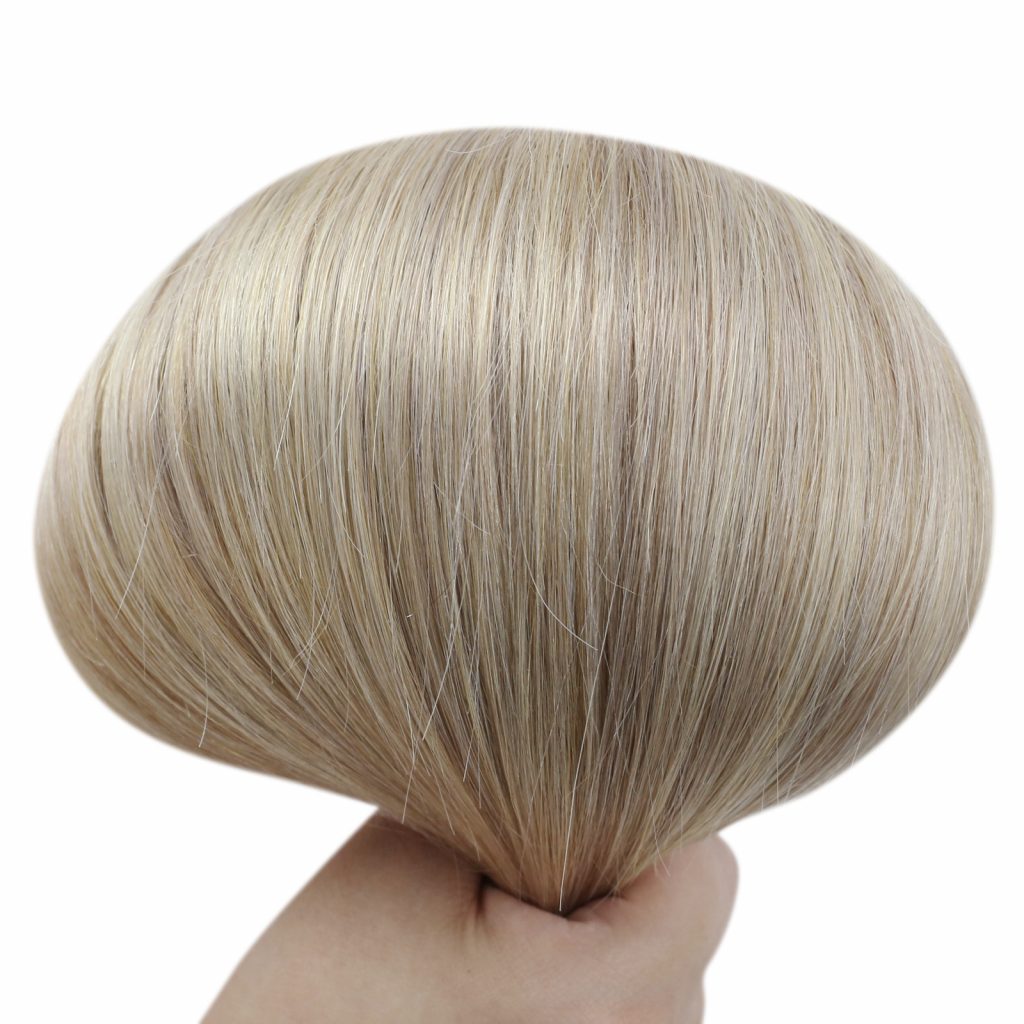
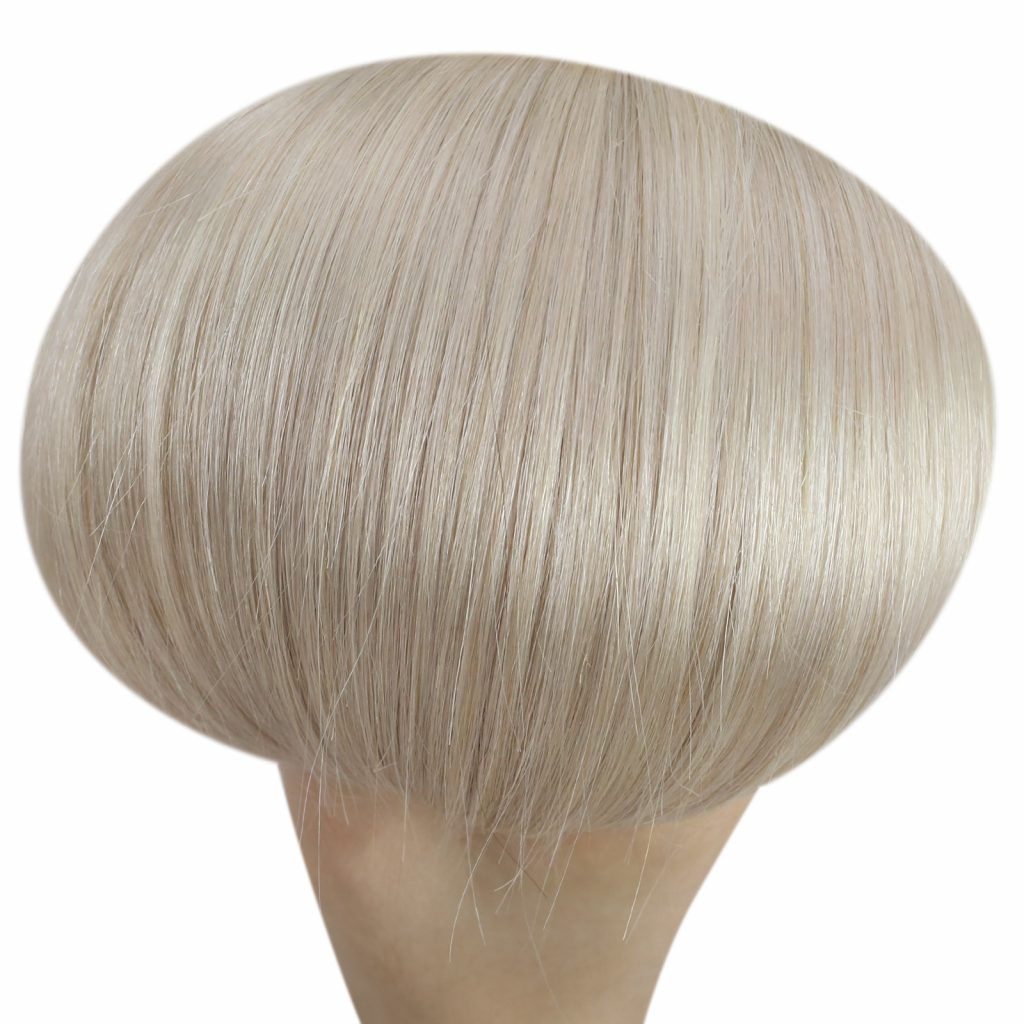
Hot Sale Color
Size Matching for Prebonded Hair
Still have questions with how to match prebonded hair? Please feel free to let us know
-
Wide Long Weft Tape Ins Guide
“ When it comes to tape-in extensions, every detail matters — from how naturally they blend to how comfortably they […]
-
Why Won’t Clip in Hair Extensions Stay In? Secure Solutions
What Are Clip in Hair Extensions? Clip-in extensions are removable hairpieces with small, snap-on clips sewn onto wefts. Designed for […]
-
Why the Ends of Tape Ins Are Thinner Than the Roots
If you’ve unboxed your new tape-in hair extensions and noticed: “The roots feel thick and full, but the ends of […]

Written by Skyee, Senior Stylist at Full Shine Hair with 10+ years of extension experience. With over 12 years of hands-on experience in the professional hair industry, Skyee specializes in the application and maintenance of seamless hair systems. As a lead educator at Full Shine, she bridges the gap between salon-grade expertise and at-home care. Her “Support & Stroke” method has helped thousands of clients extend the lifespan of their ultra-thin PU wefts.