Halo Hair Extensions add length and volume with an invisible wire and stickable clips, offering a damage-free alternative to other types of hair extensions. Though easy to use, careful removal ensures both the halo hair extensions and your natural hair stay healthy. Follow these steps to know how to remove halo hair safely.
What You’ll Need before Removing Halo Hair
Before starting to remove the halo hair extensions on your head, please kindly gather these tools:
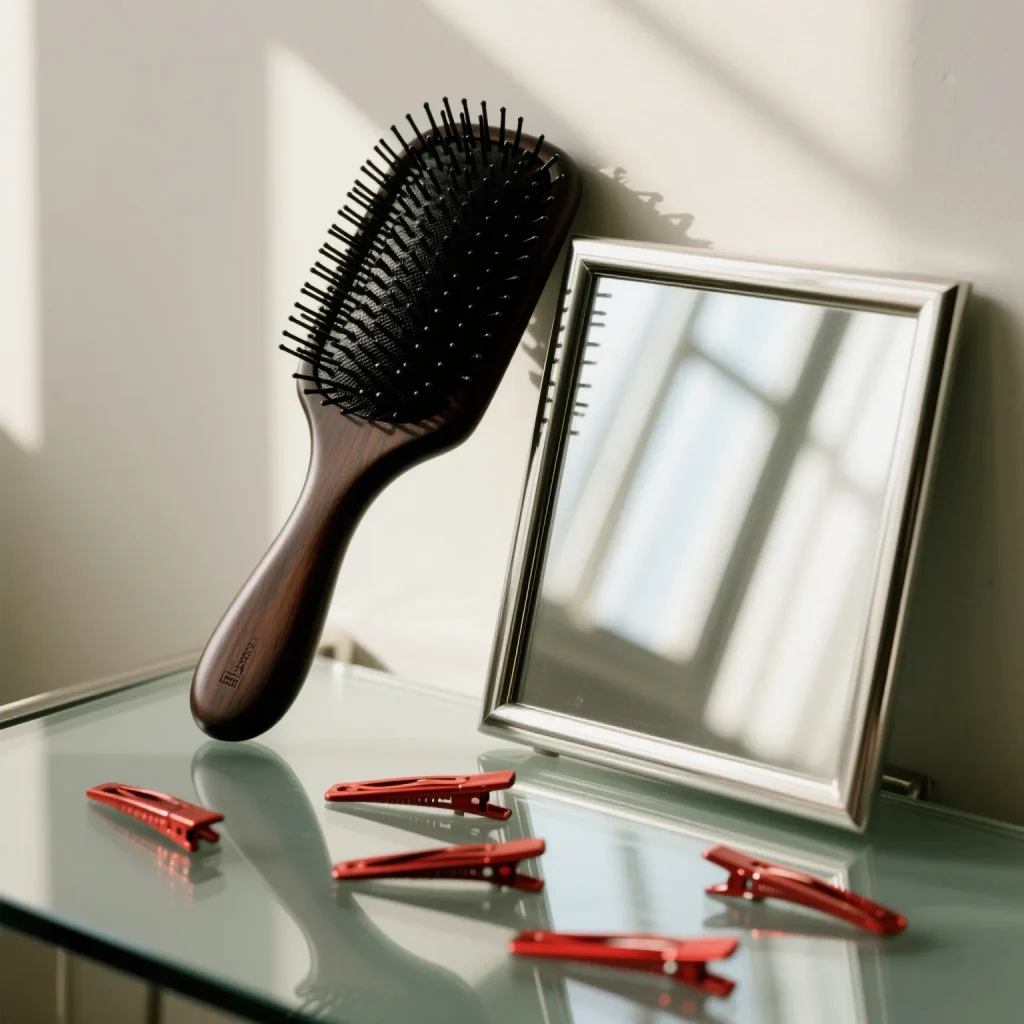
- A wide-tooth comb or detangling brush
- A mirror (to check positioning)
- Hair clips or hair rings (to section hair if needed)
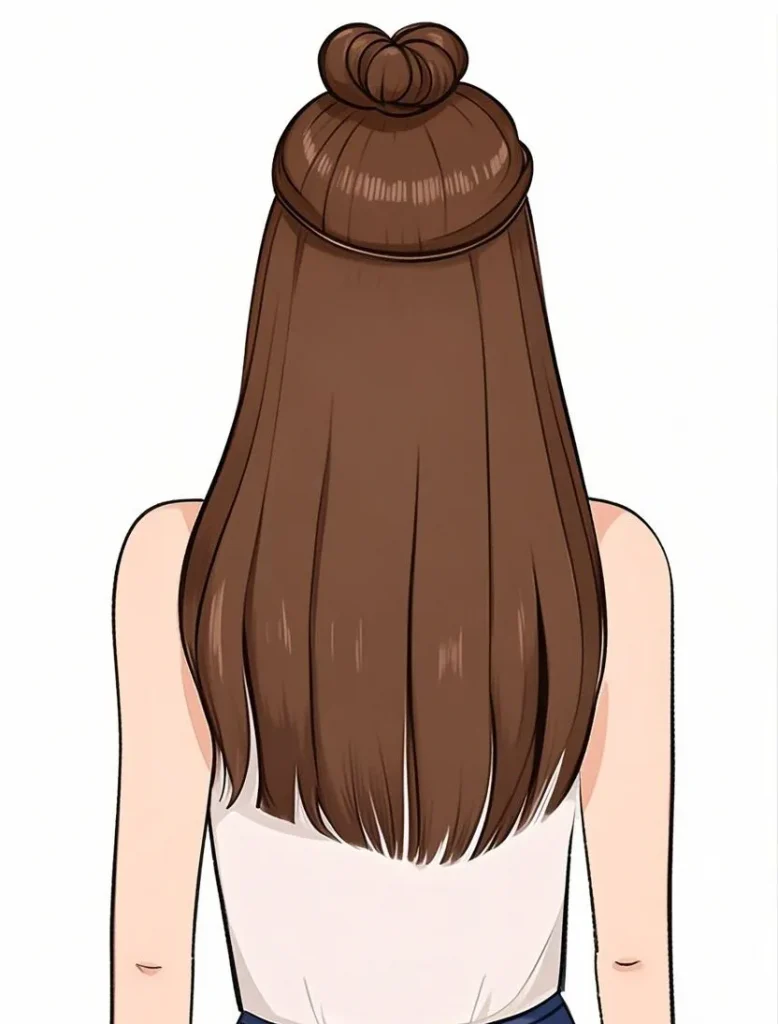
Step 1: Separate Your Hair from Halo Hair
Use sectioning clips or rings to lift and securely pin away your upper or layered hair. This isolates the crown area – the foundation where the halo hair sits – preventing your natural hair from mixing with the halo hair extensions underneath and avoiding visible blending errors.
Step 2: Find The Location of Clips on Halo Hair

Starting at the crown area, gently lift the halo hair extensions upwards. Carefully locate the 2-4 nearly invisible stickable clips secured to the halo hair weft extensions. Identifying these stickable clips is essential for precise and safe removal.
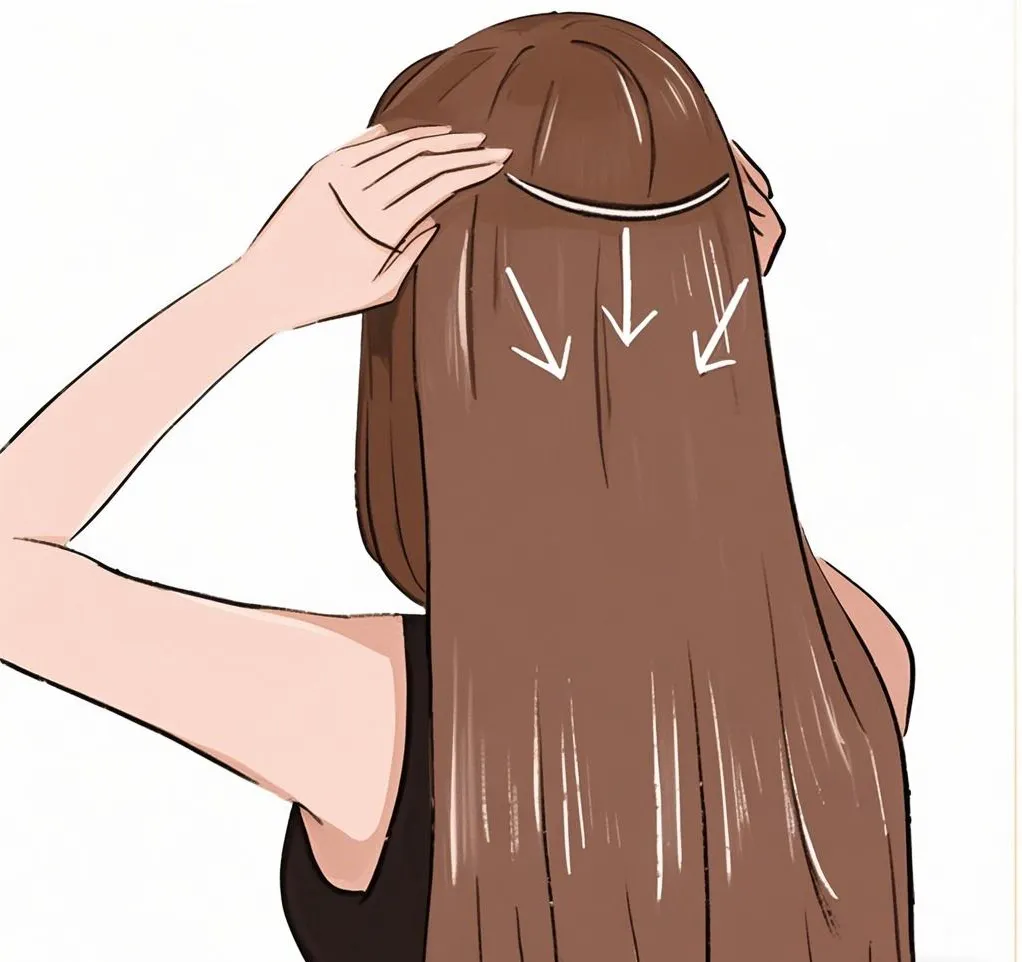
Step 3: Remove The Halo Hair on Your Head
Press the metal stickable clips firmly to release them. Before lifting the halo hair extensions away, gently slide it backward or downward along the scalp, following your natural hair growth direction. This prevents tugging and protects your natural hair from damage.
Step 4: Avoid The Ends of Halo Hair Tangling

Start at the tips with the detangling brush and hair conditioner spray, gently smoothing downward to remove knots and restore halo hair extensions softness.
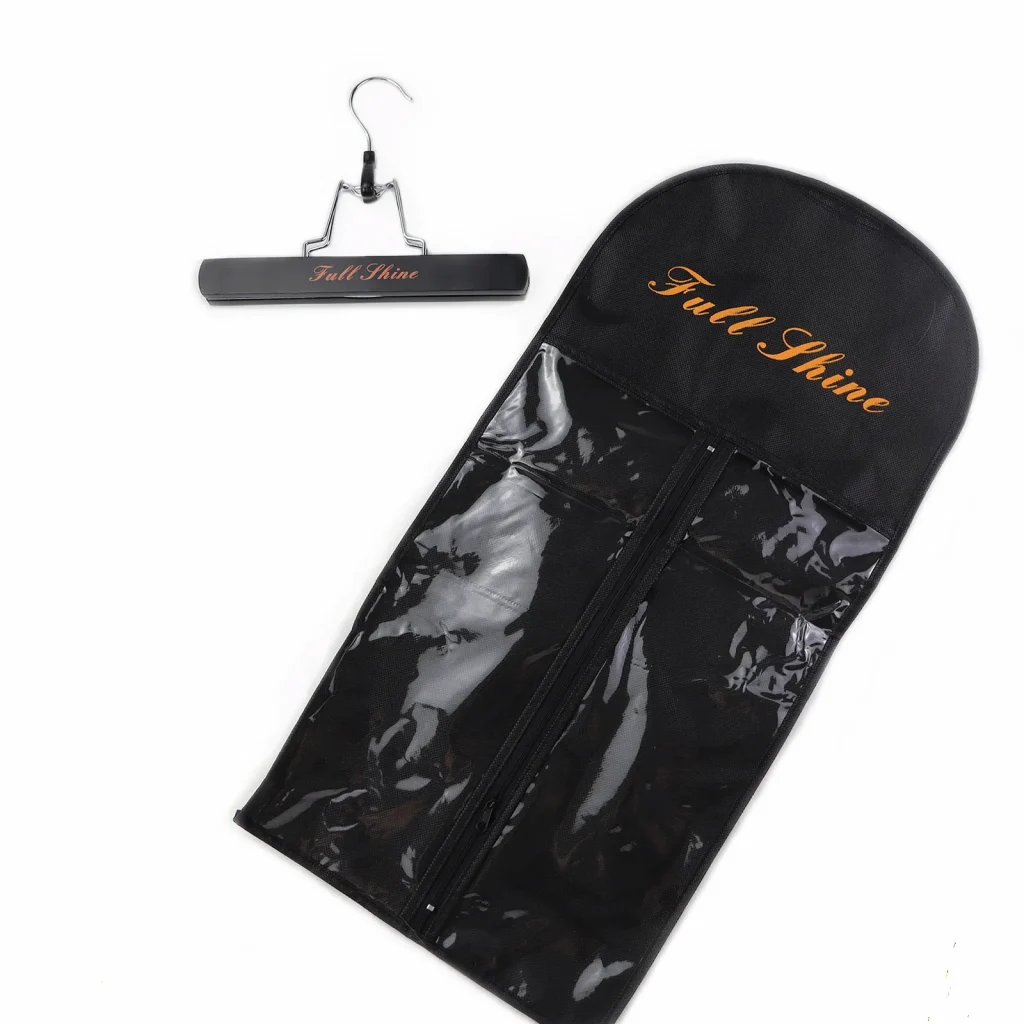
Step 5: Store the Halo Hair Extensions Correctly
Keep the halo hair extensions in a hair extensions storage bag or hang them to maintain their shape. Avoid folding or crumpling the halo weft hair extensions.
Aftercare for Your Natural Hair
- Wash and condition: After removing halo hair extensions, cleanse your scalp and hair to remove buildup. Use a hydrating conditioner to restore moisture.
- Treat your scalp: Gently massage your scalp for 3-5 minutes using your fingertips (not nails) with a lightweight oil like argan or jojoba
- Avoid heat styling: Minimize heat styling (straighteners, irons, dryers) to give your hair essential recovery time. This prevents dryness, breakage, and protects your hair’s integrity.
Contact Us
If you still have any issues and want to know more about how to remove halo hair, please don’t hesitate to let us know.