
3 Steps Easy Install Clip In
Installing clip-in hair extensions requires a cranial mapping strategy to ensure a tension-free, hidden attachment. The process relies on creating a backcombed mechanical anchor cushion on a straight horizontal parting, securing the center clips first to balance gravitational pull, and maintaining a 2-inch (5cm) perimeter safety zone from the hairline. This precise weight distribution protects the hair follicle from frictional leverage and localized traction stress.
1. Installation Preparation for Hair Extensions
Key Pro Tips:
First-time users: Practice clip placement before install. Color match: Test under both natural light
For fine hair: Backcomb roots slightly at clip points for extra hold
Contraindications: ✖ Avoid installation on wet/damp hair ✖ Do not use near chemical-treated or compromised hair
Install Tools
Wide-tooth comb
mirror
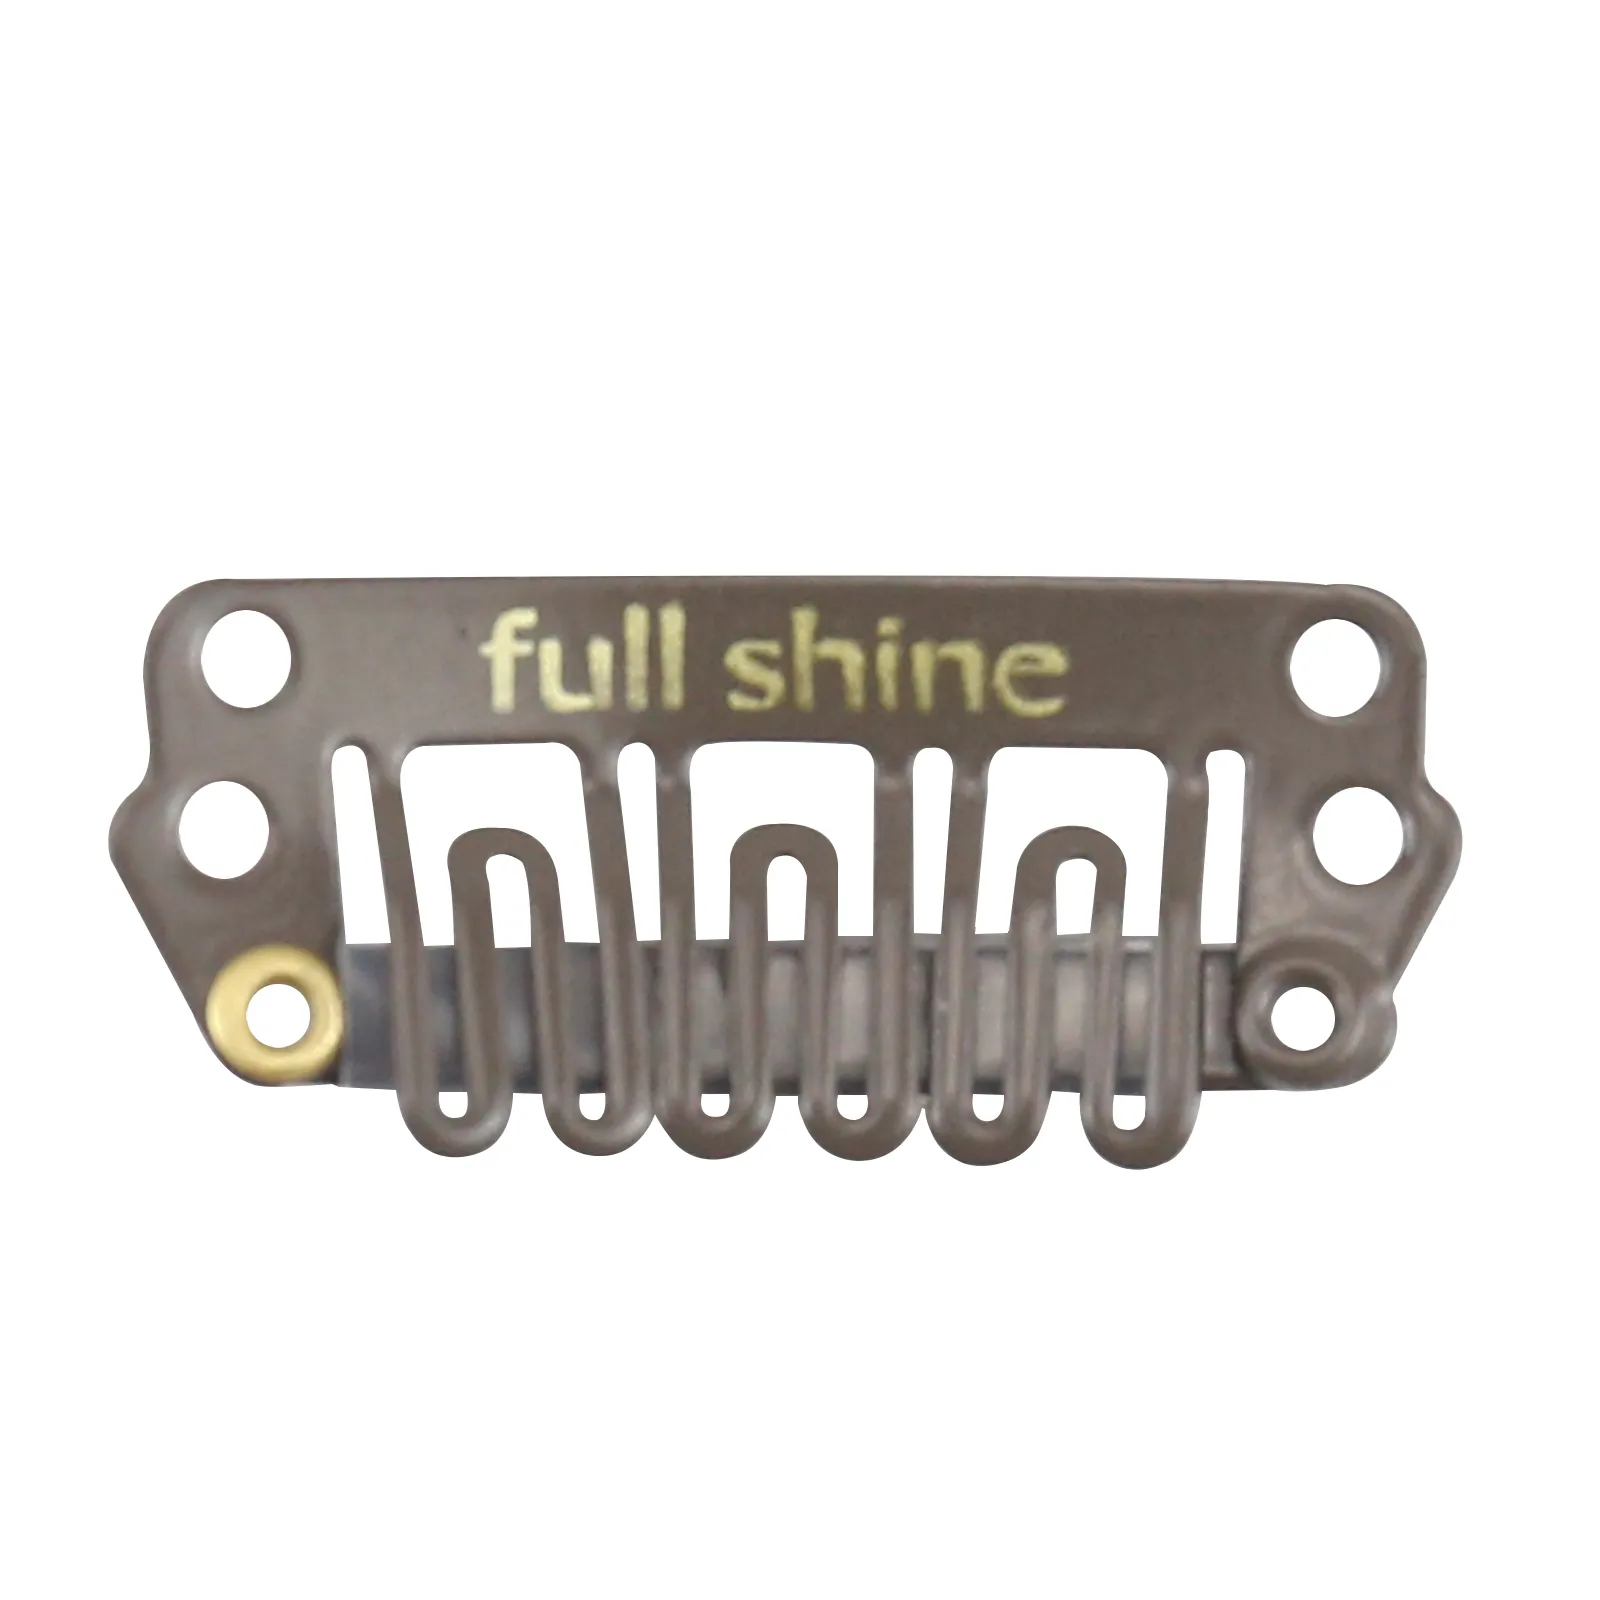
Hair Clips
clip-in extensions
Hair Preparation
Clean & Dry Hair
Wash with clarifying shampoo
Blow-dry until fully dry
Detangle from the ends up
Section Mapping
Section hair per installation plan
Arrange clip-ins: longest → shortest
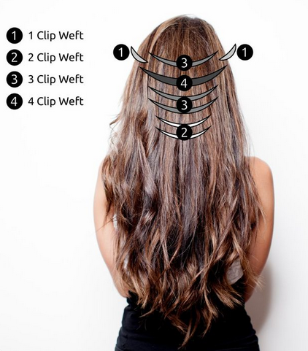
2. Divide Your Hair Into Four Horizons
Tips: Blending and Adjusting: Gently comb through the extensions and your natural hair using a wide-tooth comb to blend seamlessly. Adjust the placement if necessary to ensure even distribution and a natural look.
Divide your hair into four horizon
2 PC Small Weft: Crown sides (volume)
2 PC Medium Weft: Above ears (mid-layer fullness)
2 PC Large Weft: Lower back (length/thickness)
1 PC XL Weft: Mid-back (foundational volume)
3. Step by Step: Important Tips for Best Looks
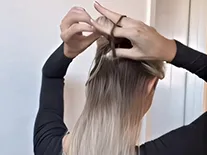

STEP 1
Start by parting your hair horizontally a few inches above your neck, securing the rest on top with a clip. Use a tail comb to section the hair and tease the roots.
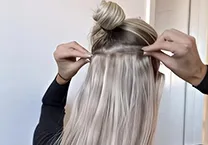
STEP 2
When you install Clip in extensions at the part, snap shut for hold. Tug gently to check security—should feel snug and comfy.
STEP 3
Release some clipped hair to add another extension layer. Section horizontally 1 inch above the first row, tease roots, and apply hairspray if needed. Secure the next row.
STEP 4
Repeat steps for more extensions, leaving enough top hair to cover layers. Work from back to sides—use smaller wefts above ears, aligning with previous pieces
STEP 5
Blend extensions gently with wide-tooth comb. Avoid rough brushing. Keep heat tools away from clips.
STEP 6
To take off the clips, begin at the top of your head, unclip each weft and carefully store them until further use.
4. How to Install Clip in Hair Extensions Video Tutorial
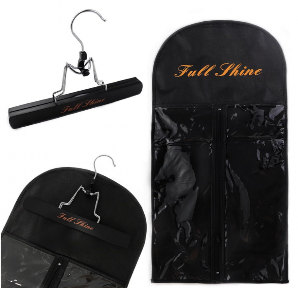
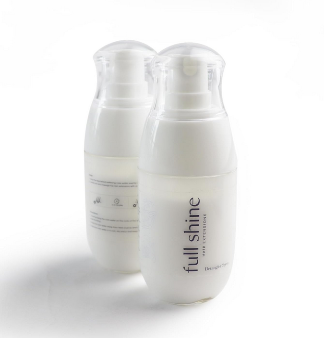
For a flawless, natural finish, pair your clip-ins with our Full Shine Detangled Spray to reduce frizz and keep your extensions silky smooth. Always store them in the Full Shine Hair Extension Storage Bag to protect them from dust and tangling.
Frequently Asked Questions (FAQs)
fULL Shine Hair
Related Products
Technical Standards & Industry References:
- Milady Standard Cosmetology (2026 Edition): Standardized protocols for temporary hair enhancements and sectioning geography.
- Professional Beauty Association (PBA): Best practices for weight distribution and tension management in temporary hair clip systems.
- International Journal of Trichology: Scientific research detailing the prevention of Traction Alopecia through proper load-balancing anchors.
- Modern Salon Media: “The Architecture of Blend: Geometric Mapping for Daily Clip-In Systems.”
Undeniably believe that which you said. Your favorite reason seemed to be on the net the easiest thing to be
aware of. I say to you, I certainly get annoyed while
people consider worries that they just do not know about. You
managed to hit the nail upon the top and also defined out
the whole thing without having side effect , people could take a signal.
Will likely be back to get more. Thanks
Hello There. I found your weblog using msn. That is
a really neatly written article. I will be sure to bookmark it and come back to
read extra of your helpful info. Thank you for the post. I’ll
certainly comeback.