
Why Do Gaps and Poor Fit Happen?
Several factors can cause your extensions to appear less natural than desired:
Incorrect Placement
The most common reason is placing the wefts too low or in a single straight line. Your scalp has a curved shape, and placing wefts in a straight line may not follow your head’s natural contour, creating gaps.
Improper Sectioning
If the horizontal parts you create in your hair are too wide, too narrow, or uneven, the wefts won’t lie flat or cover the sections completely, leading to visible tracks of the PU strip or clips.
Slippery or Fine Hair
If your natural hair is very smooth, silky, or fine, it can be difficult for the clips to get a firm grip. This might cause the wefts to slip down or not blend hair with your scalp.
Not Using Enough Wefts
Depending on your desired volume and hair thickness, using only one pack of extensions might not provide enough coverage for a full head, making it harder to blend hair and hide the wefts.
Blend Hair: Step-by-Step for a Flawless Fit
Here is a practical guide to help you achieve a seamless, natural-looking application.
1. Prepare Your Hair Properly
- Create a Textured Base: Instead of applying extensions to freshly washed, silky hair, try applying them to day-old hair. You can also use a light-hold texturizing spray or dry shampoo at the roots to add grit and help the clips grip better.
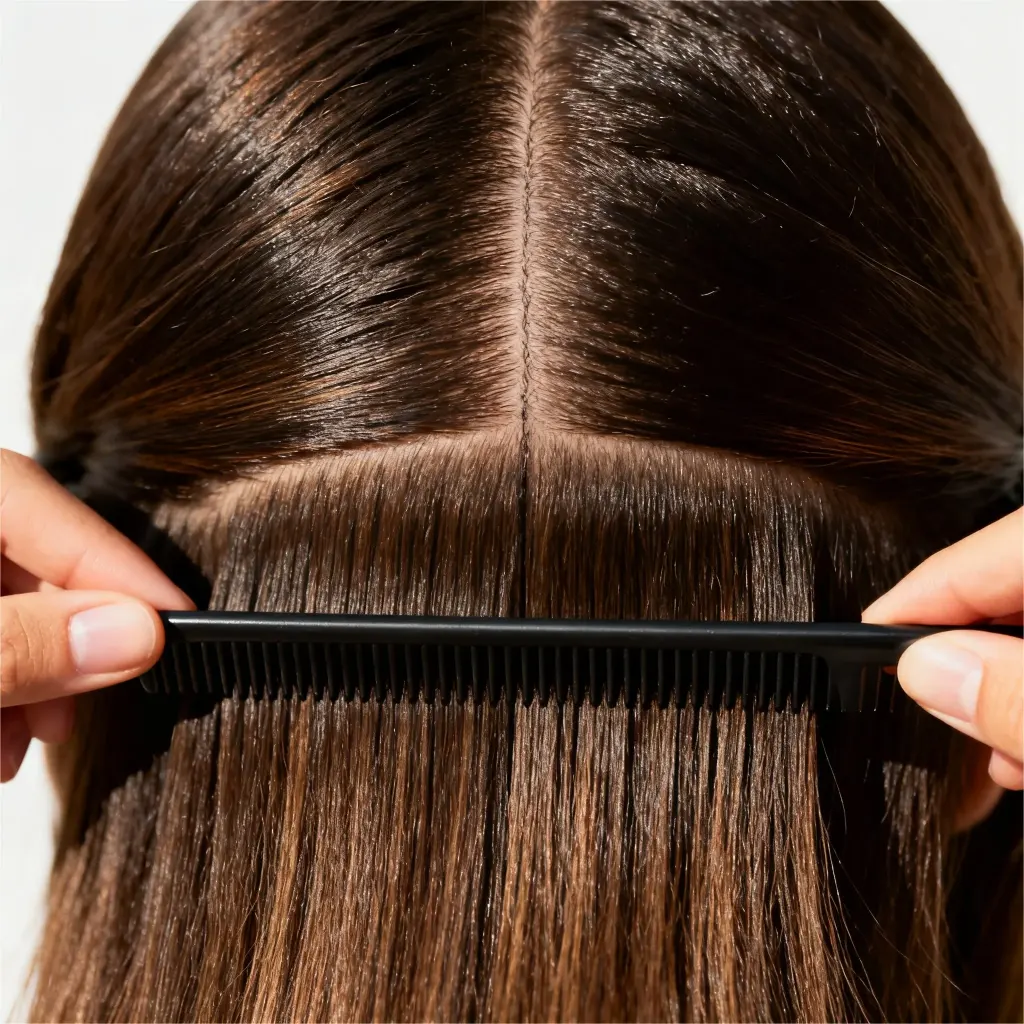
- Section Your Hair Correctly: The horizontal part you make for the largest weft should be secure and even. Use the tail end of a comb to create a clean part. For the largest weft, this part should typically be a few inches up from your neck.
2. Master the Application Technique
- Remember your head is round: layer the wefts along its natural curve, not in a straight line, to distribute weight and avoid gaps.
- Align & Secure: Position the weft and press firmly until every clip clicks, ensuring it’s locked in place.
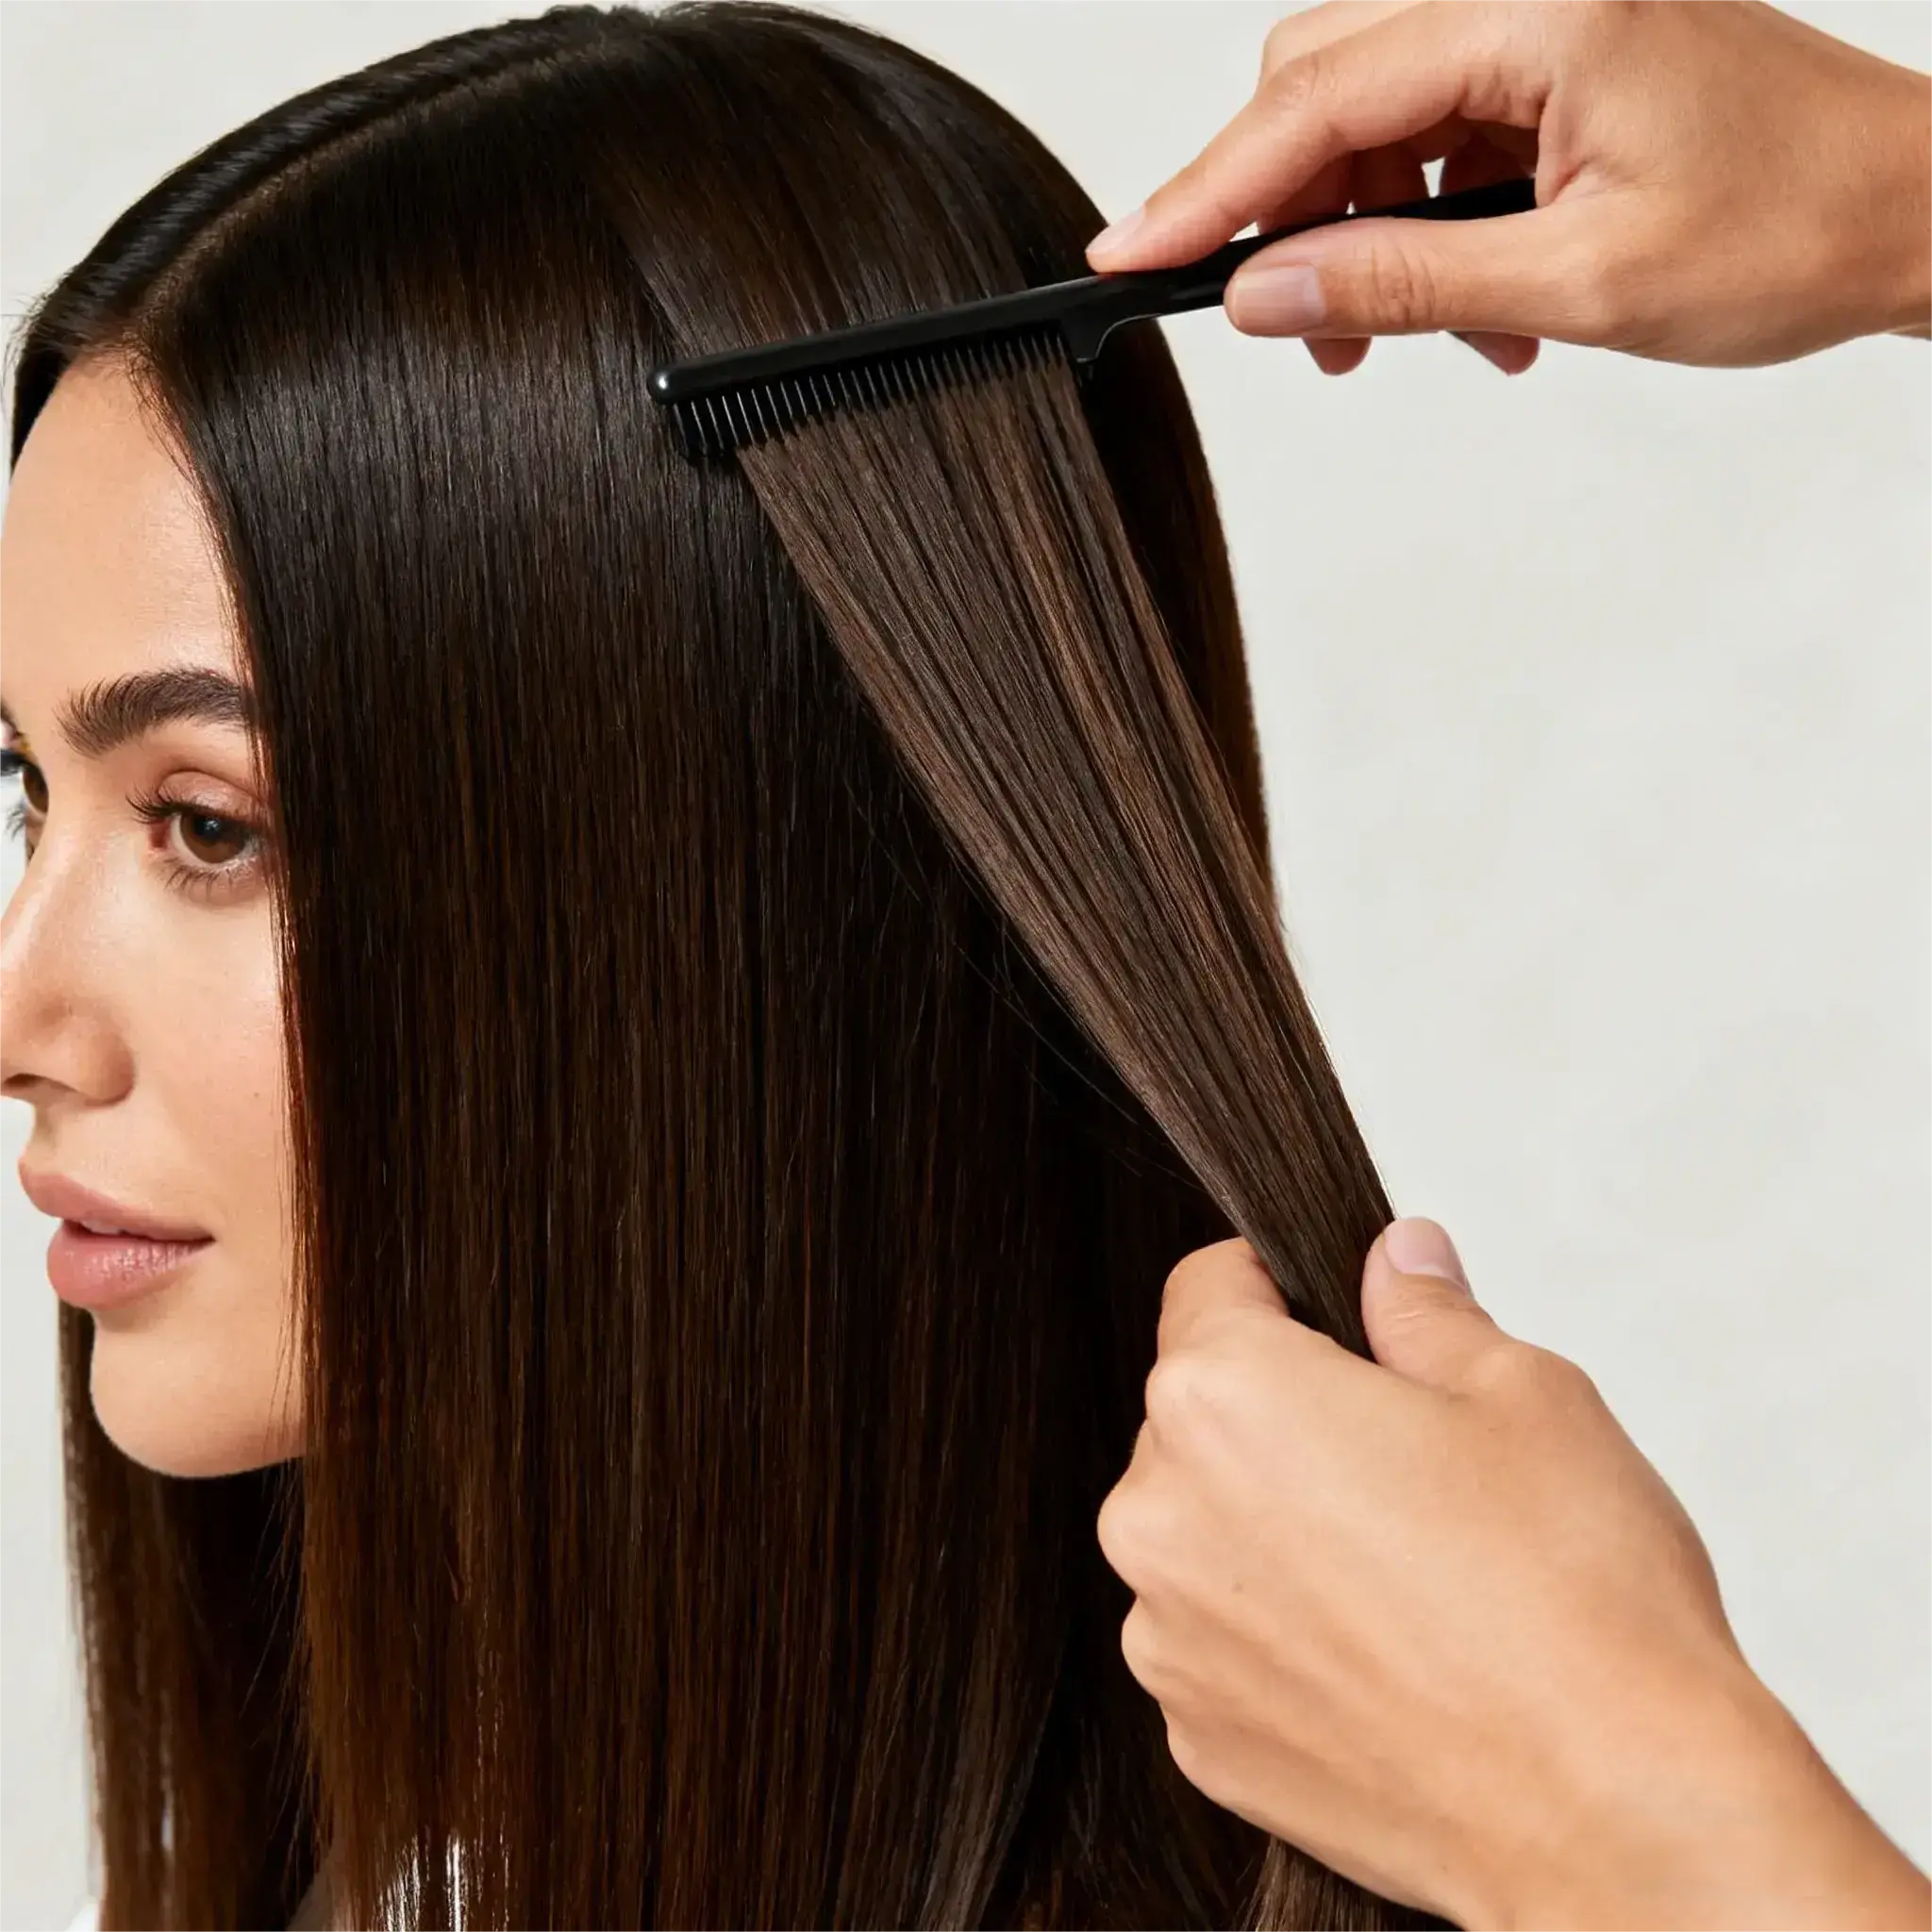
- Angle to Blend: For a natural look at the sides, angle the wefts instead of placing them horizontally to seamlessly blend with your hair’s fall.
3. Blend Everything Together
This is a crucial final step. Once all wefts are in place:
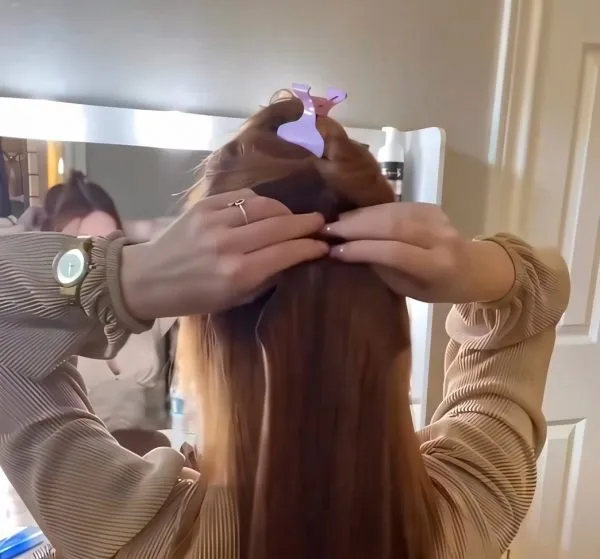
- Release the top section of your hair that you had pinned up.
- Gently brush or finger-comb your natural hair and the extensions together so they merge seamlessly.
- You can style your hair as usual—curling or straightening both your natural hair and the extensions together will further help them blend into one cohesive hairstyle.
Blend Hair: Advanced Tips for Perfect Match
If the basic steps don’t fully solve the problem, consider these extra tips:
Seamless Clip in Hair Extensions’ Types
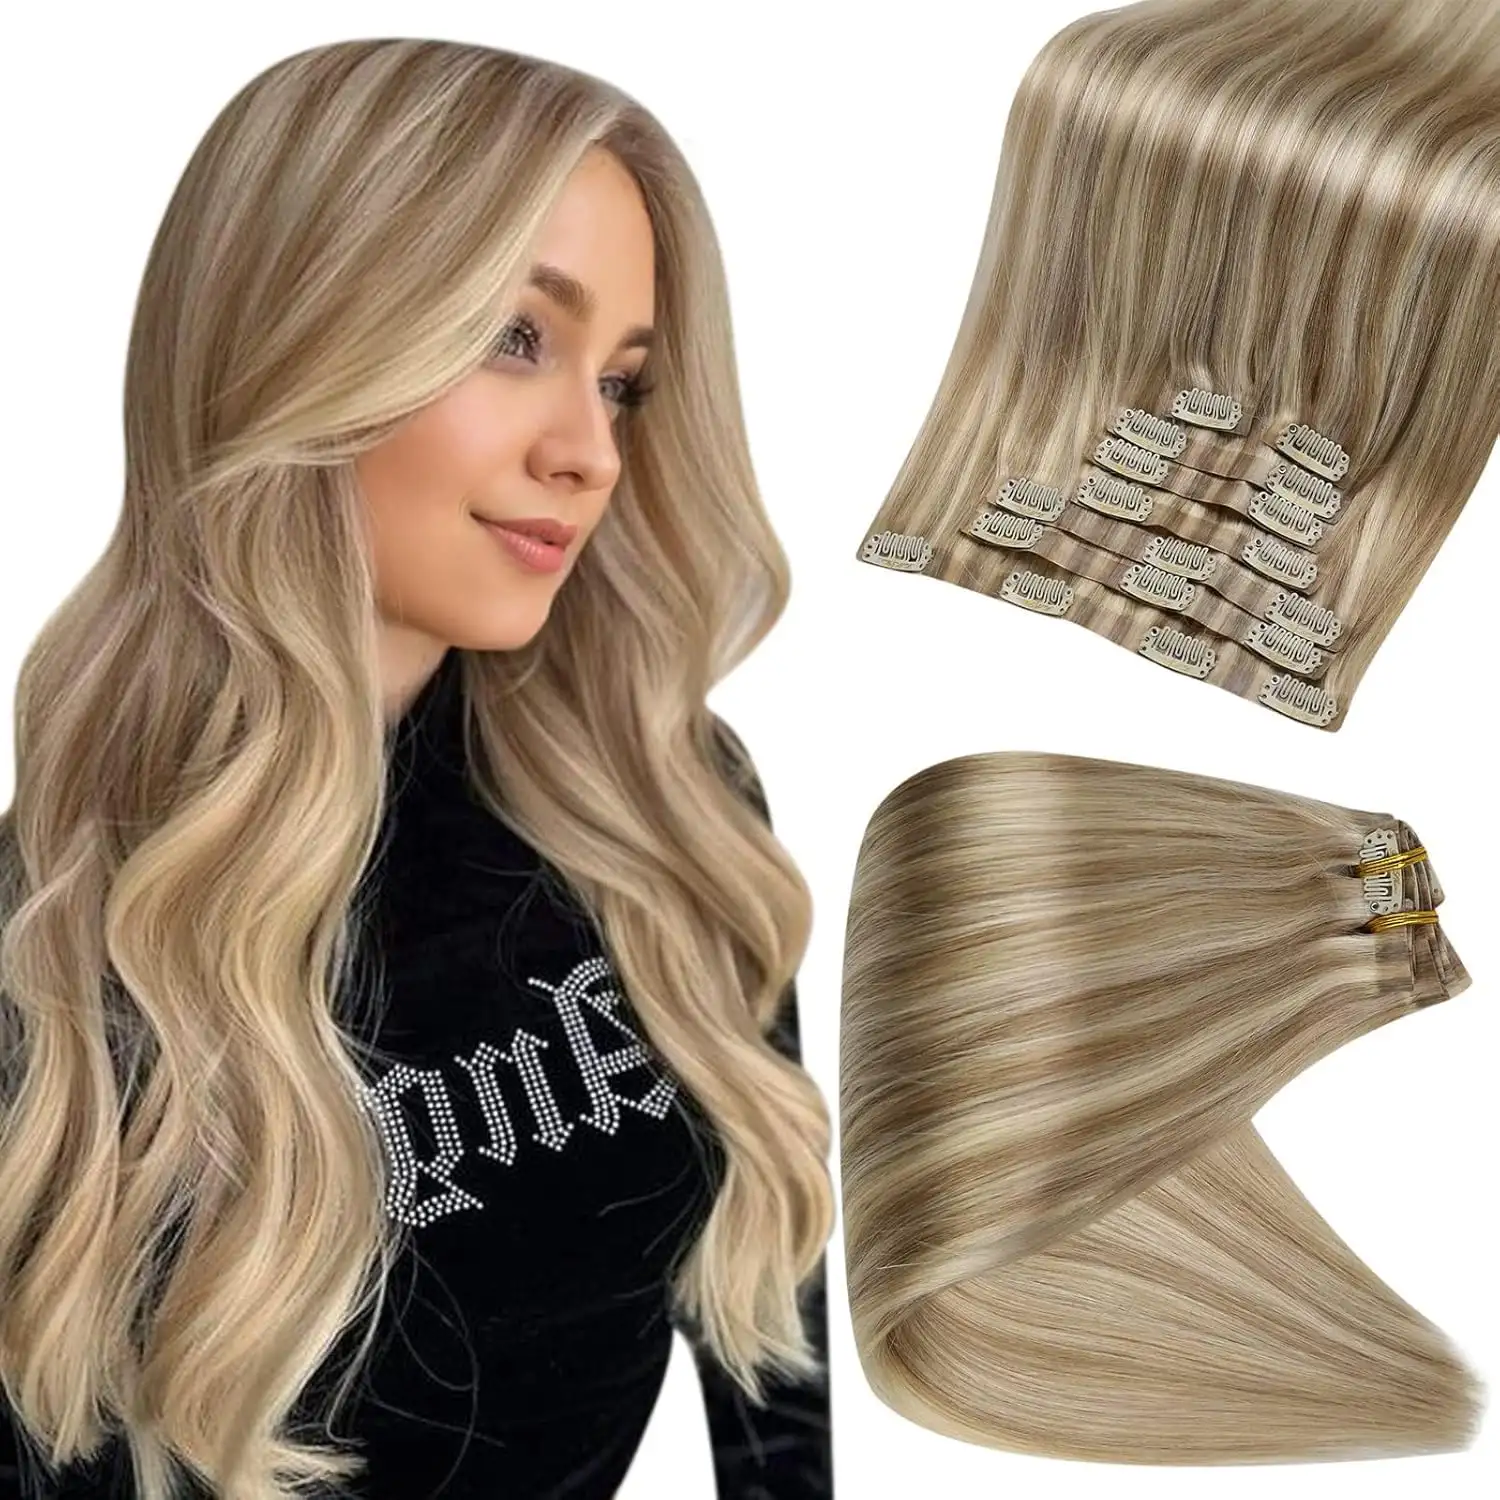
8 Pcs Seamless Clip Ins
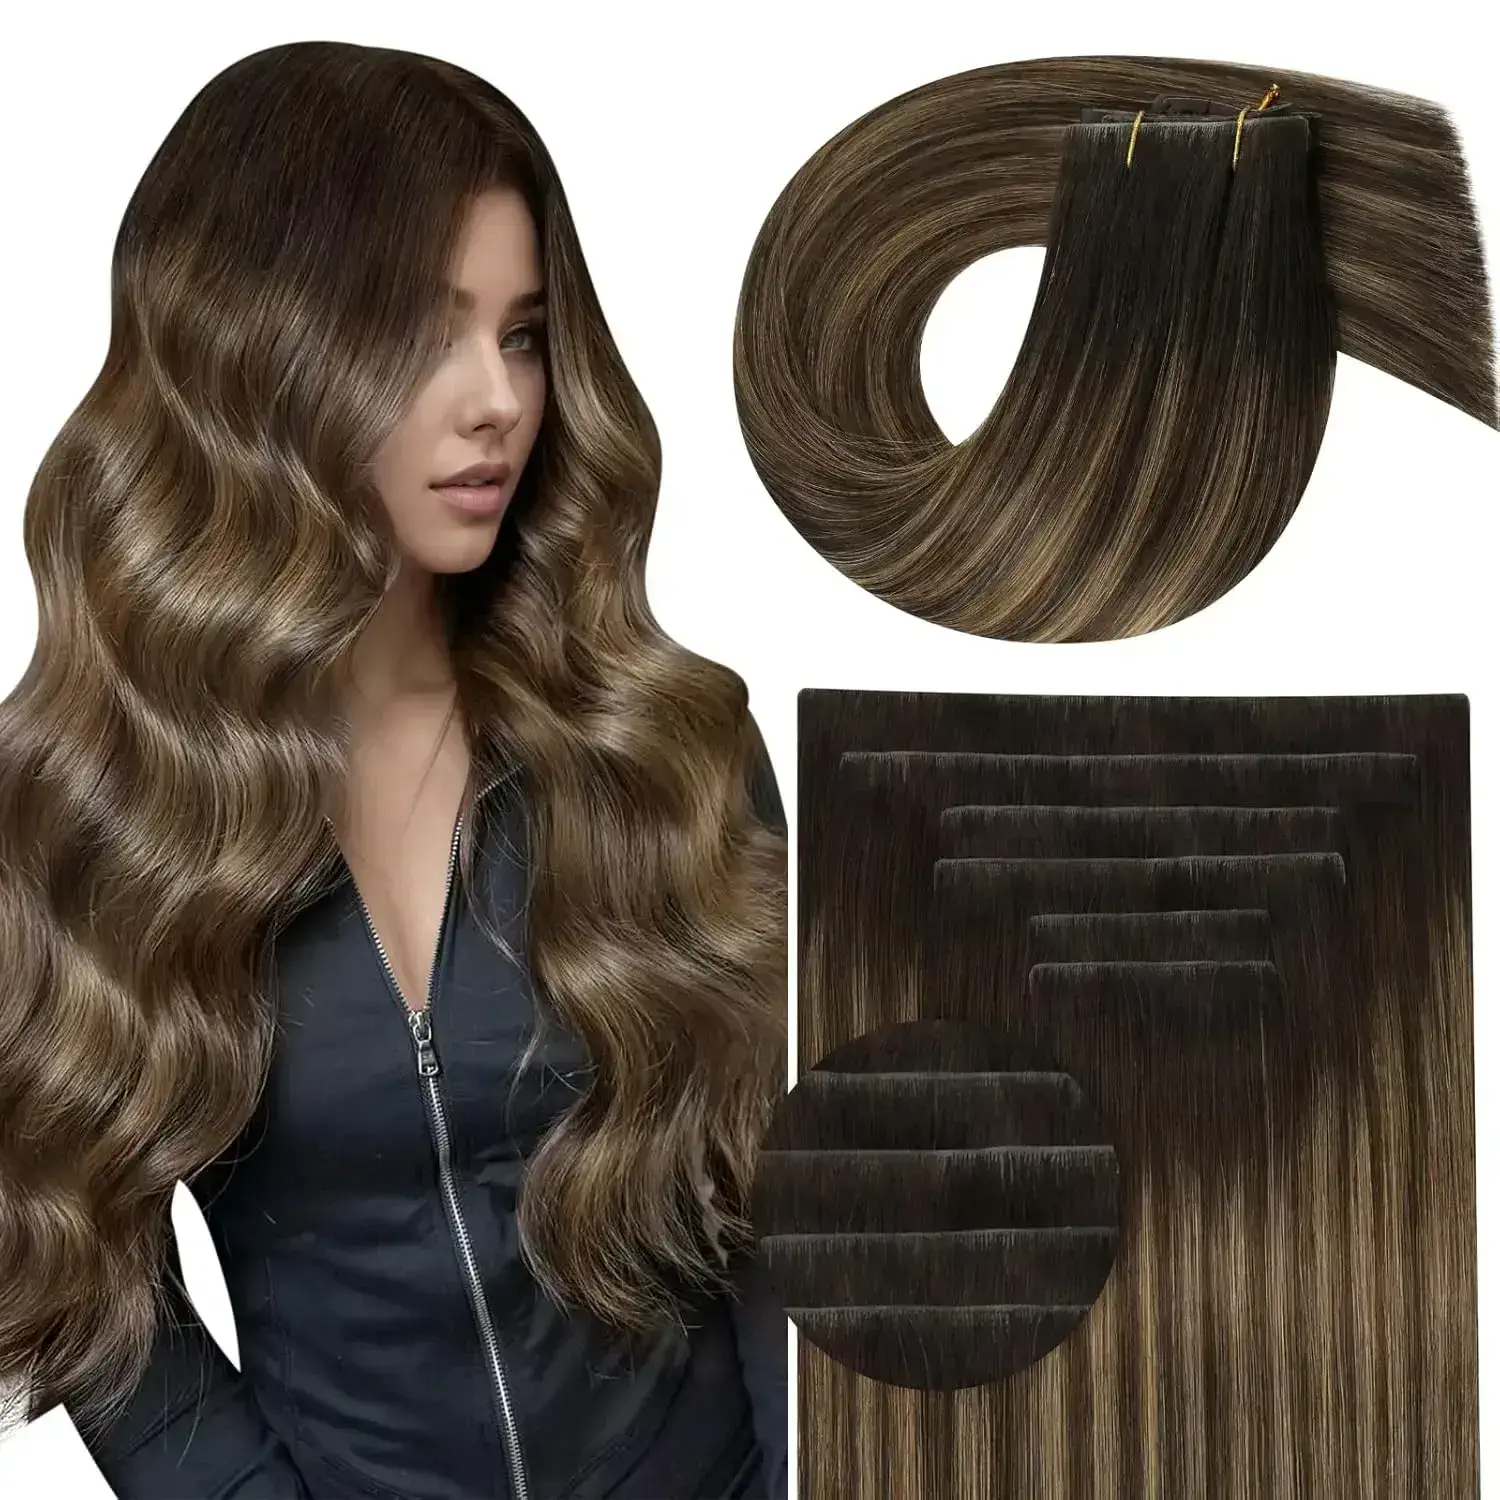
6 Pcs Invisi Edge Clip Ins
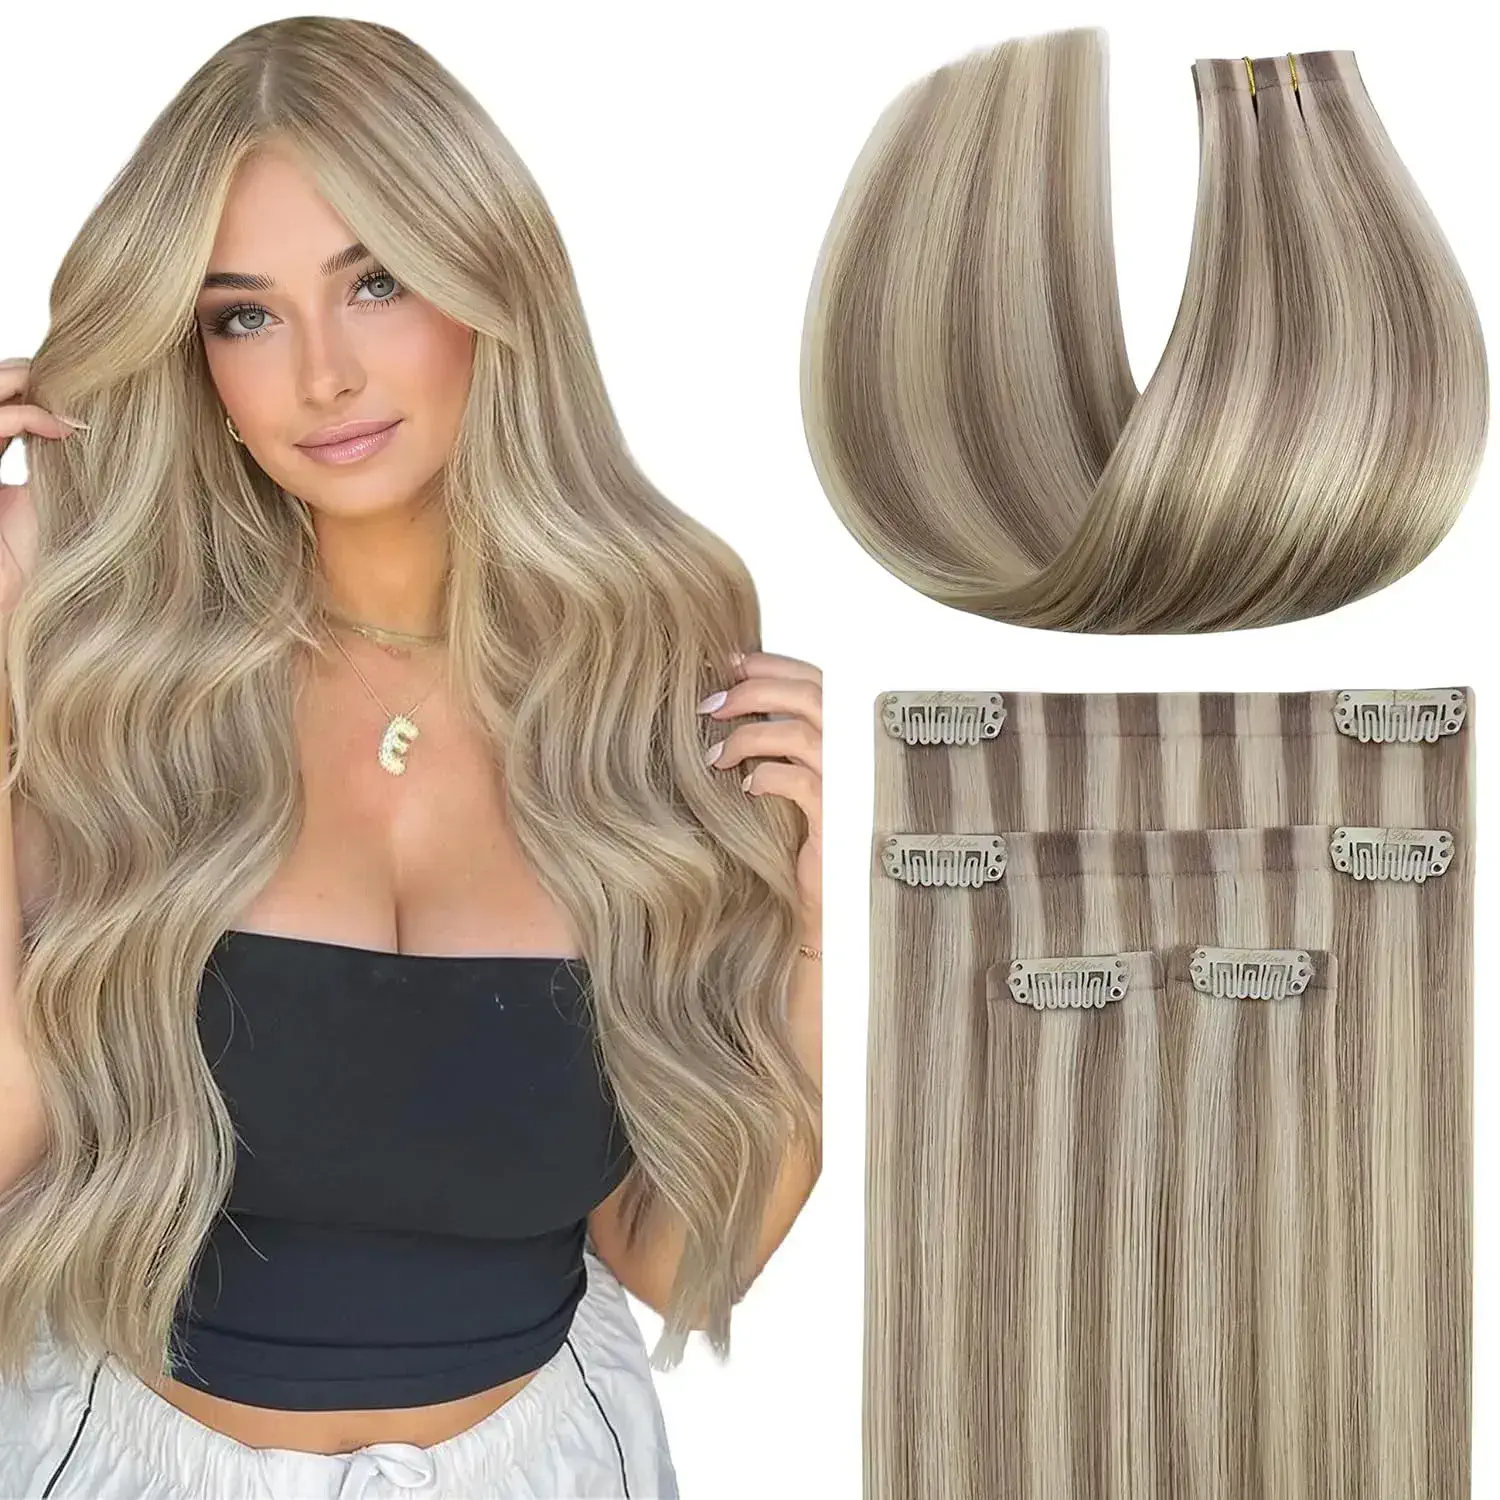
4 Pcs Seamelss Clip Ins
With a bit of practice and the right technique, you can master the application of your Full Shine Seamless Clip-In Extensions. The key is to work with the natural curvature of your head and ensure a secure attachment. Once you get it right, you’ll enjoy a beautiful, seamless head of hair that looks completely natural.
Contact Us📩
-
Hair extensions scalp irritation: fixes
Full Shine Halo extensions are a top-tier choice for damage-free volume, utilizing 100% Remy human hair. However, for users with […]
-
Halo Hair Extensions for Volume or Length?
If you’ve been researching Halo hair extensions, one question tends to come up again and again: “Are Halo hair extensions […]
-
How to Use Hair Oil Safely
Keep Your Hair Soft Without Making Your Extensions Slide. Hair extensions need extra moisture because they don’t get natural oils […]