If you’re a hairstylist specializing in extensions or a DIY enthusiast looking to master salon-worthy prebonded hair looks, having the right toolkit isn’t just a “nice-to-have”—it’s the difference between a seamless, long-lasting style and a frustrating, short-lived attempt. Prebonded hair extensions (think Ktip, Utip, Itip, and Micro Link) each have unique needs, so let’s break down exactly what you need to stock, how to use each tool.
First: Know Your Prebonded Hair Extensions Types
Before diving into tools, let’s recap the 4 most popular prebonded hair extensions styles—each demands specific tools to shine:
- Ktip Extensions/ Utip Extensions: Also called “keratin tip” extensions, these use a small keratin bond at the end of the hair strand. The bond is heated and fused to your natural hair, creating a super discreet, long-wearing hold (great for 4–6 weeks of use).
- Itip Extensions: “I-tip” (or “stick tip”) extensions have a small stick tip at the end. They’re installed using tiny beads (no heat needed!)—ideal for anyone who wants to avoid heat damage.
- Micro Link Extensions: A subset of Itip, these use even smaller, lightweight beads (often called “micro rings”) to attach strands. They’re perfect for fine hair, as they blend seamlessly without adding bulk.
Shop on Full Shine Amazon Shop
The Must-Have Tools for Each Style
Now, let’s get to the toolkit. We’re focusing on professional tools to ensure your extensions look natural and last.
1. For Ktip/Uip Extensions: Heat & Keratin Essentials
Ktip lives and dies by the keratin bond—so you need tools that melt the bond evenly (no overheating!) and shape it to blend with natural hair.
Heated Bonding Pliers: This is your most important tool. Choose a pair with adjustable temperature settings (180°F–220°F is ideal—too hot will damage hair, too cool won’t fuse the bond). Look for non-stick tips to prevent keratin from sticking to the pliers (trust us, scrubbing stuck keratin off tools is no fun).
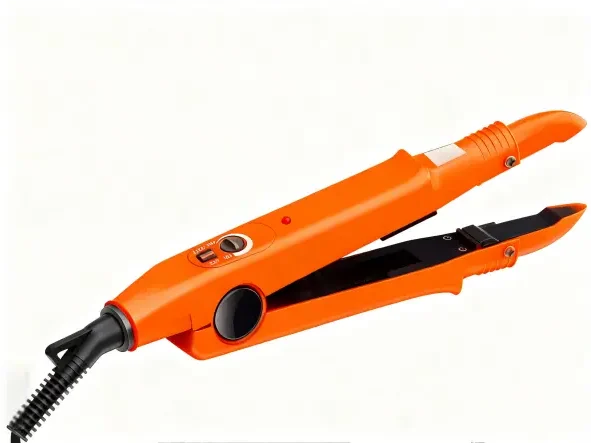
- Heated Bonding Pliers: This is your most important tool. Choose a pair with adjustable temperature settings (180°F–220°F is ideal—too hot will damage hair, too cool won’t fuse the bond). Look for non-stick tips to prevent keratin from sticking to the pliers (trust us, scrubbing stuck keratin off tools is no fun).
2. For Itip & Micro Link Extensions: Beads, Hooks, & Precision Tools
Since these styles skip heat, the focus is on tools that grip, secure, and place strands without tugging your natural hair.
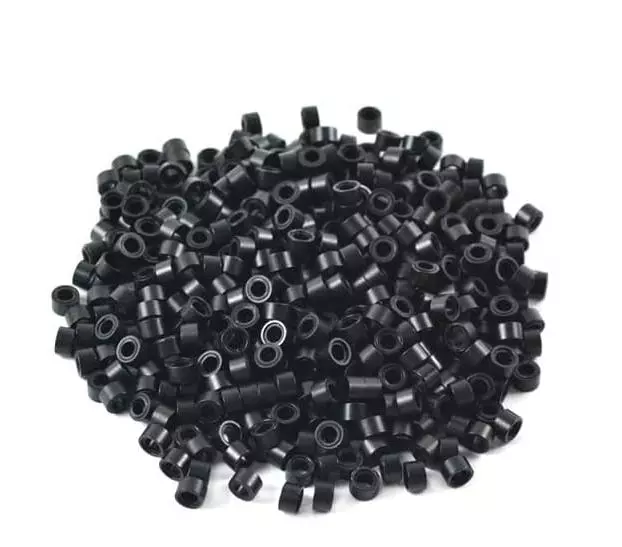
- Beads/Rings: For Itip, go for 5mm–6mm silicone-lined beads (silicone prevents slipping and protects hair from breakage). For Micro Link, our products already contain micro beads at the tip of the hair bundle and are connected by a fine line, so they can be used directly.
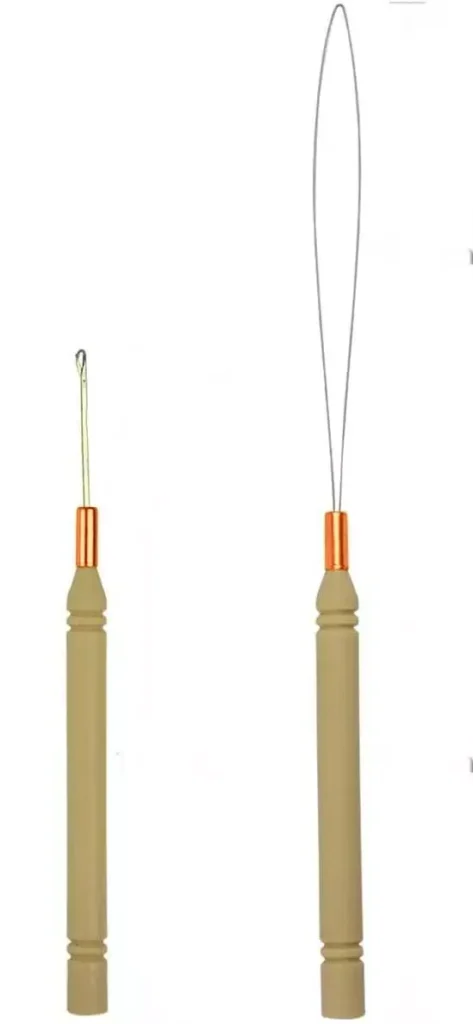
- Hair Extension Hook: A thin, curved hook (often made of stainless steel) to pull your natural hair through the bead. Look for a hook with a smooth tip—sharp edges can snip or damage strands. Pro tip: Keep a spare hook handy—they’re easy to misplace!
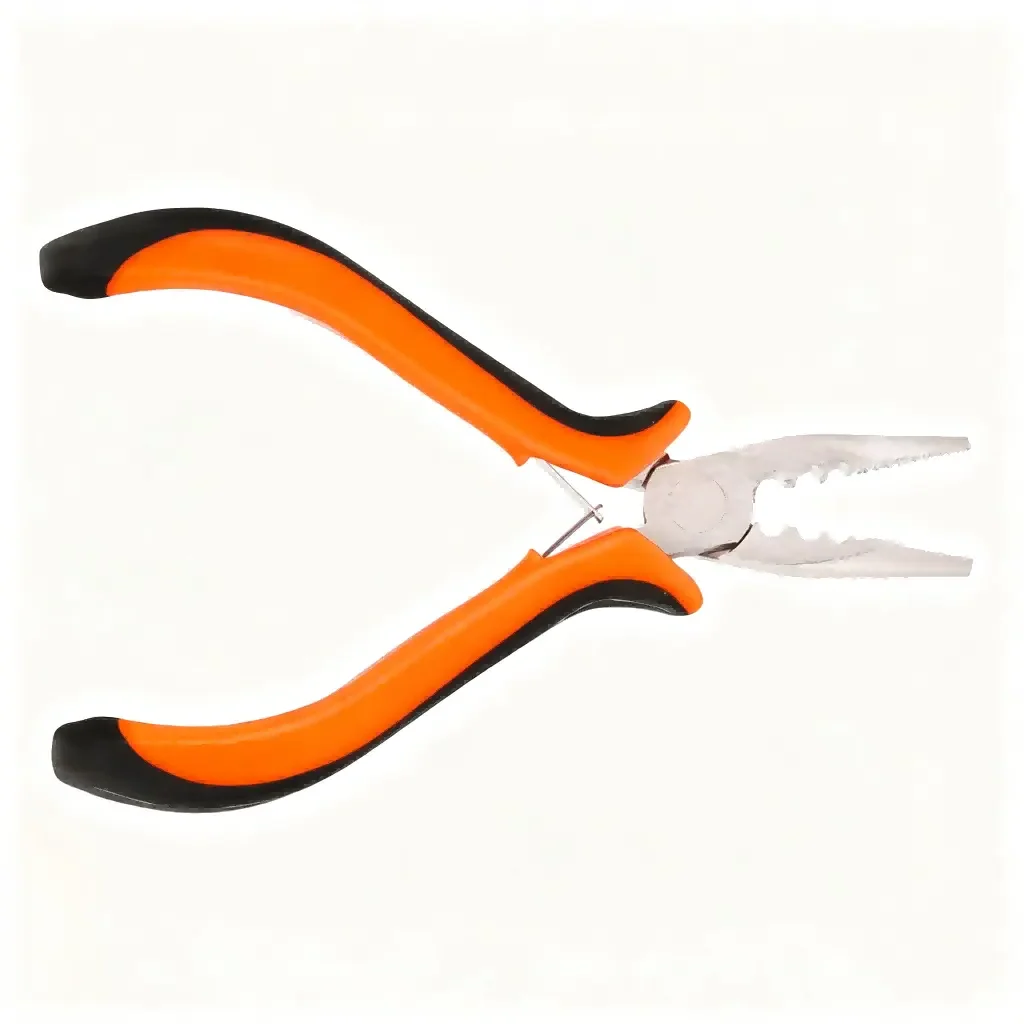
- Bead Crimping Pliers: After threading your natural hair and the Itip/Micro Link strand through the bead, you’ll use these pliers to squeeze the bead shut. Choose pliers with rounded jaws to avoid flattening the bead too much (over-crimping can break the bead or pull hair).
- Loop Tool: A small, flexible loop (usually plastic or metal) to help thread the Itip strand through the bead. It’s a game-changer for DIYers—no more fumbling with tiny loops!
Universal Tools for Every Prebonded Hair Extensions Kit
These tools work for all Prebonded Hair Extension types and will save you time (and headaches):
- Sectioning Clips: Thick, non-slip clips to hold back hair while you work. You’ll need at least 4–6—sectioning cleanly is key to even, natural-looking extensions.
- Fine-Tooth Comb: A rat-tail comb or fine-tooth comb to separate small sections of natural hair. Avoid wide-tooth combs—they’ll make it hard to get precise sections.
- Bond Remover (for Ktip/ Utip): A gentle, oil-based remover to dissolve keratin bonds when it’s time to take extensions out. Look for formulas with argan oil or jojoba oil to nourish hair while removing bonds.
Pro Tips for Using Your Toolkit
- Test Heat First: For Ktip, always test the heated pliers on a strand of extension hair to make sure the keratin melts smoothly.
- Don’t Overcrowd Beads: For Itip/Micro Link, only pull 2–3 strands of natural hair through each bead. Too much hair will make the bead bulge and look unnatural.
- Clean Tools After Use: Wipe heated pliers with a damp cloth (when cool!) to remove leftover keratin. Rinse hooks and combs to prevent product buildup.
Contact Us
If you encounter any problems while using our prebonded hair extensions, please do not hesitate to contact us.
-
How to Fix Keratin Bond Matting
Discovering matting or tangling at the root of your keratin extensions can be a stressful moment. It often feels like […]
-
How to Cleanse Your Scalp with Keratin Extensions
Keep Your Scalp Fresh Without Loosening Your Bonds. When you wear keratin extensions, your scalp can become a magnet for […]
-
How to Use Hair Oil Safely
Keep Your Hair Soft Without Making Your Extensions Slide. Hair extensions need extra moisture because they don’t get natural oils […]
That is the appropriate blog for anybody who wants to search out out about this topic. You understand so much its virtually laborious to argue with you (not that I truly would want…HaHa). You definitely put a brand new spin on a topic thats been written about for years. Nice stuff, simply great!