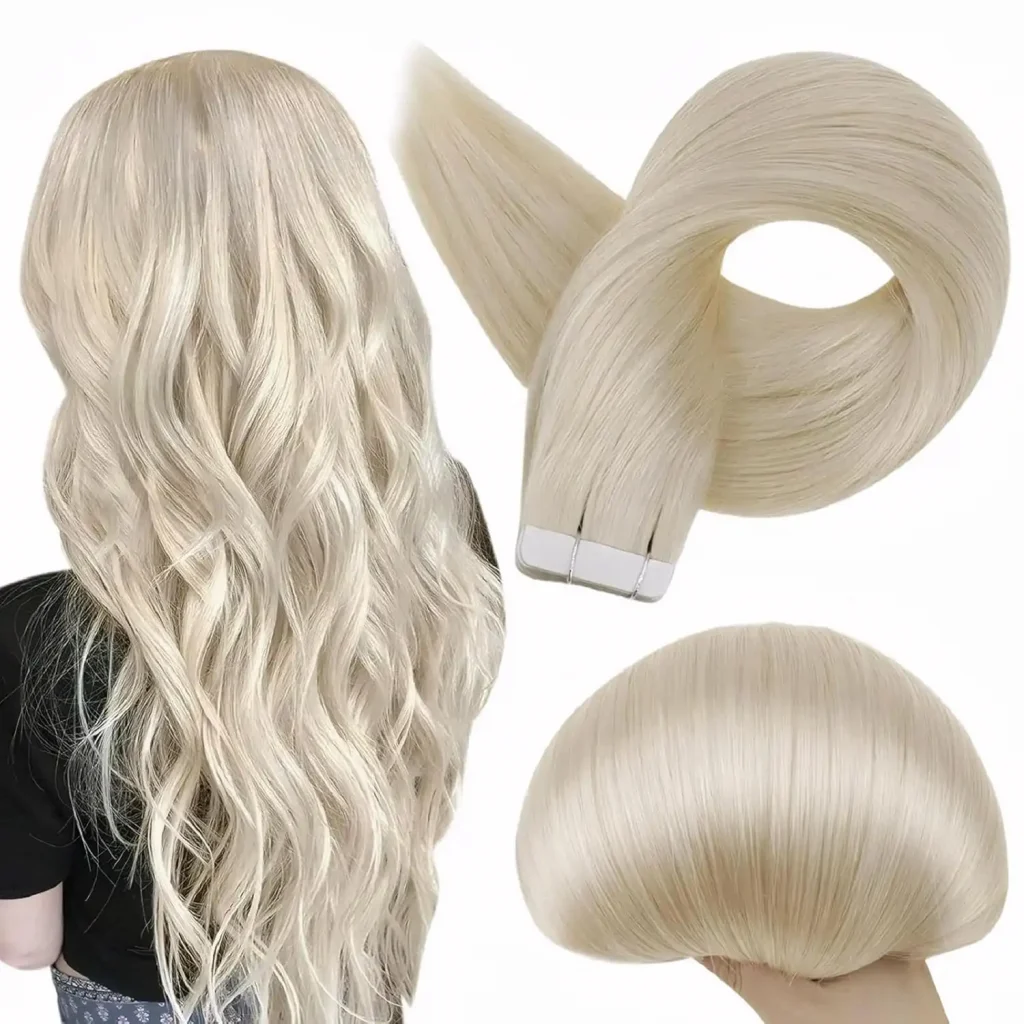
Tape-in hair extensions are a great way to add length and volume to your hair, typically last 4-6 weeks before needing replacement. Over time, the adhesive weakens, and you’ll need to replace tape in hair extensions to keep your hair looking fresh. Don’t worry—replacing tape ins is simple when you know the right steps!
Tools You’ll Need
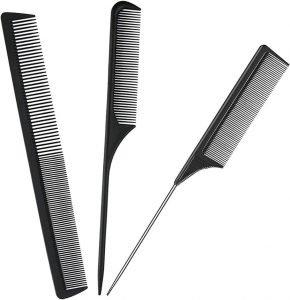
Fine-tooth comb
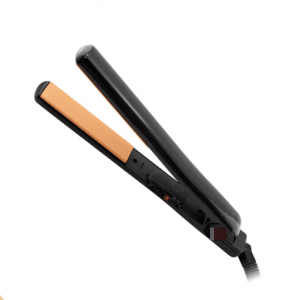
Flat iron (for sealing)
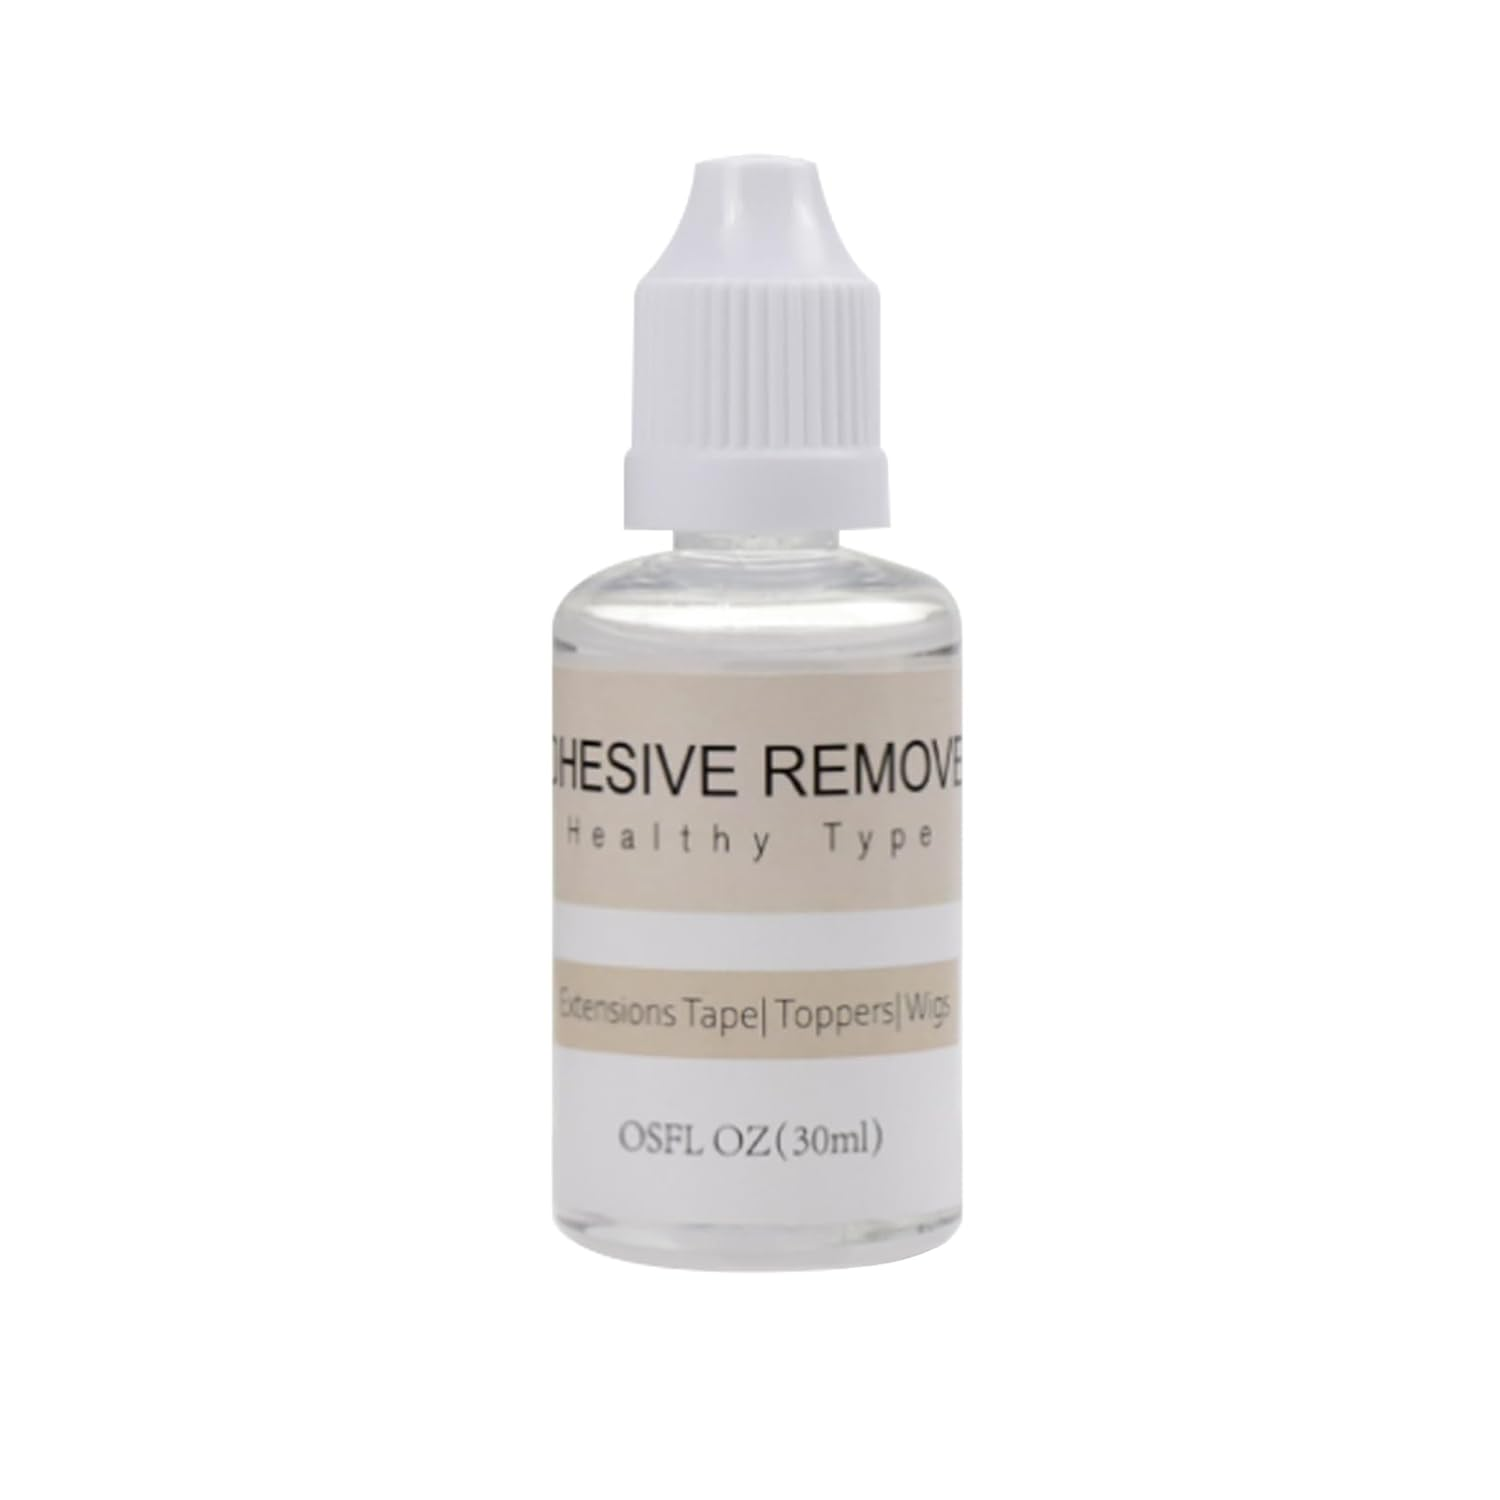
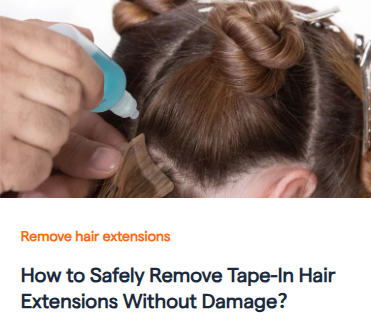
I: Remove Old Tape-Ins
II: Getting the Hair Ready for New Tape
Once you have removed the tape hair extensions using an tape remover, it is incredibly important that you prepare the hair extensions correctly for re-taping. You should not re-tape the hair extensions until the below steps have been taken.
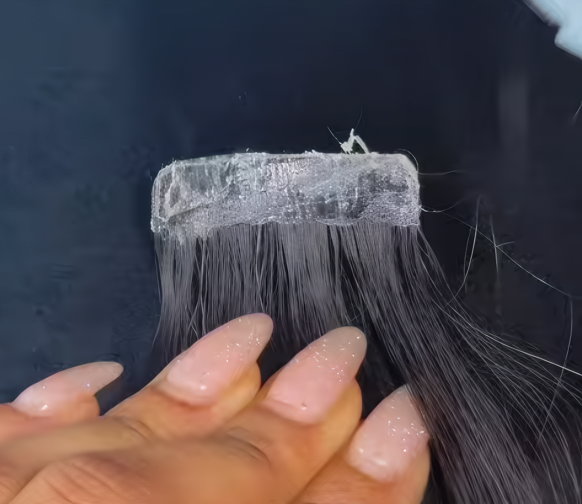
- Remove leftover adhesive: After taking out your old tape-ins, you might notice sticky residue still on the wefts. Gently peel off any remaining glue bits with your fingers or tweezers.
- Wash thoroughly: Use a sulfate-free shampoo to cleanse the extensions, making sure all adhesive residue is gone. Any leftover glue will prevent the new tape from sticking properly.
- Dry & straighten: Let the extensions air-dry completely or use a blow dryer on low heat. Once dry, lightly flat-iron them (on low temp) to ensure they’re smooth and ready for fresh tape.
This steps keep your extensions in great shape for multiple uses! 💫
III: Replace Tape In Hair Extensions
By following these simple steps to replace tape in hair extensions, you’ll get new set of tape ins!
STEP 1:
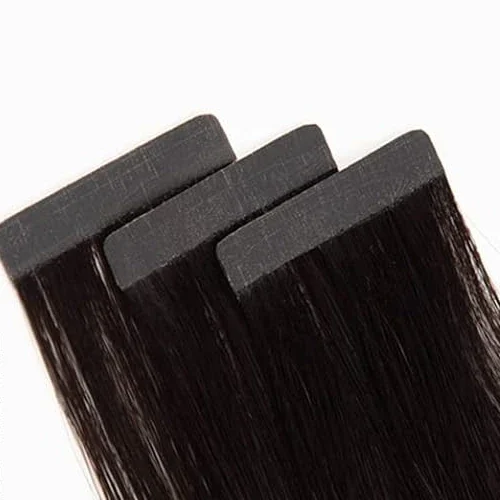
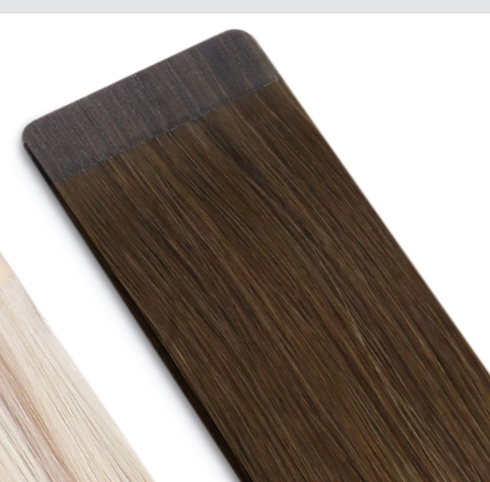
Take 1 piece of your hair extensions and lay flat on a clean surface.
STEP 2:
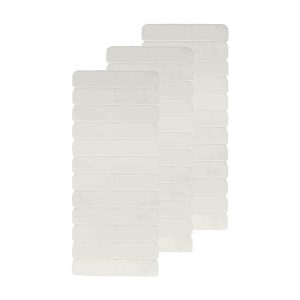
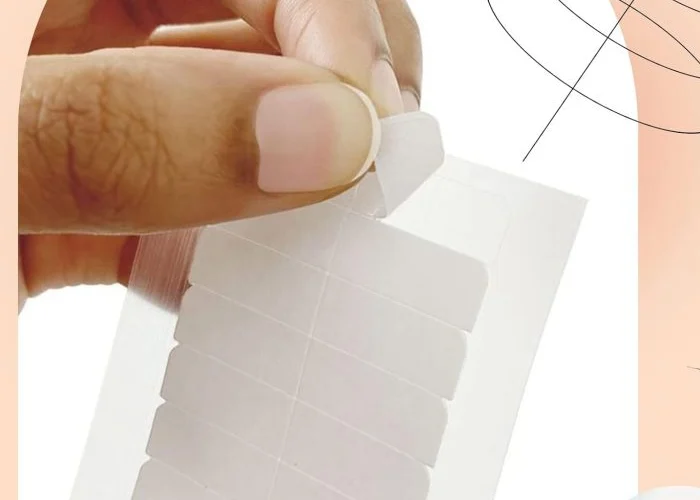
Peel away one piece of tape from the tape tab sheet, or cut a piece of tape from your tape roll to the exact width of the hair extension piece.
Step 3:
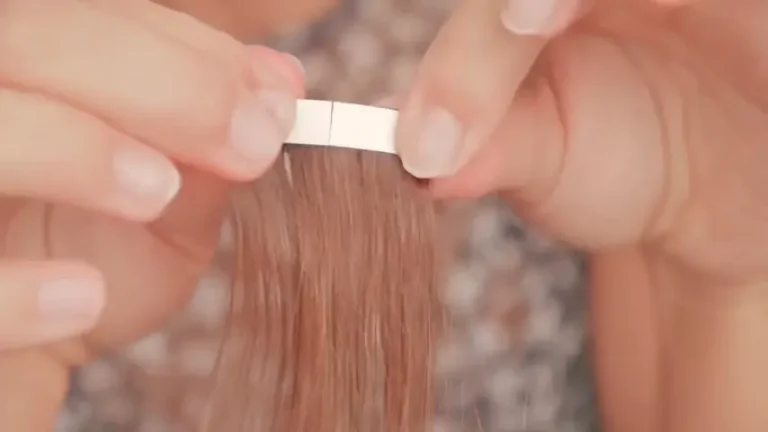
Carefully place the new tape piece directly where the original tape was applied. Leaving the reverse sticker still in place until you are ready to install new hair extensions.
Replace Tape In Hair Extensions Video Tutorial
Tips for Longer-Lasting Tape-Ins:
🔹 Avoid excessive heat near the tapes.
🔹 Brush gently with a loop brush to prevent tugging.
🔹 Re-tighten loose extensions with a flat iron (low heat) for a few seconds.
Follow these simple steps to replace tape in hair extensions and keep your look flawless! Need fresh tape-ins? Shop our favorites below. 💖
Tape in Hair Extensions
Injection Virgin Tape Ins
Replacement Tapes
Have more questions?
Related articles
Technical Standards & Expert References
At Fullshine, we adhere to the highest salon-grade protocols. Our replacement techniques are informed by the following industry leaders and standards:
- Industry Standard: Milady Standard Cosmetology (Section on Hair Enhancements).
- Technical Insight: Modern Salon – “The Science of Adhesive Neutralization.”
- Brand Benchmark: Bellami Professional Certification Manual for Tape-In Maintenance.
- Safety Guidelines: Professional Beauty Association (PBA) – Best Practices for Long-term Extension Wear.