Removing pre-bonded hair extensions requires precision and the right chemical balance to ensure your natural hair remains undamaged. At Full Shine, our extensions are secured with high-grade Italian Keratin, which is designed for a firm grip but requires a professional-grade solvent for safe dissolution. Whether you are a stylist or performing a DIY removal, following this ‘Zero-Damage’ protocol is essential. This guide outlines the exact saturation times, mechanical crushing techniques, and post-removal scalp detox steps needed to break the keratin bond without causing hair breakage or follicle stress. Restore your natural hair’s freedom with our expert-verified removal process.
Step 1: Systematic Sectioning for Precise Removal
Isolating the Nape Area with Professional Clips
A ponytail will help keep you organized as you work on finding each keratin bond. Some bonds may be obvious and some may be more difficult to find so you want to work on a small piece of your scalp at a time to avoid missing anything.
Clean Sectioning Prevents Tangling during Removal
Use your index finger or the thin end of a salon comb to pull out an even row of hair at the bottom of your head. If you encounter any tangles, pull out a little more hair from your ponytail so you can work on the larger section all together.
- Don’t try to remove several hair extensions at once. You’ll be able to remove prebonded hair extensions much more easily and safely if you work slowly and diligently.


Step 2: Chemical Softening of the Keratin Seal
Optimal Saturation Time for Maximum Absorption
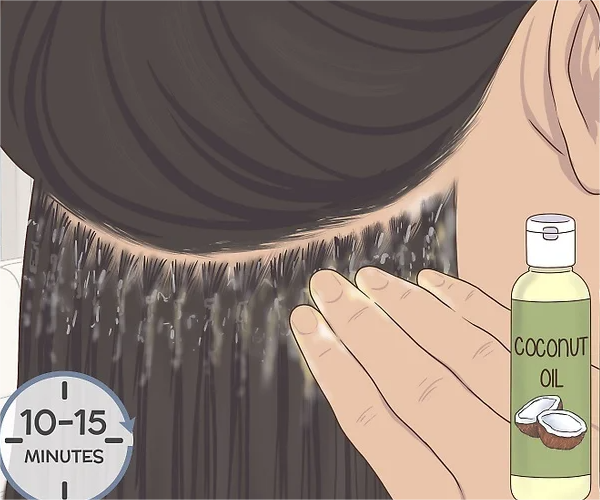
Use your fingertips and rub any combination of olive, coconut, baby, or almond oil into the cracks of the bonds you created with the pliers. Let the oil seep in and sit for 10-15 minutes. The oil will break down the keratin and allow you to pull or gently comb the extensions out.
Instead of a household oil, use a specifically designed keratin bond remover from a salon or beauty supply store.
Choosing Between Oil-Based and Alcohol-Based Removers
A small amount of acetone or other alcohol-based gel on the bond can help as well. Just use a small dab so that you don’t damage your scalp with too much alcohol.
Step 3: Mechanical Breakdown with Precision Pliers
Isolate one keratin bond and use needle nose pliers to squeeze the bond. The bond will crack when enough force is applied and it will be easier to release your natural hair from it. After the first crack, move the pliers around the bond and squeeze a different section of it to weaken more of the bond.
The Horizontal Squeeze Technique to Shatter the Bond
- Crush the bond as many times as needed to loosen its grip on your natural hair.
- Lightly twist the pliers if you have stubborn bonds but be careful not to pull hair out of your scalp.
- After removing all of your extensions, some of the cracked bond may still be in your hand if it shattered, so use a fine toothed comb to weed out any debris.
- Simply brushing your hair will not help to remove prebonded hair’s keratin bonds. Instead, it will damage your natural hair and roots.
Step 4: The “Gentle Slide” Extraction Technique
Supporting the Roots to Eliminate Scalp Tension
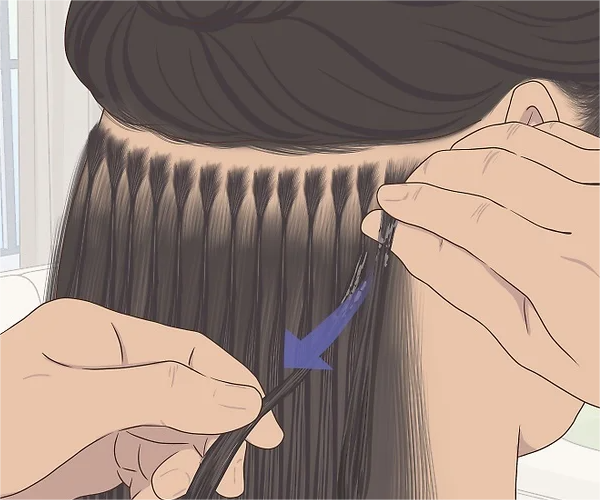
Keep in mind that as you pull on the keratin bonds, you want to keep your natural hair from being pulled with the keratin bond. Hold your scalp and the base of your roots with one hand while you lightly pull the bond with the other hand. If you feel too much of a pull on your scalp, try re-cracking the bonds and applying more oil.
Handling Stubborn Bonds: When to Re-apply Solvent
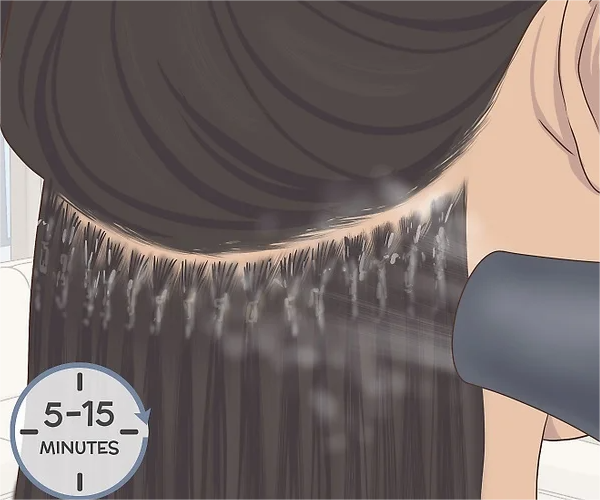
If a bond resists sliding after initial crushing, never apply force. Re-apply a drop of keratin remover directly into the core of the fractured bond. Wait 30 seconds for the solvent to penetrate the inner layers. This re-saturation ensures the adhesive reaches a pliable state, allowing for a friction-free withdrawal that protects your natural hair from mechanical breakage.
Step 5: Two-Stage Combing for Residue Elimination
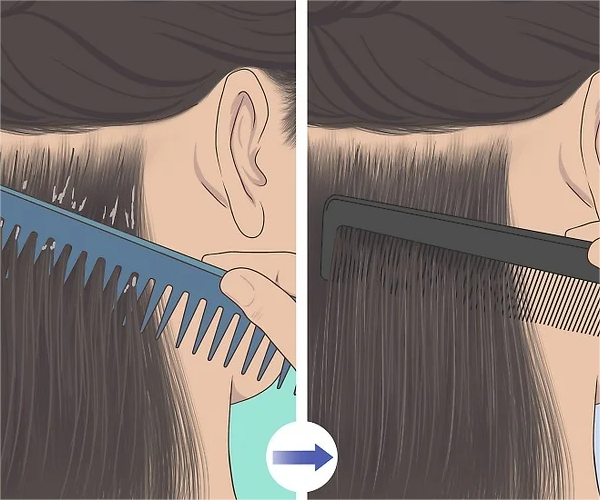
Using a Wide-Toothed Comb for Primary Detangling
Use a combination or combs or brushes to help pick out any leftover bonds or extension leftovers. Overall, combs work better than brushes since they have stiffer teeth but a metal brush can also work as well.
Step 6: Post-Removal Scalp Detox & Hair Restoration
Clarifying the Scalp to Remove Chemical Traces
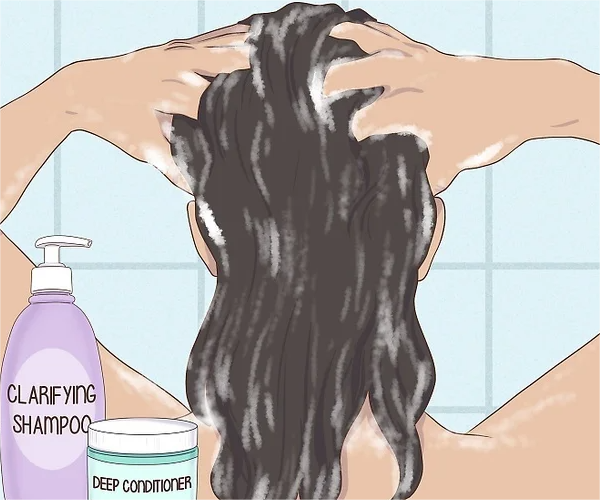
Take a shower and use a clarifying shampoo and deep conditioner to help restore your hair, roots, and scalp. Clarifying shampoos will help remove the excess olive oil as well as remaining glue from the weave while the conditioner replenishes any nutrients a harsh alcohol or chemical may have stripped away.
Deep Conditioning to Restore the Hair Cuticle
After residue removal, the hair cuticles are often slightly raised and dehydrated. Apply a nutrient-rich deep conditioner or a hydrolyzed protein mask for 10–15 minutes. This process seals the cuticles, restores essential moisture, and eliminates any tangles caused by the removal solvent, leaving your natural hair revitalized, smooth, and ready for your next style.
If you want to know more about how to care your hair, here is more details: Learn More
Still have questions with prebonded hair extensions? Please don’t worry

Written by Skyee, Senior Stylist at Full Shine Hair with 10+ years of extension experience. With over 12 years of hands-on experience in the professional hair industry, Skyee specializes in the application and maintenance of seamless hair systems. As a lead educator at Full Shine, she bridges the gap between salon-grade expertise and at-home care. Her “Support & Stroke” method has helped thousands of clients extend the lifespan of their ultra-thin PU wefts.
-
Hair Stylist Program | Partnership for Stylists & Salons
At Full Shine Hair, we believe hairstylists are the true artists behind every beautiful transformation.We’re excited to invite professional hairstylists […]
-
How to Remove Sew in Hair Extensions
It is more difficult to remove sew in hair extensions than clip in hair extensions. If you feel it is […]
-
How to Care Sew in Hair Extensions
Sew in hair extensions offer unparalleled security and a natural look, but their longevity depends on a specialized maintenance routine […]