
Let’s be real—growing out a short haircut can feel like an absolute eternity. One day, you love your chic bob, and the next, you’re staring at Pinterest dreaming of long, flowing goddess waves. Or maybe you just want to switch up your look for a weekend music festival or a Friday night date downtown.
The good news? You don’t have to wait months (or years) for your hair to grow. Hair extensions are the ultimate style cheat code, and yes—they work beautifully on short hair if you know the right tricks. At Full Shine, we believe every girl deserves her dream hair today. Here is your ultimate, no-nonsense guide to transforming your short locks into seamless, long, and luxurious hair.
Choose the Right Type of Extensions
The biggest challenge with short hair is making sure the transition looks natural, not choppy. To get that perfect before-and-after look, you need to start with the best hair extensions for short hair based on your lifestyle and hair type:
Clip-Ins
If you want long hair for special occasions without the commitment, Clip-Ins are your best friend. They take minutes to apply at home and can be popped out before bed.
Weft Hair
Wefts (either machine-weft or hand-tied) are sewn into a track of silicone beads attached to your natural hair. Because they come in a continuous strip, they provide maximum coverage and thickness, which is exactly what a blunt, short haircut needs to blend out.
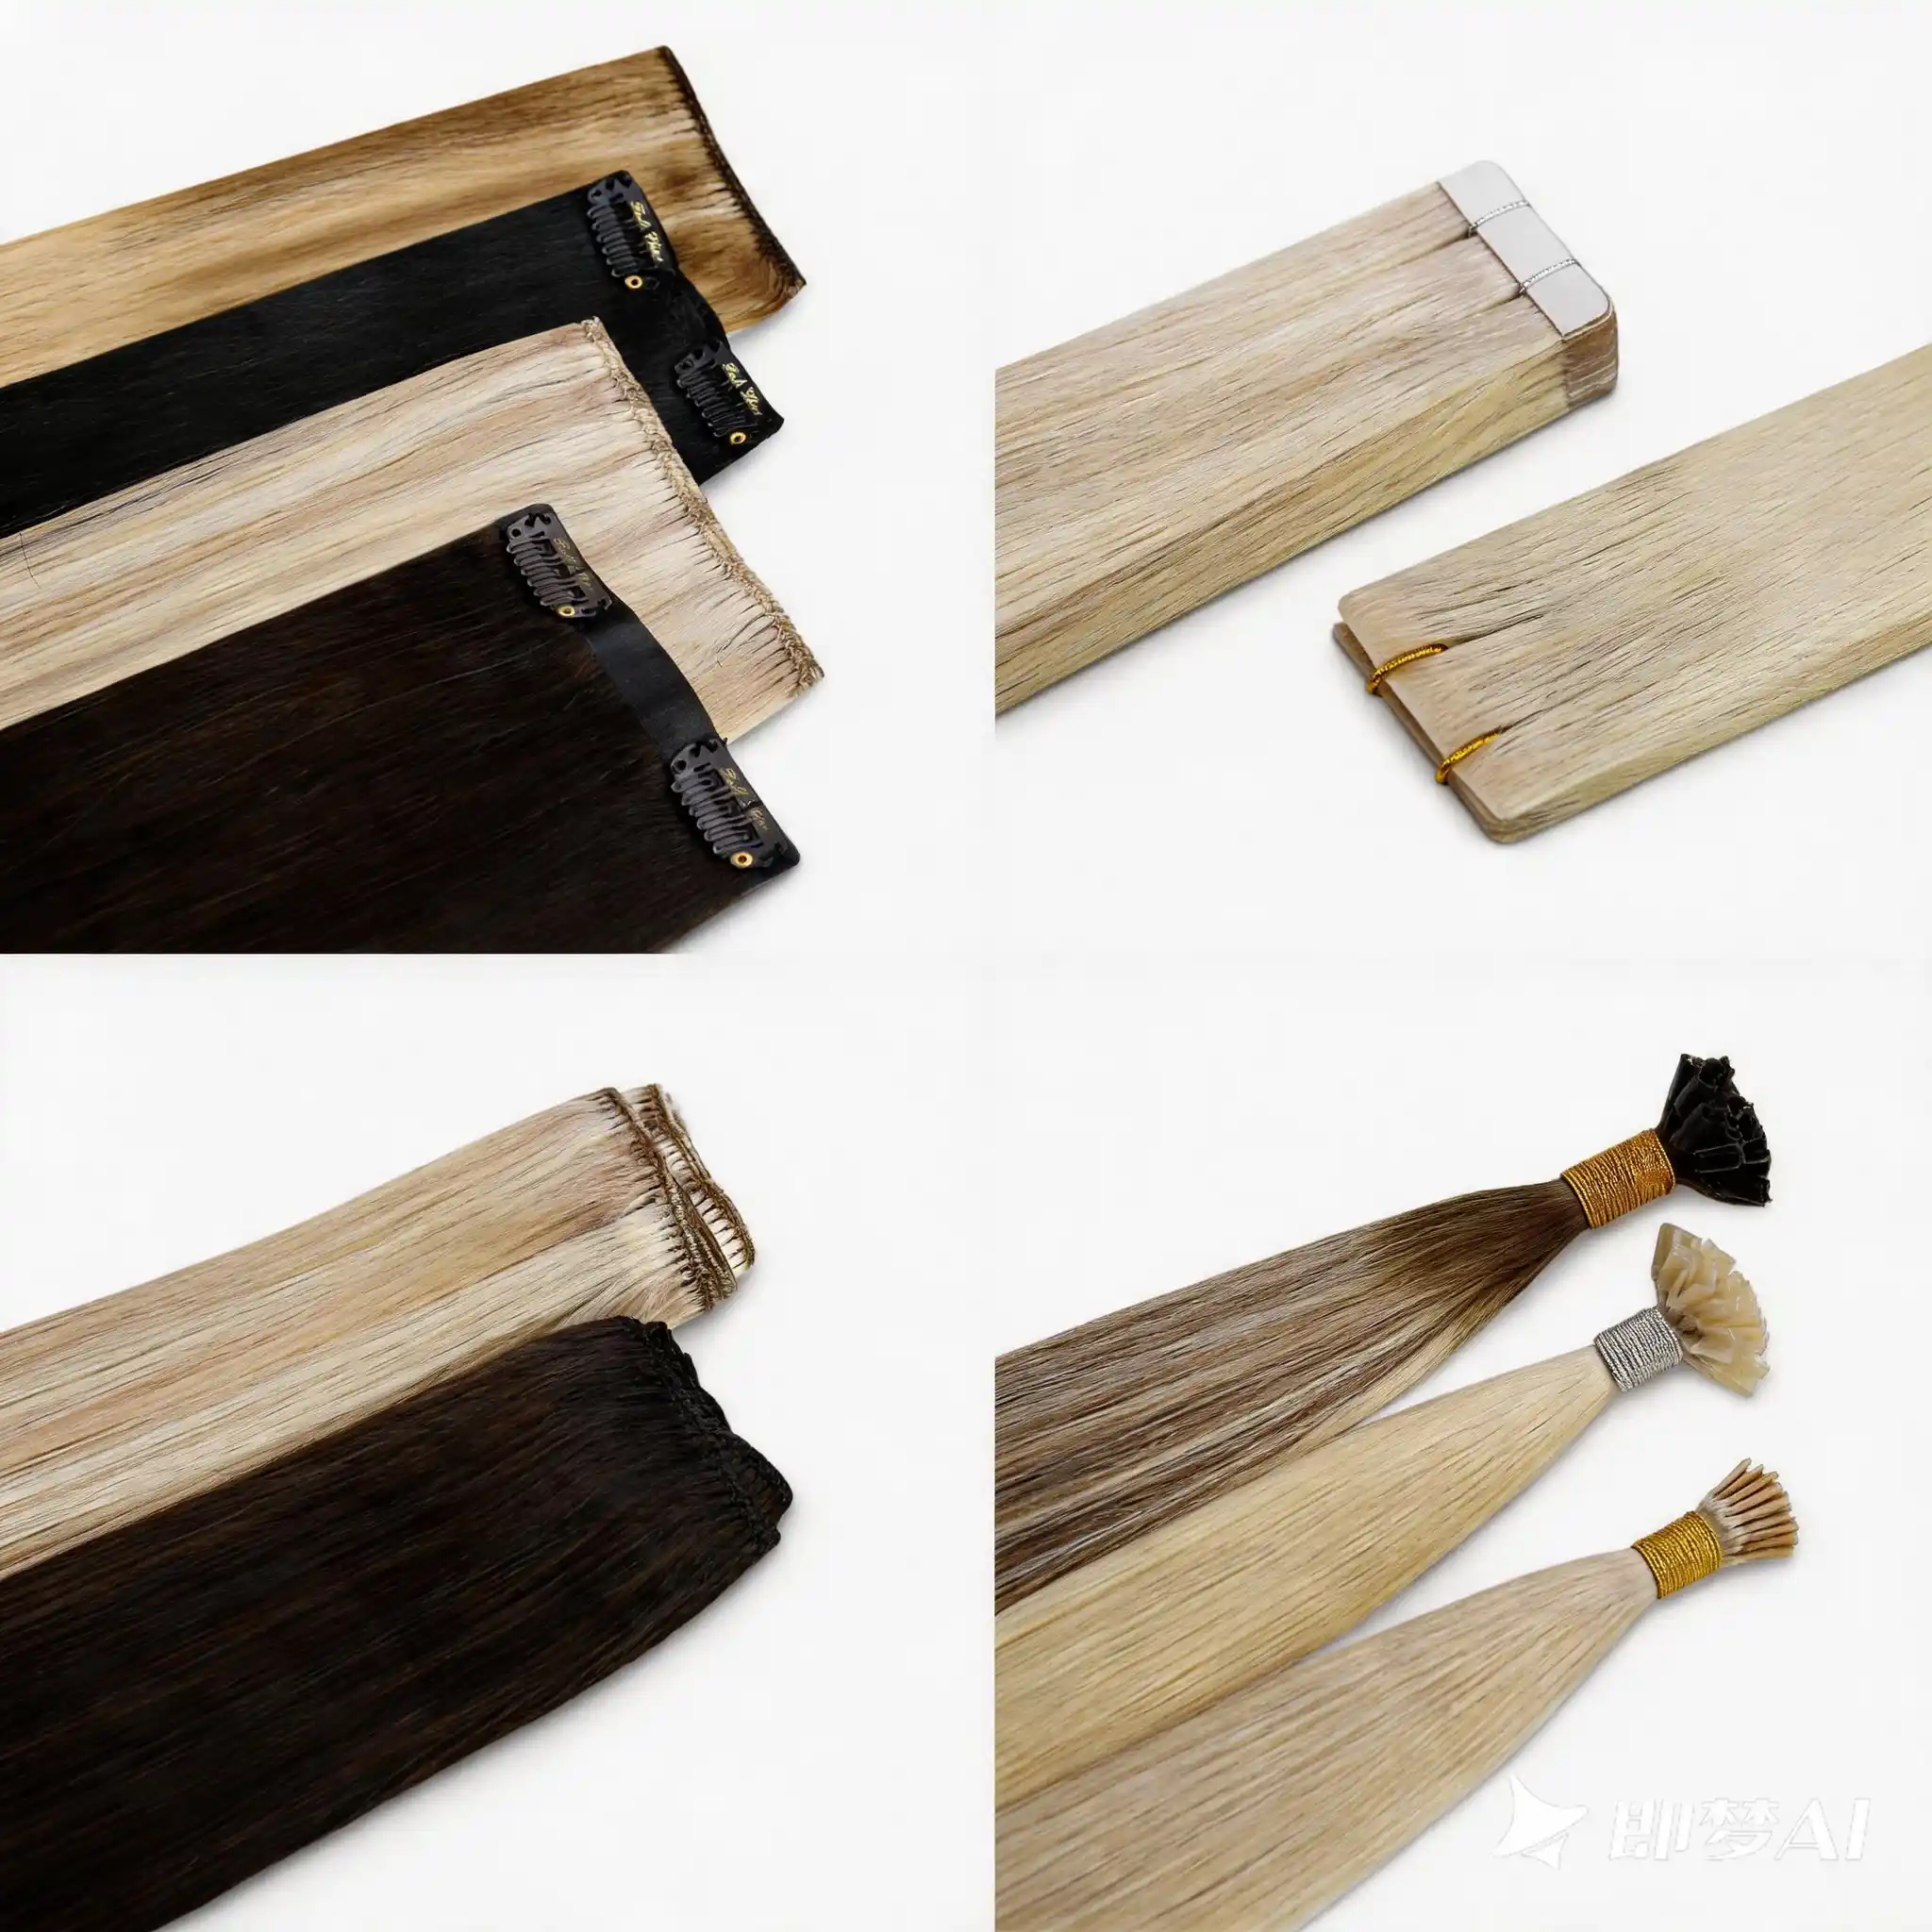
Tape-Ins
Tape-Ins use thin, flat, medical-grade adhesive strips that sandwich your natural hair. Because these seamless hair extensions lay completely flat against your scalp, they are incredibly easy to hide, even if your natural hair is quite short or fine.
Pre-Bonded Extensions
Pre-Bonded extensions use tiny keratin bonds or micro-rings to attach individual strands of extension hair to your own. Because they move 360 degrees just like your natural hair, they are the most versatile option for high ponytails and complex styles.
| Type | Quick Description | Best For |
|---|---|---|
| Clip-Ins The Weekend Warrior | Quick to apply and remove, temporary long hair. | Beginners, blunt cuts, occasional wear |
| Tape-Ins The Sleek & Seamless | Flat strips that blend naturally with short/fine hair. | Natural look 4–6 weeks, active lifestyles, fine hair |
| Weft Hair Salon-Grade Volume Boost | Continuous strips for maximum thickness and coverage. | Thick short hair, maximum volume, long-term wear |
| Pre-Bonded (I/U-Tips) Ultimate Custom Blend | Individual strands for flexible styling, 360° movement. | Precision blending, high ponytails, layered hair |
How Much Hair Do You Need? (The Golden Rule)
When learning how to blend extensions with short hair, volume is just as important as length. If you put a thin pack of long extensions into a short bob, your natural blunt haircut will sit like a heavy “cap” on top of the long hair. To hide that blunt bottom edge, you need weight and density.
- For Fine/Thin Short Hair: At least 120g – 150g
- For Medium/Thick Short Hair: 150g – 200g+ (You may need two packs to ensure a seamless blend).
How to Blend Extensions with Short Hair Flawlessly
The secret to making extensions look completely real on short hair lies in hiding the “leave-out”—those stubborn, short hairs at the nape of your neck that give the secret away. Follow these steps for a flawless application:
Step 1: The Magic Nape Trick (The Ultimate Secret)
Before you apply your first extension row, section off a small, one-inch portion of hair at the very bottom of your hairline (the nape of your neck). Braid this section tightly, swirl it flat against your scalp, and pin it down with bobby pins.
Why this matters: When you look down or move your head, these tiny short hairs love to poke out and ruin the illusion. Pinning them away eliminates the problem entirely!
Step 2: Build Your Base (From the Bottom Up)
Release your next section of hair just above the pinned braid. This is where you will apply your first, heaviest layer of extensions.
- For Clip-Ins: Clip in a 3-clasp or 4-clasp weft firmly.
- For Tape-Ins: Sandwich a row of tapes about a quarter-inch from the root.
- For Pre-Bonded: Apply individual strands spaced evenly across the row to create a solid curtain of length.
Step 3: Work Your Way Up and Around
Continue sectioning your hair upward, moving toward the crown of your head.
- Keep it hidden: Always leave at least two inches of your natural hair at the top (the crown) and around your part to cover the extensions.
- Frame the face: For the sides of your head near your ears, use smaller 1-clasp or 2-clasp clip-ins, or individual pre-bonded strands, to blend out your layers smoothly around your face.
Step 4: The Ultimate Finish (Styling is Key!)
Straight extensions on short hair rarely look natural. The ultimate pro-tip to marry your short hair and long extensions together is texture.
- Apply a heat protectant.
- Grab a 1.25-inch curling iron or wand.
- Take a section of your short natural hair and a piece of the long extension together, and curl them as one piece into loose beach waves.
- Let the curls cool, then gently brush them out with a wide-tooth comb. The waves will completely blur the line where your real hair ends and the extensions begin.
Quick Dos and Don’ts for Short Hair Girls
- DO get them customized. Take your Full Shine extensions to your stylist and have them slide-cut or layered while you are wearing them. Framing layers will make a world of difference.
- DO match the ends, not the roots. When picking a shade, match the color of the extensions to the tips of your natural hair, especially if you have an ombre, balayage, or highlights.
- DON’T place extensions too high. If you place a clip or tape too close to your parting line, a gust of wind will expose it. Keep them safely below the crown.
Ready to say goodbye to the awkward grow-out phase? Now that you know how to blend extensions with short hair, explore the Full Shine collection today and find the perfect match for your instant hair glow-up!
Recommended Products
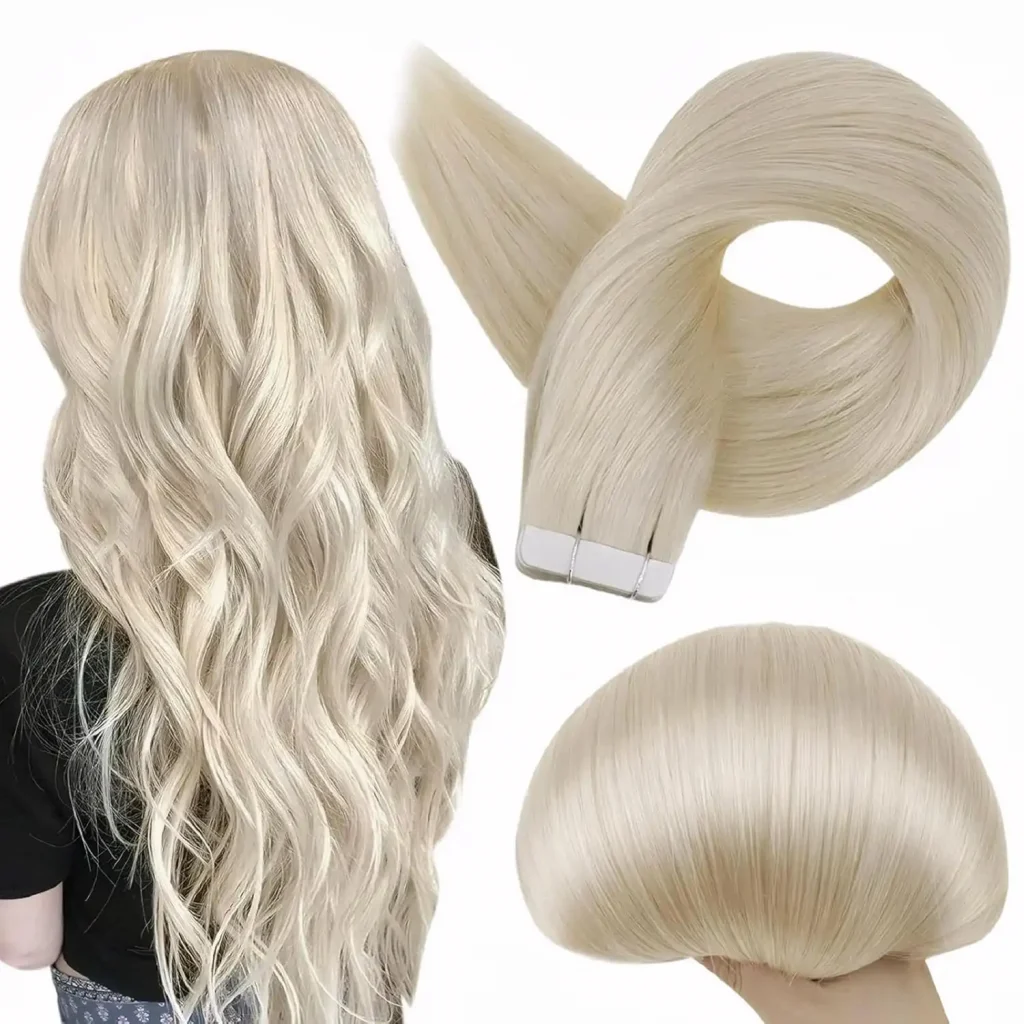
Tape in Hair Extensions
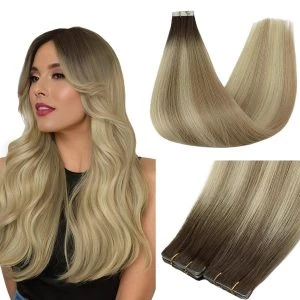
Injection Virgin Tape Ins
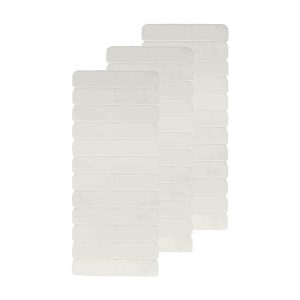
Replacement Tapes