Tape Weft Hair Installation Guide

If you’re craving longer, fuller hair without the wait of growing it out, long tape weft hair extensions are your perfect match! They’re easy to install at home, blend seamlessly with your natural hair, and give you that red-carpet-worthy length in no time. Whether you’re a first-timer or looking to refine your technique, this Tape Weft Hair Installation Guide breaks down the process in simple, American-style steps—plus key tips to keep your extensions looking fresh.​

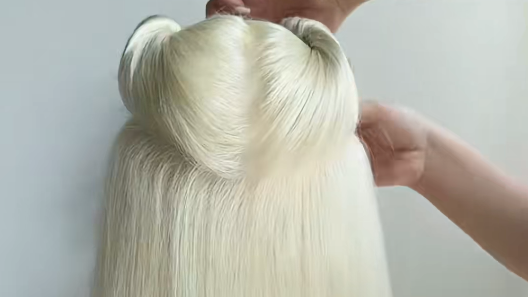
Tape weft hair extensions

What You’ll Need:

Step-by-Step Installation​

Tape weft hair installation guide
Step 1:

Section Your Natural Hair​

Start by dividing your hair horizontally, right above the nape of your neck. Use a rat-tail comb to make a clean, straight part—no messy lines here! Clip the top half of your hair up tightly so it’s out of the way. This bottom section is where you’ll place your first weft.​

Step 2:

Cut the Weft and Peel the Protective Tape​

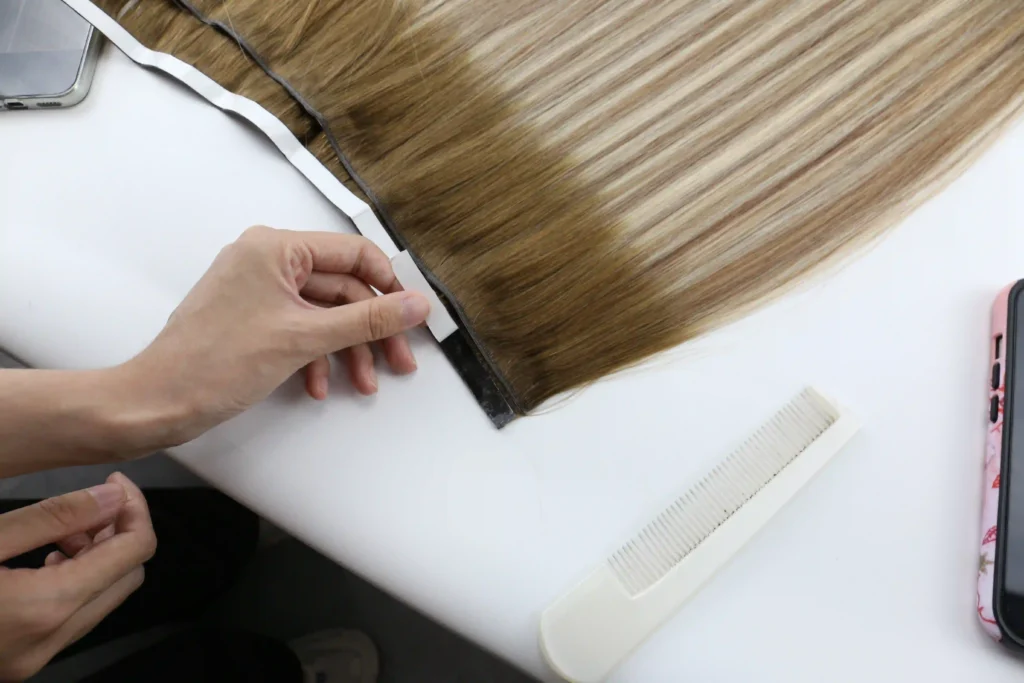
Long tape wefts come in a continuous strip—you don’t need to use the whole thing! Hold the weft against your sectioned hair (from ear to ear, or wherever you want volume) and trim it to match the length of your section. Then, gently peel off the protective backing from one side of the tape weft.
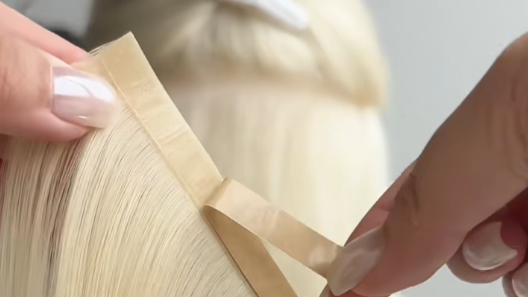
Cut tape weft
Install tape weft
Step 3:

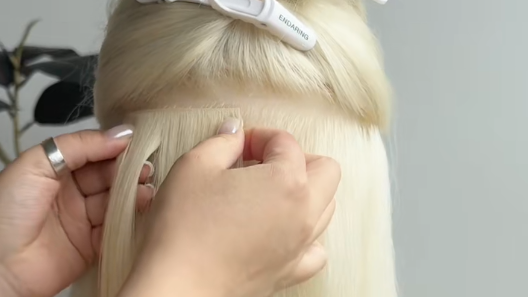
Apply the Weft to Your Roots​

Take the exposed adhesive side of the weft and press it directly onto your natural hair roots (about ¼ inch away from your scalp—you don’t want it too tight!). Make sure the weft is straight and lies flat against your head—no bumps allowed!​

Step 4:

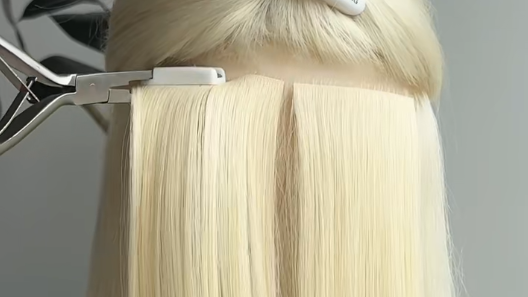
Extension Pliers Press Tape

Once it’s in place, take your extension pliers and press firmly along the entire weft for 5-10 seconds. This heat-free step activates the adhesive and ensures a strong hold. Give it a quick tug (gently!) to check if it’s secure—if it stays put, you’re good to go!​

Tape weft installation

Tape Weft Hair Installation Guide — Pro Tips

  • Avoid oil-based products: Shampoos, conditioners, or serums with oils can break down the tape. Stick to water-based formulas instead.​
  • Brush gently: Use a loop brush (designed for extensions!) to detangle—start from the ends and work your way up to avoid pulling the wefts.​
  • Don’t sleep with wet hair: Damp hair can loosen the adhesive. Let your extensions air-dry or blow-dry them completely before bed.​
  • Touch up every 4-6 weeks: Tape wefts naturally loosen as your hair grows. When you notice gaps, simply re-press the wefts with pliers—or replace them if the adhesive wears out.​

FAQ Section

It depends on the hair type of your extensions. You can dye them—but we recommend sticking to semi-permanent or demi-permanent dyes (avoid bleach or permanent dyes, which can damage the hair and weaken the tape adhesive).​

Itchy scalps are common at first, but they shouldn’t last more than 1-2 days! The itch usually comes from two things: either your scalp is adjusting to the slight pressure of the wefts, or there’s a tiny bit of residue from the adhesive.​
Here’s how to fix it:​

  • Avoid scratching (you could loosen the wefts or irritate your scalp!).​
  • Gently pat your scalp with a damp cloth, or use a spray bottle with cool water to soothe it.​
  • If the itch lasts longer than 3 days, check if the wefts are too tight—loosen them slightly with your fingers (or remove and reapply if needed). If irritation persists, take a break from extensions to let your scalp breathe.​

Removing tape wefts the right way is key to keeping your natural hair healthy! Don’t yank or pull—instead, use a tape extension remover spray (you can find this at beauty supply stores or our shop!).
Here’s the process:

  1. Spray the remover directly onto the tape bond (focus on the edges first).
  2. Let it sit for 1-2 minutes—this breaks down the adhesive so the weft slides off easily.
  3. Gently peel the weft away from your scalp—start at one end and slowly pull it across, not up.
  4. After removing all wefts, shampoo your hair twice to get rid of any leftover adhesive residue. Avoid using conditioner on your roots for 24 hours—this helps your scalp reset before your next install.

It’s usually from dryness—extensions don’t get natural oils from your scalp like your real hair does, so they need extra moisture.​
Try these quick fixes:​

  • Use a small amount of Detangler Spray on the ends—avoid the tape bonds (oil breaks down adhesive!).​
  • Run a flat iron over the ends (on low heat—250°F max!) to smooth frizz. Make sure the wefts are completely dry before using heat.​
  • Trim the ends every 6-8 weeks—just like your natural hair, extensions get split ends that cause frizz. A small trim keeps them looking fresh!​

Contact Us

If you have any questions about “Tape Weft Hair Installation Guide”, please feel free to let us know!🥰

    Please follow and like us:
    Was this article helpful?
    YesNo

    Leave a Comment

    Your email address will not be published. Required fields are marked *

    Scroll to Top