“TU-shaped half wigs are a game-changer for adding instant volume and length while maintaining a natural hairline. Perfect for both beginners and styling pros, these clip-in extensions blend seamlessly with your natural hair.”
Step-by-Step Installation Guide
In this guide, we’ll walk you through the installation process, share pro tips, and help you avoid common pitfalls.
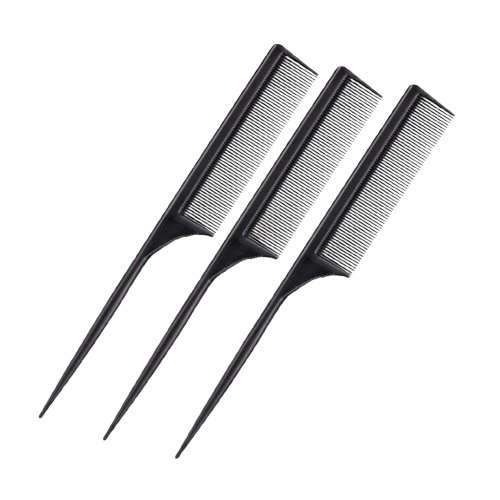
Tail Comb
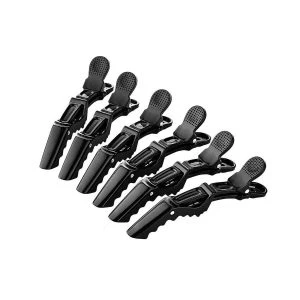
Hair Clip

Flat Iron
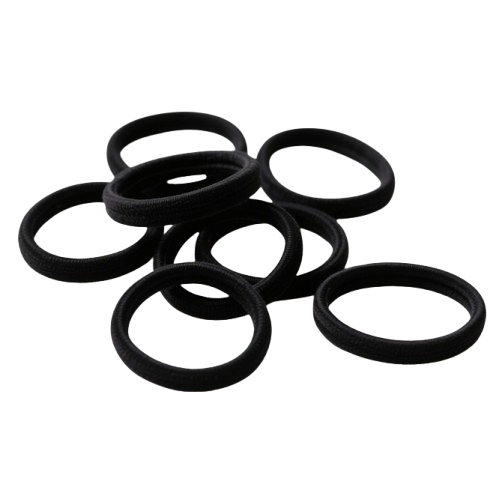
Hair Tie
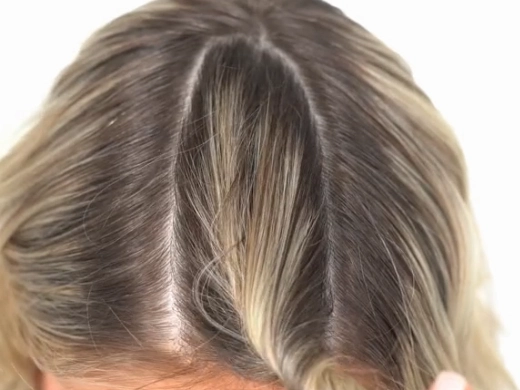
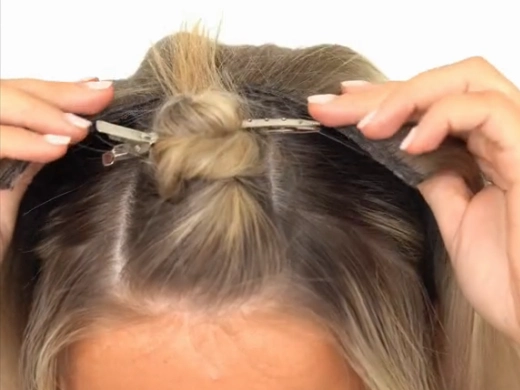
Step 1: Section Your Hair
- Use a rat-tail comb to create a U-shaped parting at the crown of your head.
- Clip the top section (the U-shaped portion) upward and secure it with clips.
- Gather the remaining lower hair into a low ponytail or braid it loosely to keep it out of the way.
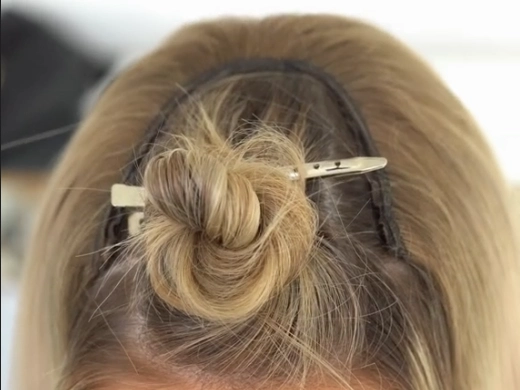
Step 2: Position the U-Part Wig
- Hold the U-part extension with the open end facing forward (toward your forehead).
- Align the wig’s U-shape perfectly with your sectioned area. Adjust until it sits flat against your scalp.
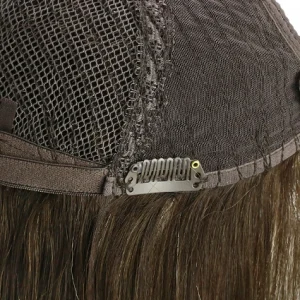
Step 3: Secure the Extensions
- Clip Method:
Snap the built-in clips firmly onto the roots of your lower section. For extra hold, clip them onto the base of your braided/ponytail hair. - Braid Method (Advanced):
Create two cornrows under the U-section and sew/loop the clips onto the braids for 24-hour wear.
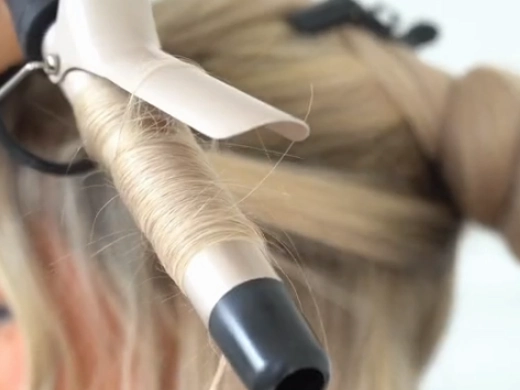
Step 4: Blend & Style
- Release the clipped top section of your natural hair.
- Gently comb or finger-style to layer your natural hair over the extensions, hiding the clips and parting line.
- Use a curling iron (320°F max) or flat iron to blend textures. Finish with hairspray for hold.
Installation Notes
Cleanse and dry hair before application. Ensure no oils or moisture remain to enhance grip and prevent slippage.
Open clips with fingertips, never force them. Tugging may damage both the wig and natural hair.
Use a hand mirror to align the front edge with your hairline and center the back. Adjust until symmetrical.
Remove the hair before bed to reduce friction. Store the wig flat or on a stand to preserve its shape.
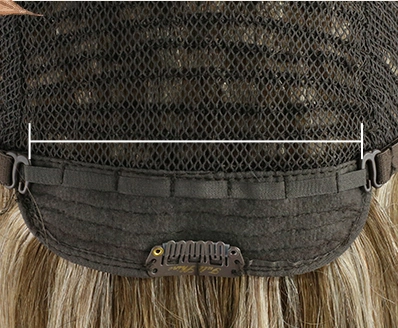
How to fix and adjust the U part wig?
Correct adjustment is also the key to ensuring comfort.
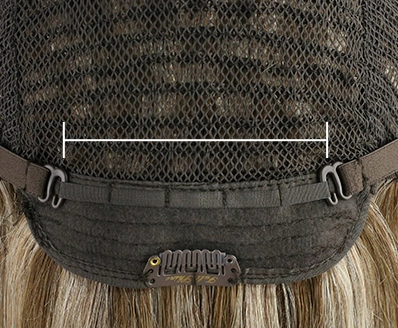
Method One
Two elastic ropes to adjust the size of the cap.
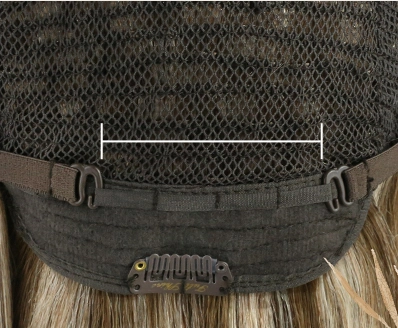
Method Two
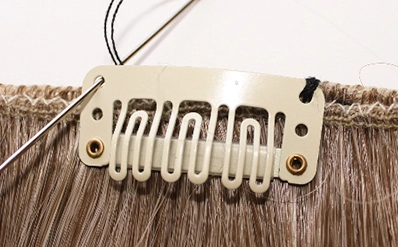
If you feel that there are too few clips to hold the wig,you can also sew more clip on the wig
Before & After
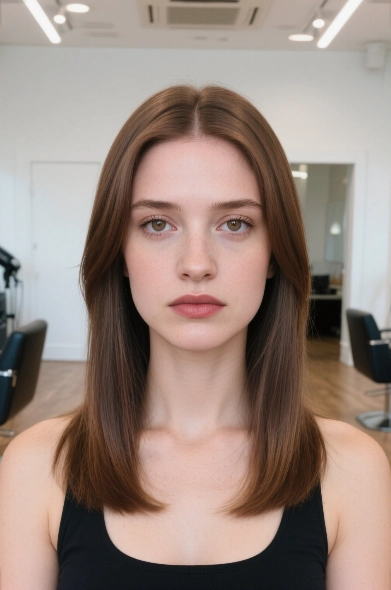
before
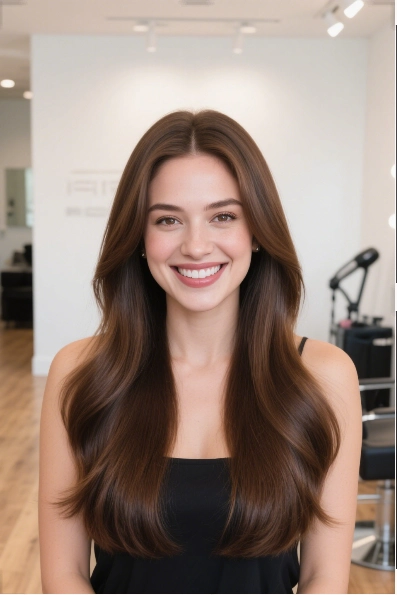
after

before

after
Learn more & Get more help
Let me know if you’d like me to refine any answers or adjust the technical details to better match your product specifications!