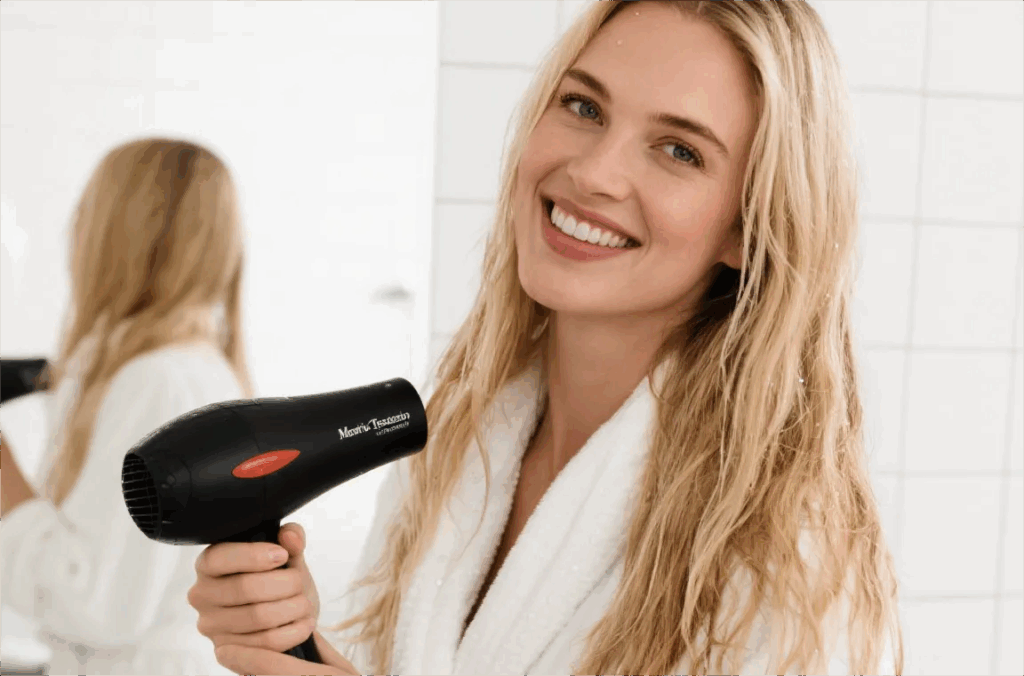
Have you ever eagerly removed your freshly washed hair extensions, only to be left with dry, frizzy, and even tangled strands after blow-drying? Don’t worry, this isn’t a problem with the quality of your extensions, but often stems from improper blow dry hair extensions steps. Without the nourishment of your body’s natural oils, your extensions need even more meticulous care. Blow dry hair extensions isn’t just about drying your hair; it’s crucial for their shine, smoothness, and longevity. Today, let’s uncover the secrets of professional hairstylists and master the golden rules for blow-drying your extensions to achieve silky smoothness!

Part 1: Pre-Blow-Drying Preparation
80% of Your Success Depends on This
Gently apply pressure to absorb moisture
|
Do
|
Don’t
|
|---|---|
Detangling
Tools of Choice:
Always use a wide-tooth comb or a professional curling comb. Starting from the ends, work your way towards the roots, carefully detangling all tangles.
Product Add-on:
Apply a heat-resistant spray or leave-in conditioner evenly to damp hair. This not only creates a protective film but also provides extra glide, making combing easier.
Part 2: Tool Selection When Blow Dry Hair Extensions
Your “Weapons” Determine Success or Failure
To do your job well, you must first sharpen your tools.
Ion Function: Choose a hair dryer with negative ionization. Negative ions neutralize the positive charge in your hair, effectively smoothing frizz and leaving it smoother and more manageable.
Heat and Speed Settings: Always start with a medium-low setting and medium speed. While high temperatures dry faster, they can be extremely damaging to hair protein. Only briefly switch to cool air for a final hold at the end of your styling session.
Part 3: Professional Blow Dry Hair Extensions Steps
This is the practical step that determines the final result.
Zone Drying
Divide your weft into sections from top to bottom and secure with clips. Start with the bottom section to ensure each section is thoroughly and evenly dried, avoiding repeated blow-drying.
Air Direction and Angle
Always blow along the hair cuticles: Direct the air from the blow dryer along the hair from roots to ends. This helps close the cuticles and maintain smoothness.
Maintain Distance
Keep the blow dryer approximately 15-20 cm away from your hair to prevent overheating and damage.
Part 4: Ultimate Post-Blow-Dry Care
The care doesn’t end even after the blow-dryer stops.
Cool Setting: After your hair is completely dry, switch to the cool setting and blow dry it in the same direction. The cool air helps tighten the cuticles, locking in moisture and shape for a longer-lasting smooth finish.
Serum Booster: After your hair has completely cooled, squeeze 1-2 drops of hair serum or lotion into your palms, rubbing it into your hair and gently working it through the hair’s midsection and ends. This replenishes nutrients, adds a luxurious shine, and further controls frizz.
CONTACT US
If you have any exclusive care experience with blow dry hair extensions, you are also welcome to share it with us in the comment area!
See, blow-drying your wefts like a pro doesn’t have to be difficult! It requires no complicated techniques, but rather the right knowledge, the right tools, and a little patience. Every thoughtful treatment will extend the beautiful life of your beloved extensions, allowing them to bring you confidence and radiance time and time again.