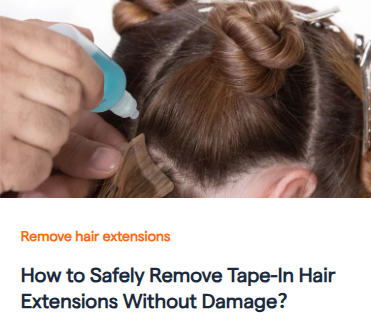
Tape-in hair extensions typically last 4-6 weeks before needing replacement. Follow this professional guide to safely remove and reinstall them without damaging your natural hair.
Tools You’ll Need
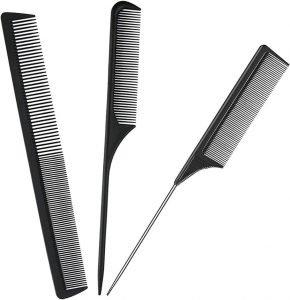
Fine-tooth comb
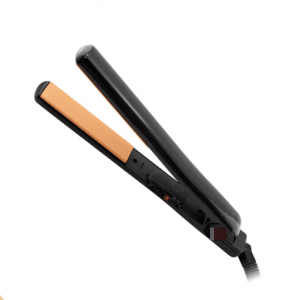
Flat iron (for sealing)
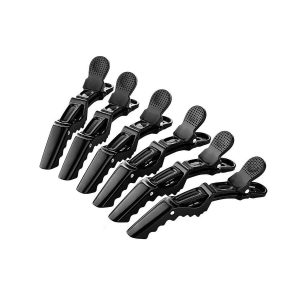
Crocodile Clips
First: Remove Old Tape-Ins
Second: Getting the Hair Ready for New Tape
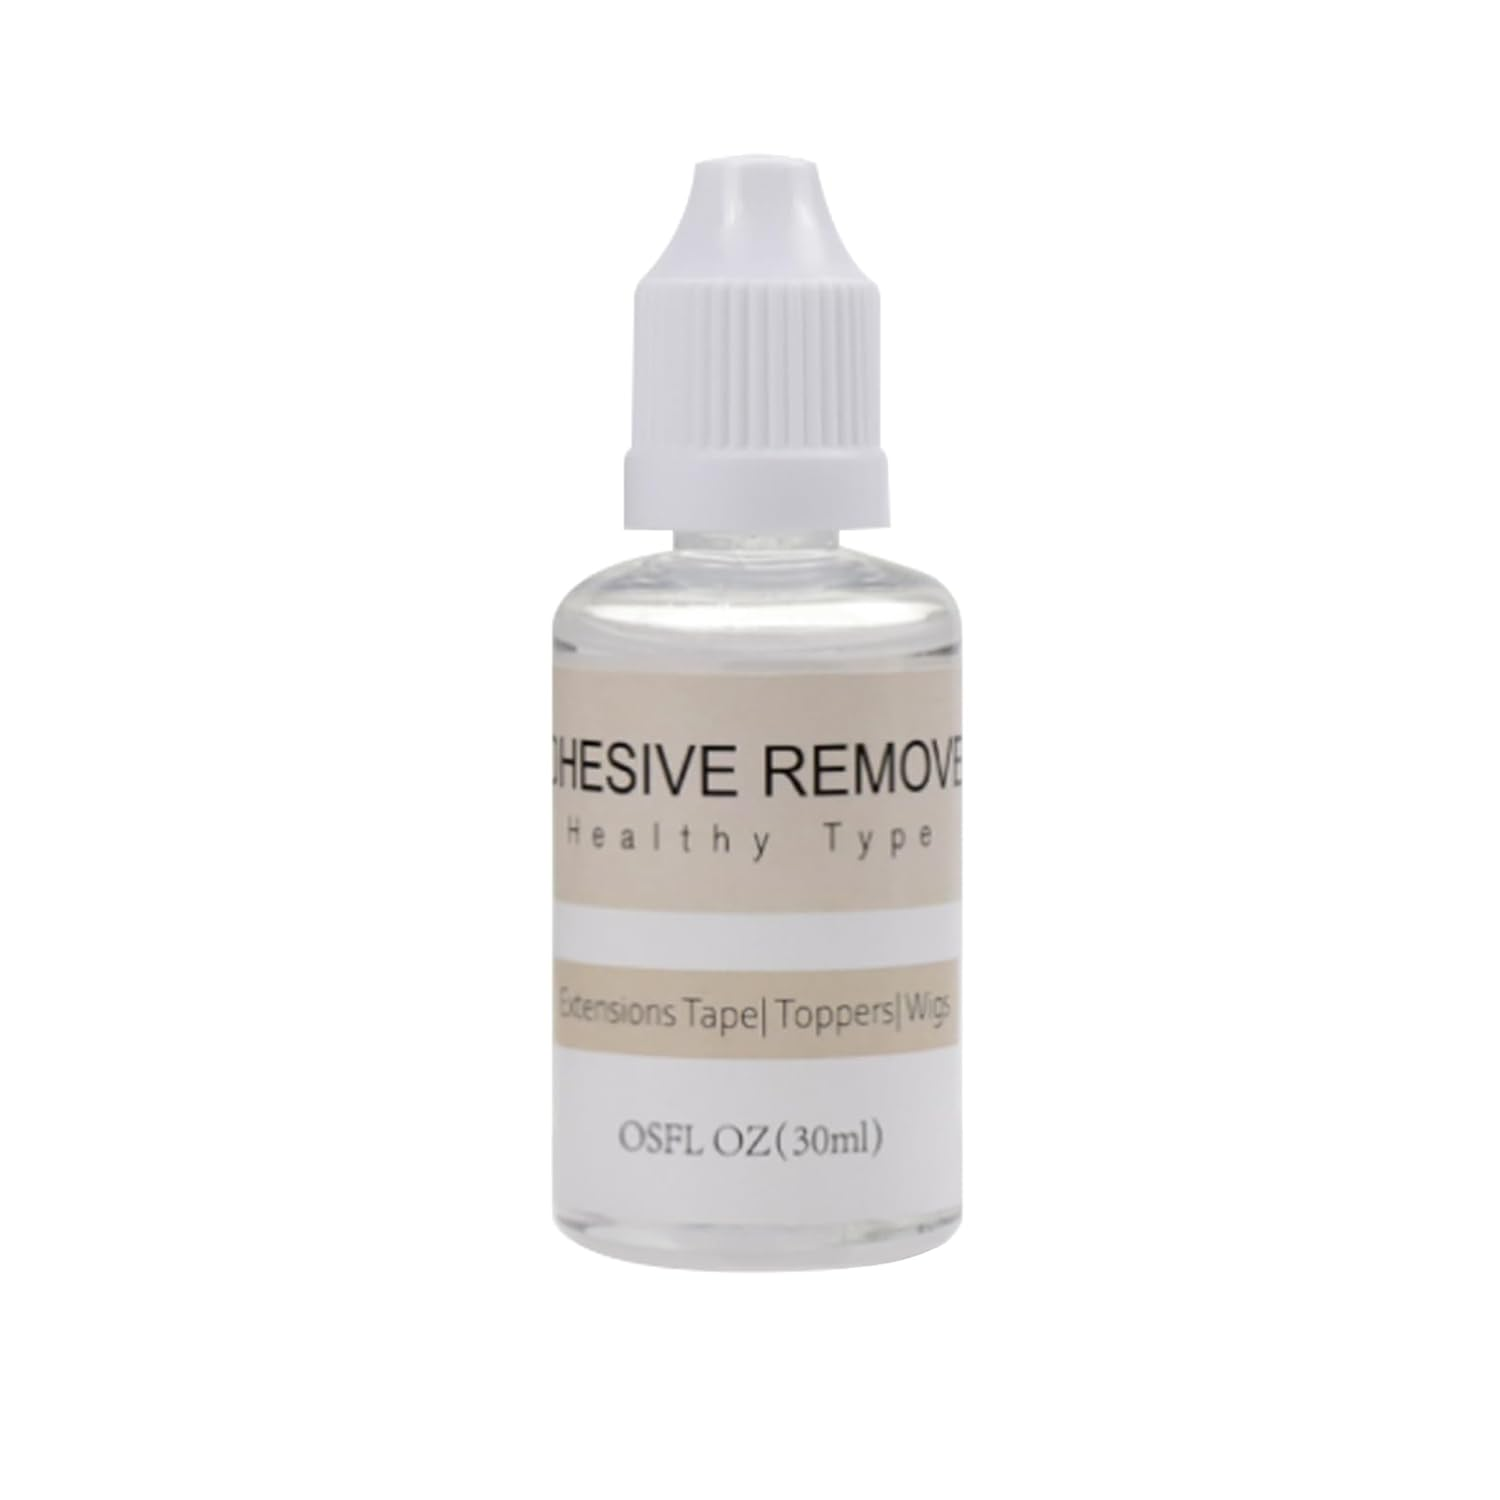
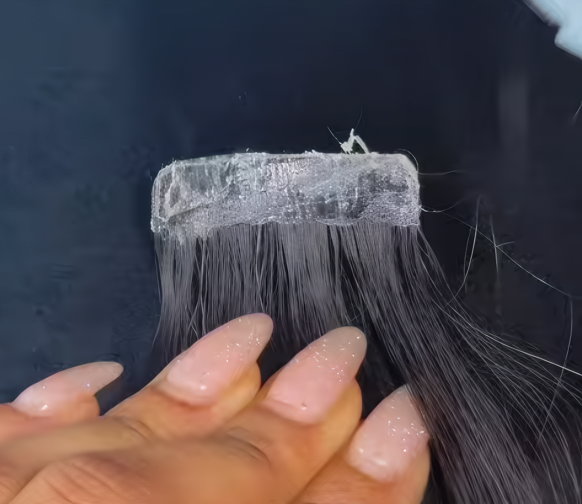
After tape removal, adhesive often stays on extensions—peel off any leftover bits
Wash the extensions with a high-quality shampoo to remove all residue. This step is crucial—if any remains, the new tape won’t stick properly.
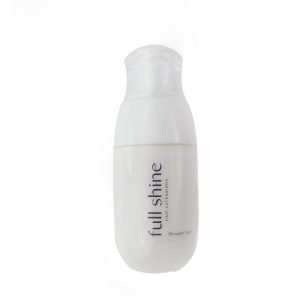
After washing, fully dry and straighten the extensions before applying new tape.
Once you have removed the tape hair extensions using an tape remover, it is incredibly important that you prepare the hair extensions correctly for re-taping. You should not re-tape the hair extensions until the below steps have been taken.
Replacing Tape-In Hair Extensions
STEP 1:
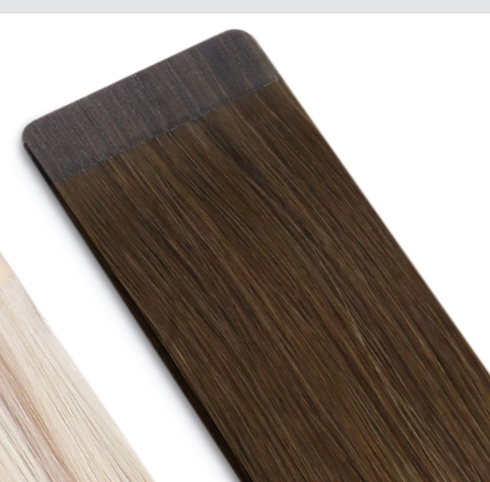
Take 1 piece of your hair extensions and lay flat on a clean surface.
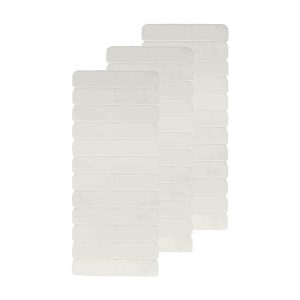
STEP 2:
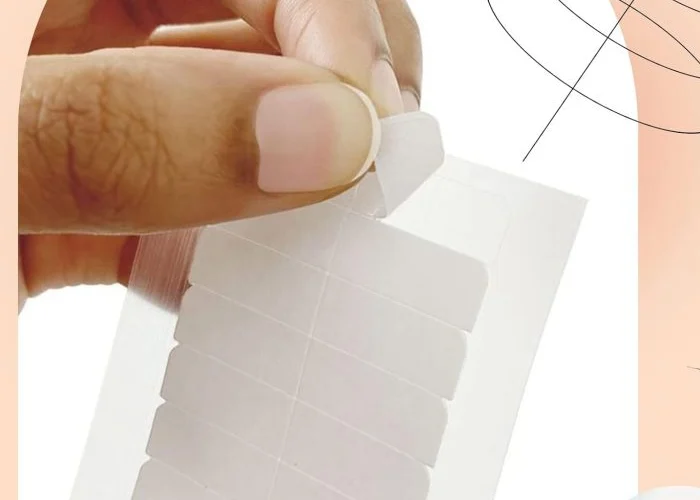
Peel away one piece of tape from the tape tab sheet, or cut a piece of tape from your tape roll to the exact width of the hair extension piece.
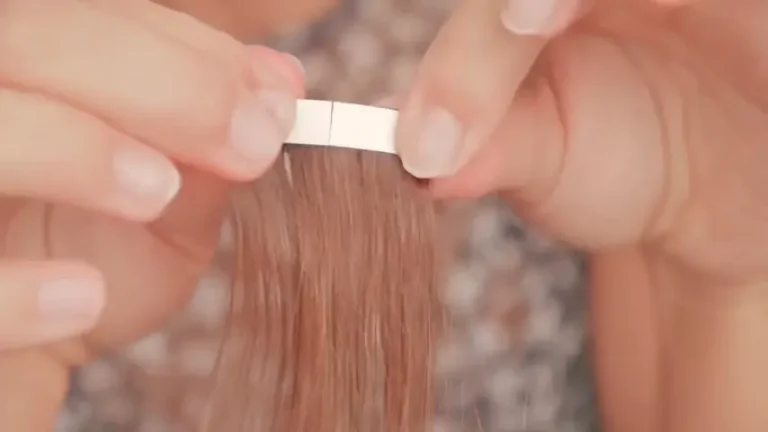
Step 3:
Carefully place the new tape piece directly where the original tape was applied. Leaving the reverse sticker still in place until you are ready to install new hair extensions.
Enjoy your new hair! For more tips and support, please reach out to our customer service team or contact your extension specialist.
Related Products

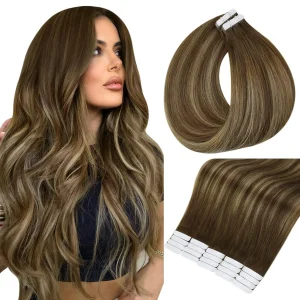
Tape in Extensions
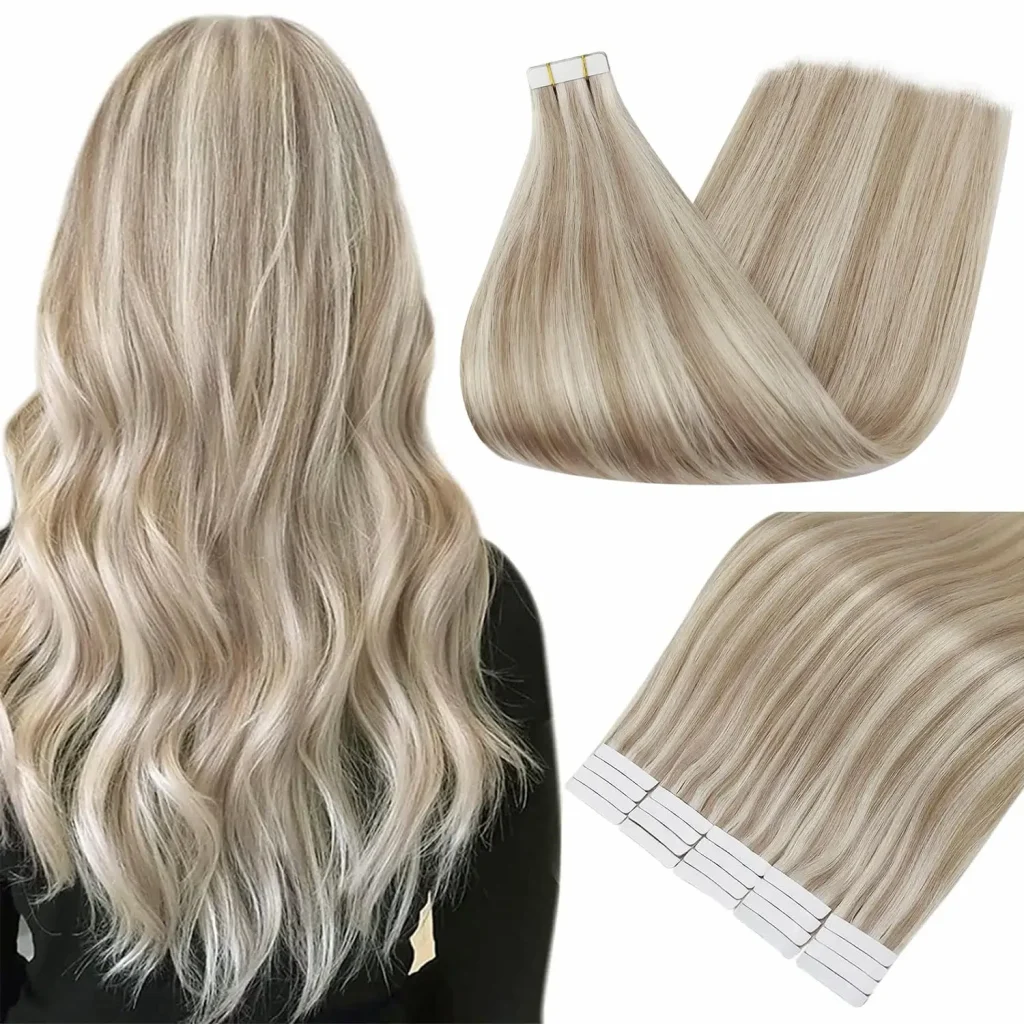
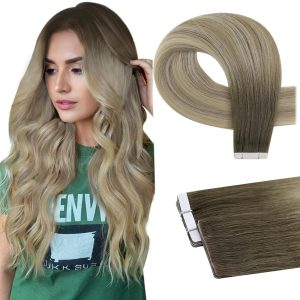
Highlighted Tape Ins
Balayage Tape Ins
Injection Virgin Tape