“Tape-in extensions slipping? Your adhesive might be ghosting you. Time for a tape upgrade!
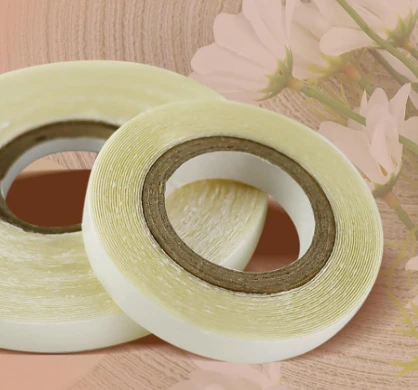
We have a variety of styles of replacement tapes to choose from!
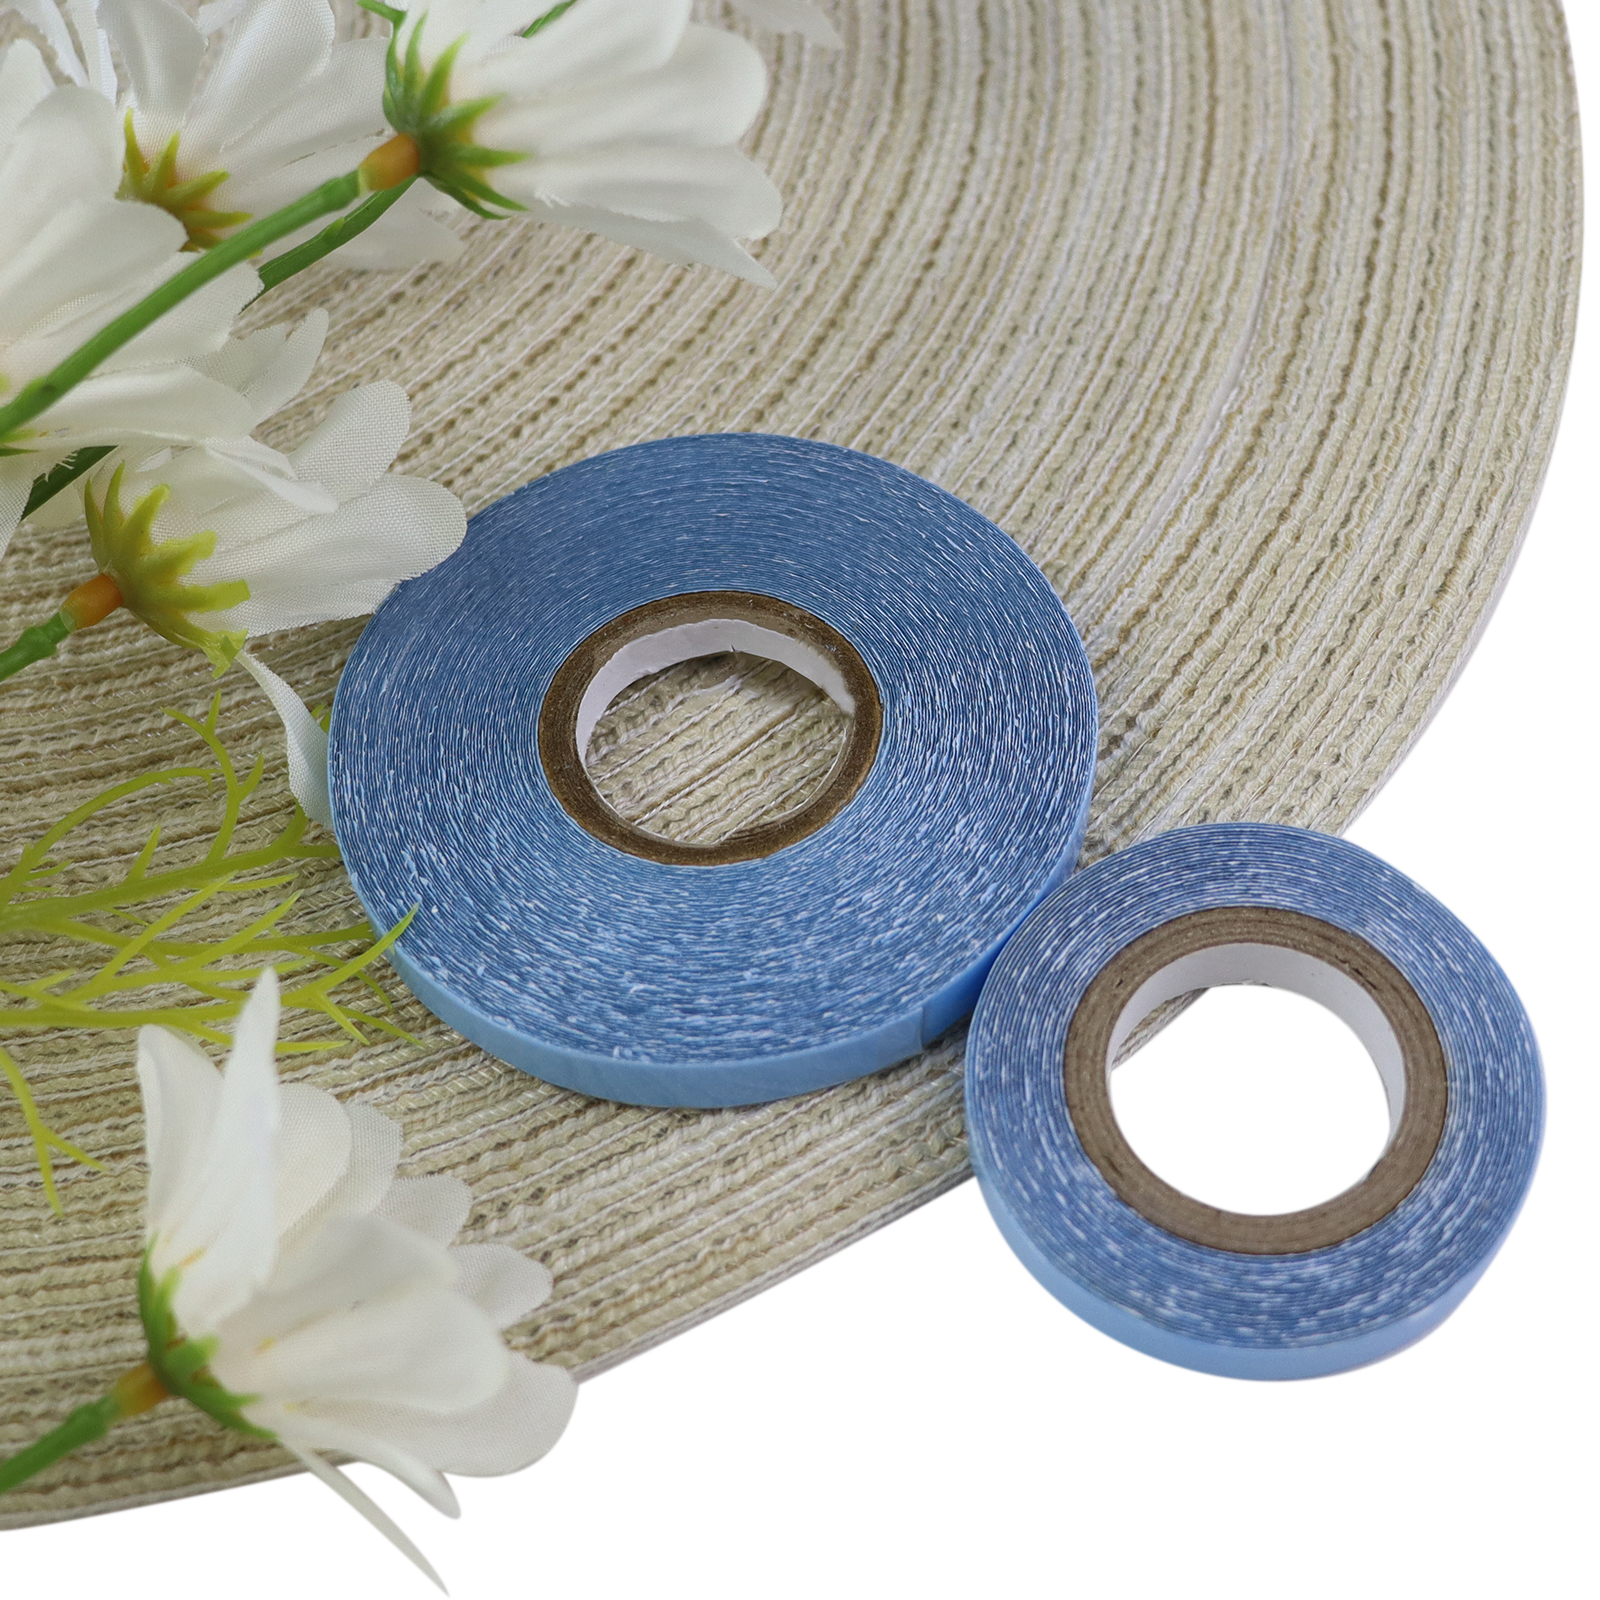
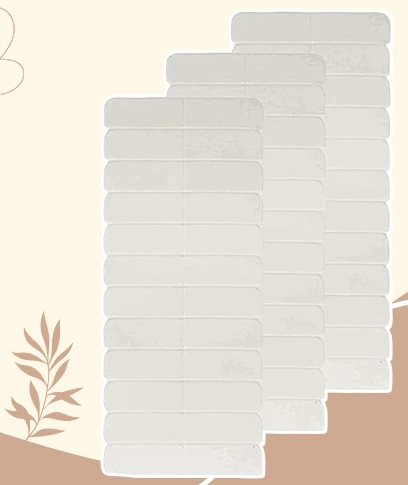
✅ What Are Tape-In Replacement Tabs?
Medical-Grade Adhesive
Hypoallergenic & strong enough to survive spin class, but gentle on hair.
Invisible and traceless
4cm×0.8cm standard size, transparent/skin-colored design, can be cut to suit different hairstyles.
Convenient operation
Double-sided adhesive design, no need for additional glue, suitable for DIY or professional salon use.
Safe and residue-free
No sticky residue is left after removing the glue, and it does not damage the hair and scalp.
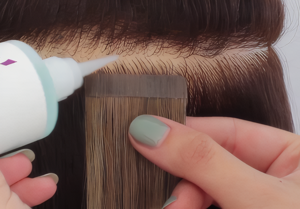
1️⃣ Remove Old Tabs
Spray adhesive remover (never pull dry!)
Gently slide off residue with a wooden stick
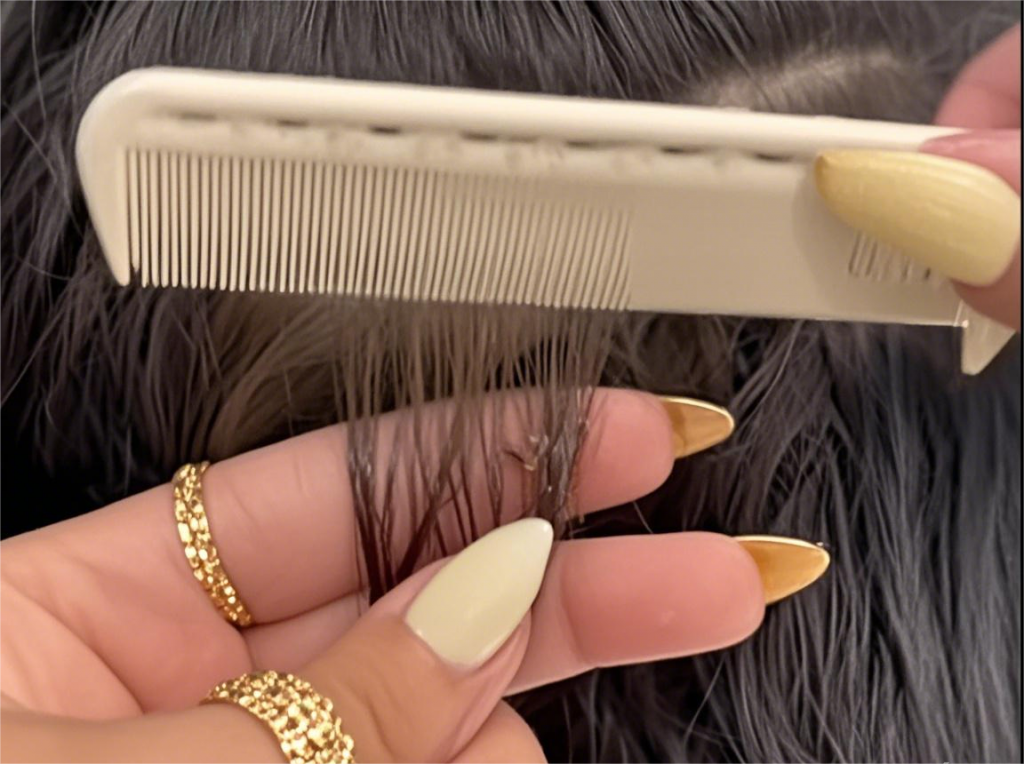
2️⃣ Prep Your Hair
Comb through to remove tangles
Clean roots with alcohol wipe → Dry completely
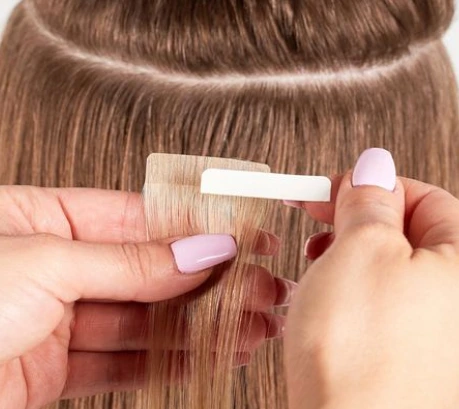
3️⃣ Apply New Tabs
Peel backing → Press firmly onto clean hair
Sandwich with extension weft → Hold for 10 secs
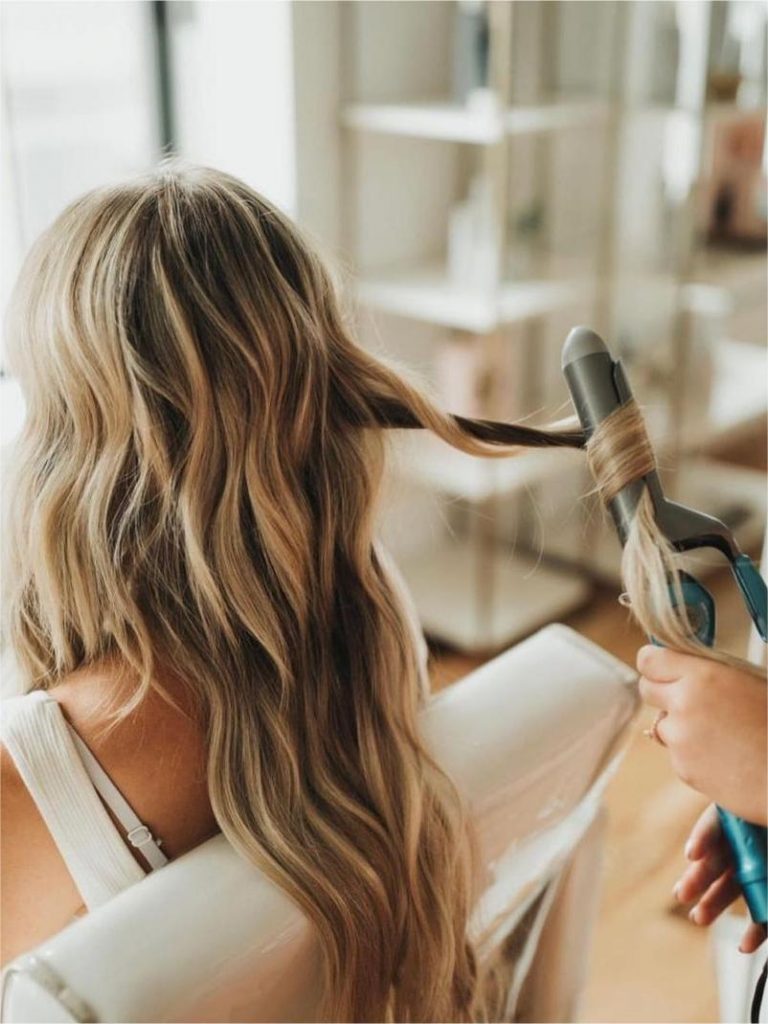
4️⃣ Style & Seal
Flat-iron over a cloth (low heat!) to activate adhesive
Avoid washing/styling for 24 hours
⚠️ 4 Key Considerations
Thorough Cleaning
Before replacement, use oil-free alcohol wipes or a specialized cleanser to remove old adhesive residue, oils, or debris from the extension base and your natural hair roots.
Dry Completely
Ensure both the cleaned hair and extensions are fully dry before applying new tape. Moisture weakens adhesion.
Proper Storage
Keep unused tapes sealed in a cool, dry place away from sunlight or humidity.
Patch Test
Before first use, apply a small tape piece to your wrist or behind the ear. Wait 24 hours to check for redness, itching, or irritation.
🚨 When to Replace Your Tapes
4 Signs It’s Time:
- Tabs feel “crunchy” or peel easily
- Visible glue buildup (looks like old gum)
- Extensions shift within 2 days
- You’ve hit the 4-6 week mark (even if they seem fine!)