
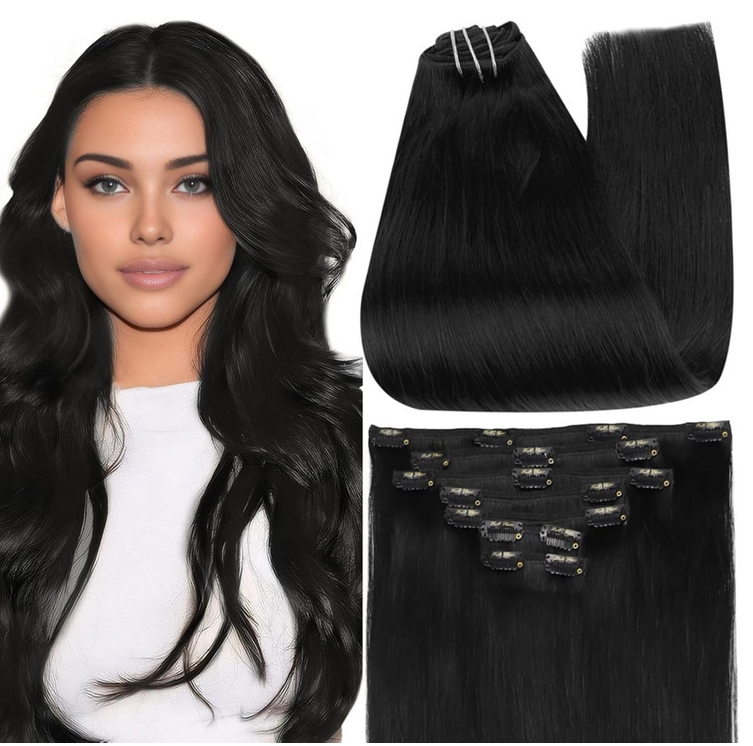
Full Shine Clip in hair extensions
3 Steps Easy Install
Clip-in hair extensions are the easiest, most versatile way to transform your look instantly. In minutes, you can add length, volume, and even experiment with bold colors
1.Installation Preparation for Hair Extensions
Key Pro Tips:
First-time users: Practice clip placement before securing. Color match: Test under both natural and artificial light
For fine hair: Backcomb roots slightly at clip points for extra hold
Contraindications: ✖ Avoid installation on wet/damp hair ✖ Do not use near chemical-treated or compromised hair
Essential Tools
Wide-tooth comb
mirror
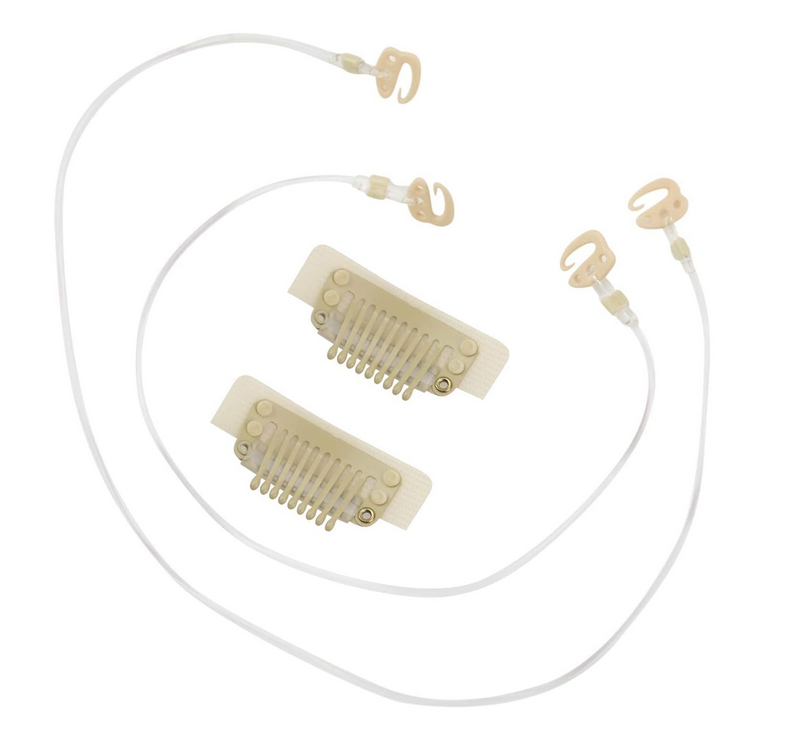
Hair Clips
clip-in extensions
Hair Preparation
Clean & Dry Hair
Wash with clarifying shampoo
Blow-dry until fully dry
Detangle from ends up
Section Mapping
Section hair per installation plan
Arrange clip-ins: longest → shortest
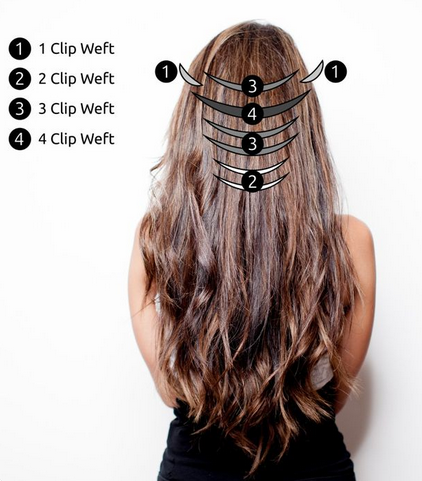
2.Divide your hair into four horizon
Tips: Blending and Adjusting:Gently comb through the extensions and your natural hair using a wide-tooth comb to blend seamlessly. Adjust the placement if necessary to ensure even distribution and a natural look.
Divide your hair into four horizon
2 Small: Crown sides (volume)
2 Medium: Above ears (mid-layer fullness)
2 Large: Lower back (length/thickness)
1 XL: Mid-back (foundational volume)
3.Step by Step: Important Tips for Best Looks
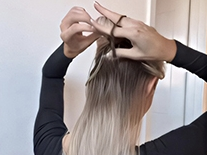

STEP 1
Start by parting your hair horizontally a few inches above your neck, securing the rest on top with a clip. Use a tail comb to section the hair and tease the roots.
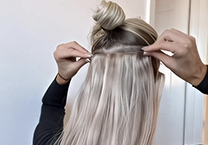
STEP 2
Clip in extensions at the part, snap shut for hold. Tug gently to check security—should feel snug and comfy.
STEP 3
Release some clipped hair to add another extension layer. Section horizontally 1 inch above the first row, tease roots, and apply hairspray if needed. Secure the next row.
STEP 4
Repeat steps for more extensions, leaving enough top hair to cover layers. Work from back to sides—use smaller wefts above ears, aligning with previous pieces
STEP 5
Blend extensions gently with wide-tooth comb. Avoid rough brushing. Keep heat tools away from clips.
STEP 6
To take off the clips, begin at the top of your head, unclip each weft and carefully store them until further use.
4. Install Clip in Hair Extensions Video Tutorial
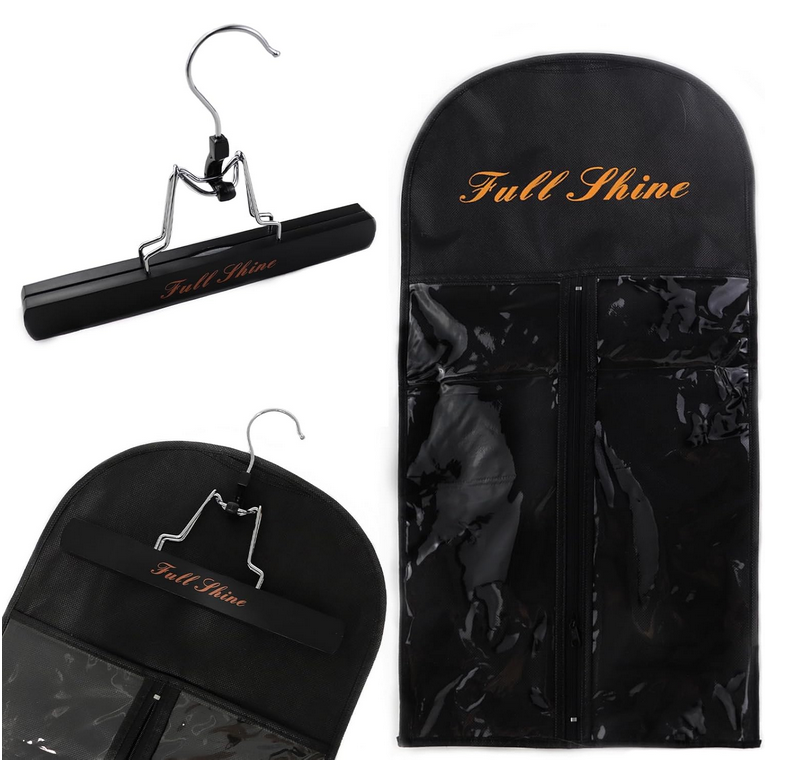
For a flawless, natural finish, pair your clip-ins with our Full Shine Detangled Spray to reduce frizz and keep your extensions silky smooth. Always store them in the Full Shine Hair Extension Storage Bag to protect them from dust and tangling.
Frequently Asked Questions (FAQs)
fULL Shine Hair
Products you may need

If this article didn’t resolve your issue, please contact us for further assistance.
Email: support@fullshine.net
Message: (840) 200-6328
Instagram:fullshinehairextensions