Removing tape in hair extensions can sometimes be challenging, especially if the adhesive is strong or if the extensions have been in place for a long time. However, with the right tools and techniques, you can remove them safely and avoid damaging your natural hair. Here’s a step-by-step guide to help you through the process:
Step 1: Gather the Right Tools
Before starting, make sure you have the following items:
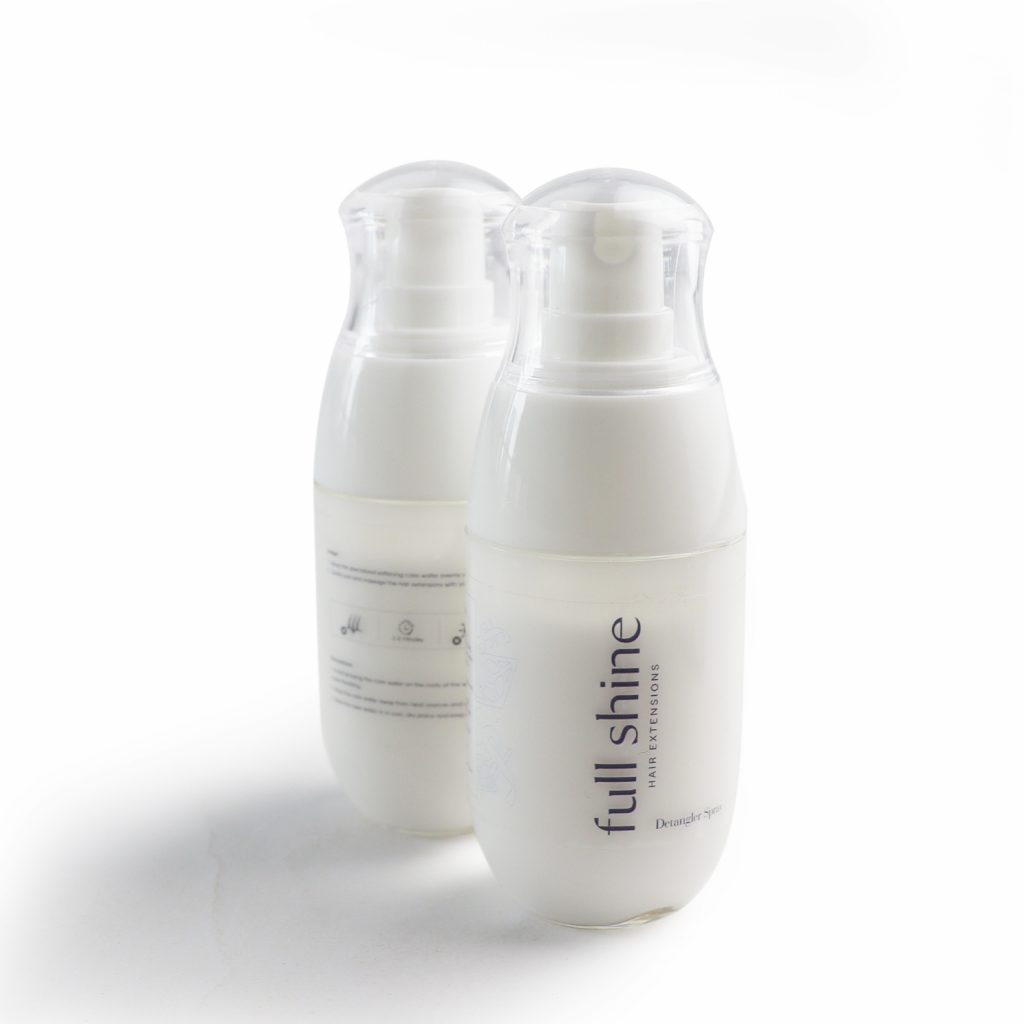
- Tape-in extension remover: A specialized adhesive remover designed for tape-in extensions. (Available in our store)
- Fine-tooth comb or tail comb: To help separate the extensions from your natural hair.
- Clips or hair ties: To section your hair and keep it organized.
- Shampoo and conditioner: To cleanse and nourish your hair after removal.

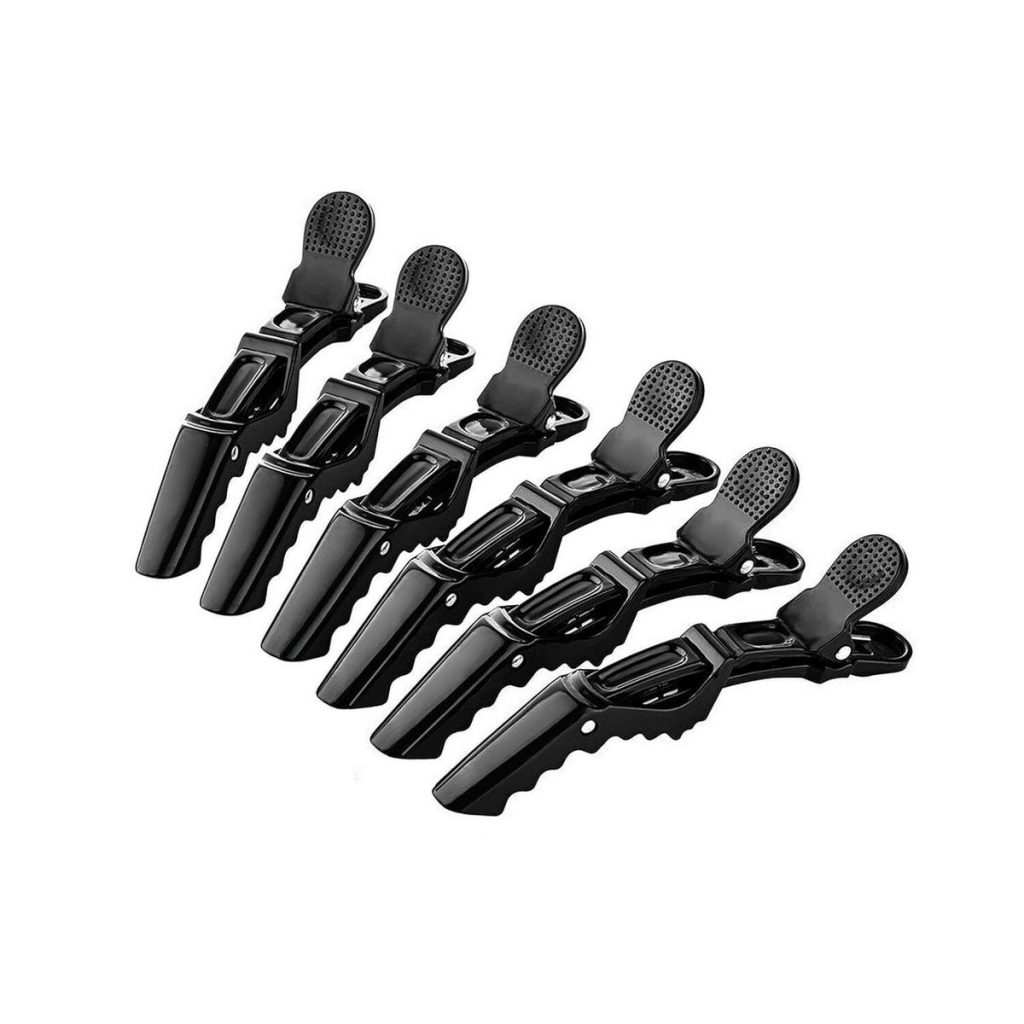
Step 2: Section Your Hair
- Brush your hair thoroughly to remove any tangles.
- Divide your hair into small, manageable sections using clips or hair ties. This will make the removal process easier and more precise.
Step 3: Apply the Adhesive Remover
- Spray or apply the tape in extension remover directly onto the tape tabs. Make sure to saturate both sides of the tape.
- Allow the tape remover solution to sit for 3-5 minutes. This will soften the adhesive and make it easier to remove.
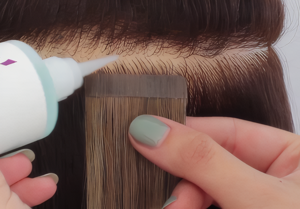
Step 4: Gently Remove the Extensions
- After the adhesive has softened, use your fingers or a fine-tooth comb to gently separate the extension from your natural hair. Start at the edges and work your way inward.
- Avoid pulling or tugging forcefully, as this can damage your natural hair. If the tape feels resistant, apply more tape remover solution and wait a few additional minutes.
Step 5: Clean Off Residue
- Once the extensions are removed, you may notice some adhesive residue on your natural hair. Apply a small amount of remover solution to the residue and gently rub it away with your fingers.
- If the residue is stubborn, you can use natural oil (like coconut or olive oil) to help break it down.
Step 6: Wash and Condition Your Hair
- Wash your hair with a clarifying shampoo to remove any remaining adhesive or remover solution.
- Follow up with a deep conditioning treatment to restore moisture and nourishment to your hair.
Tips for Easier Removal:
- Don’t rush: Take your time to avoid damaging your hair.
- Use high-quality products: Invest in a reputable adhesive remover to ensure a smoother removal process.
- Seek professional help: If you’re unsure or uncomfortable removing the extensions yourself, visit a professional stylist for assistance.
What to Avoid
 Pulling or ripping the extensions: This can cause breakage and damage to your natural hair.
- Using harsh chemicals: Avoid acetone or alcohol-based products, as they can dry out and damage your hair.
- Skipping aftercare: Always wash and condition your hair after removal to keep it healthy.
By following these steps, you can safely and effectively remove your tape-in extensions without causing harm to your natural hair. If you encounter any difficulties or have concerns, don’t hesitate to reach out to your hairstylist for professional guidance.
For more tips and support, consult your extension specialist or visit our customer service team!
Please follow and like us:
Was this article helpful?
YesNo